Part of my development sometimes falls into the creation of 3D Printed objects or other media that requires some cad development. I have been developing aids and tools all my life. And my DYI maker experience didn't just start with me, but it was something that my parents did as artists and even my grandparent's made stuff out of there garage or spare room as well. In fact, some of my tools that I use to make stuff I have inherited from them as well as introduce tools of my own to compliment them. Most of the items here where made to be 3D Printed and assembled. I provide a gallery here to display this work.
Most of this work is done using Fusion 360 as it is cost effective and lends itself to be easily processed into the necessary g code that is used in a 3D Printer or Cad Milling.
Most of this work is done using Fusion 360 as it is cost effective and lends itself to be easily processed into the necessary g code that is used in a 3D Printer or Cad Milling.
iPad Pro Holder Grasp
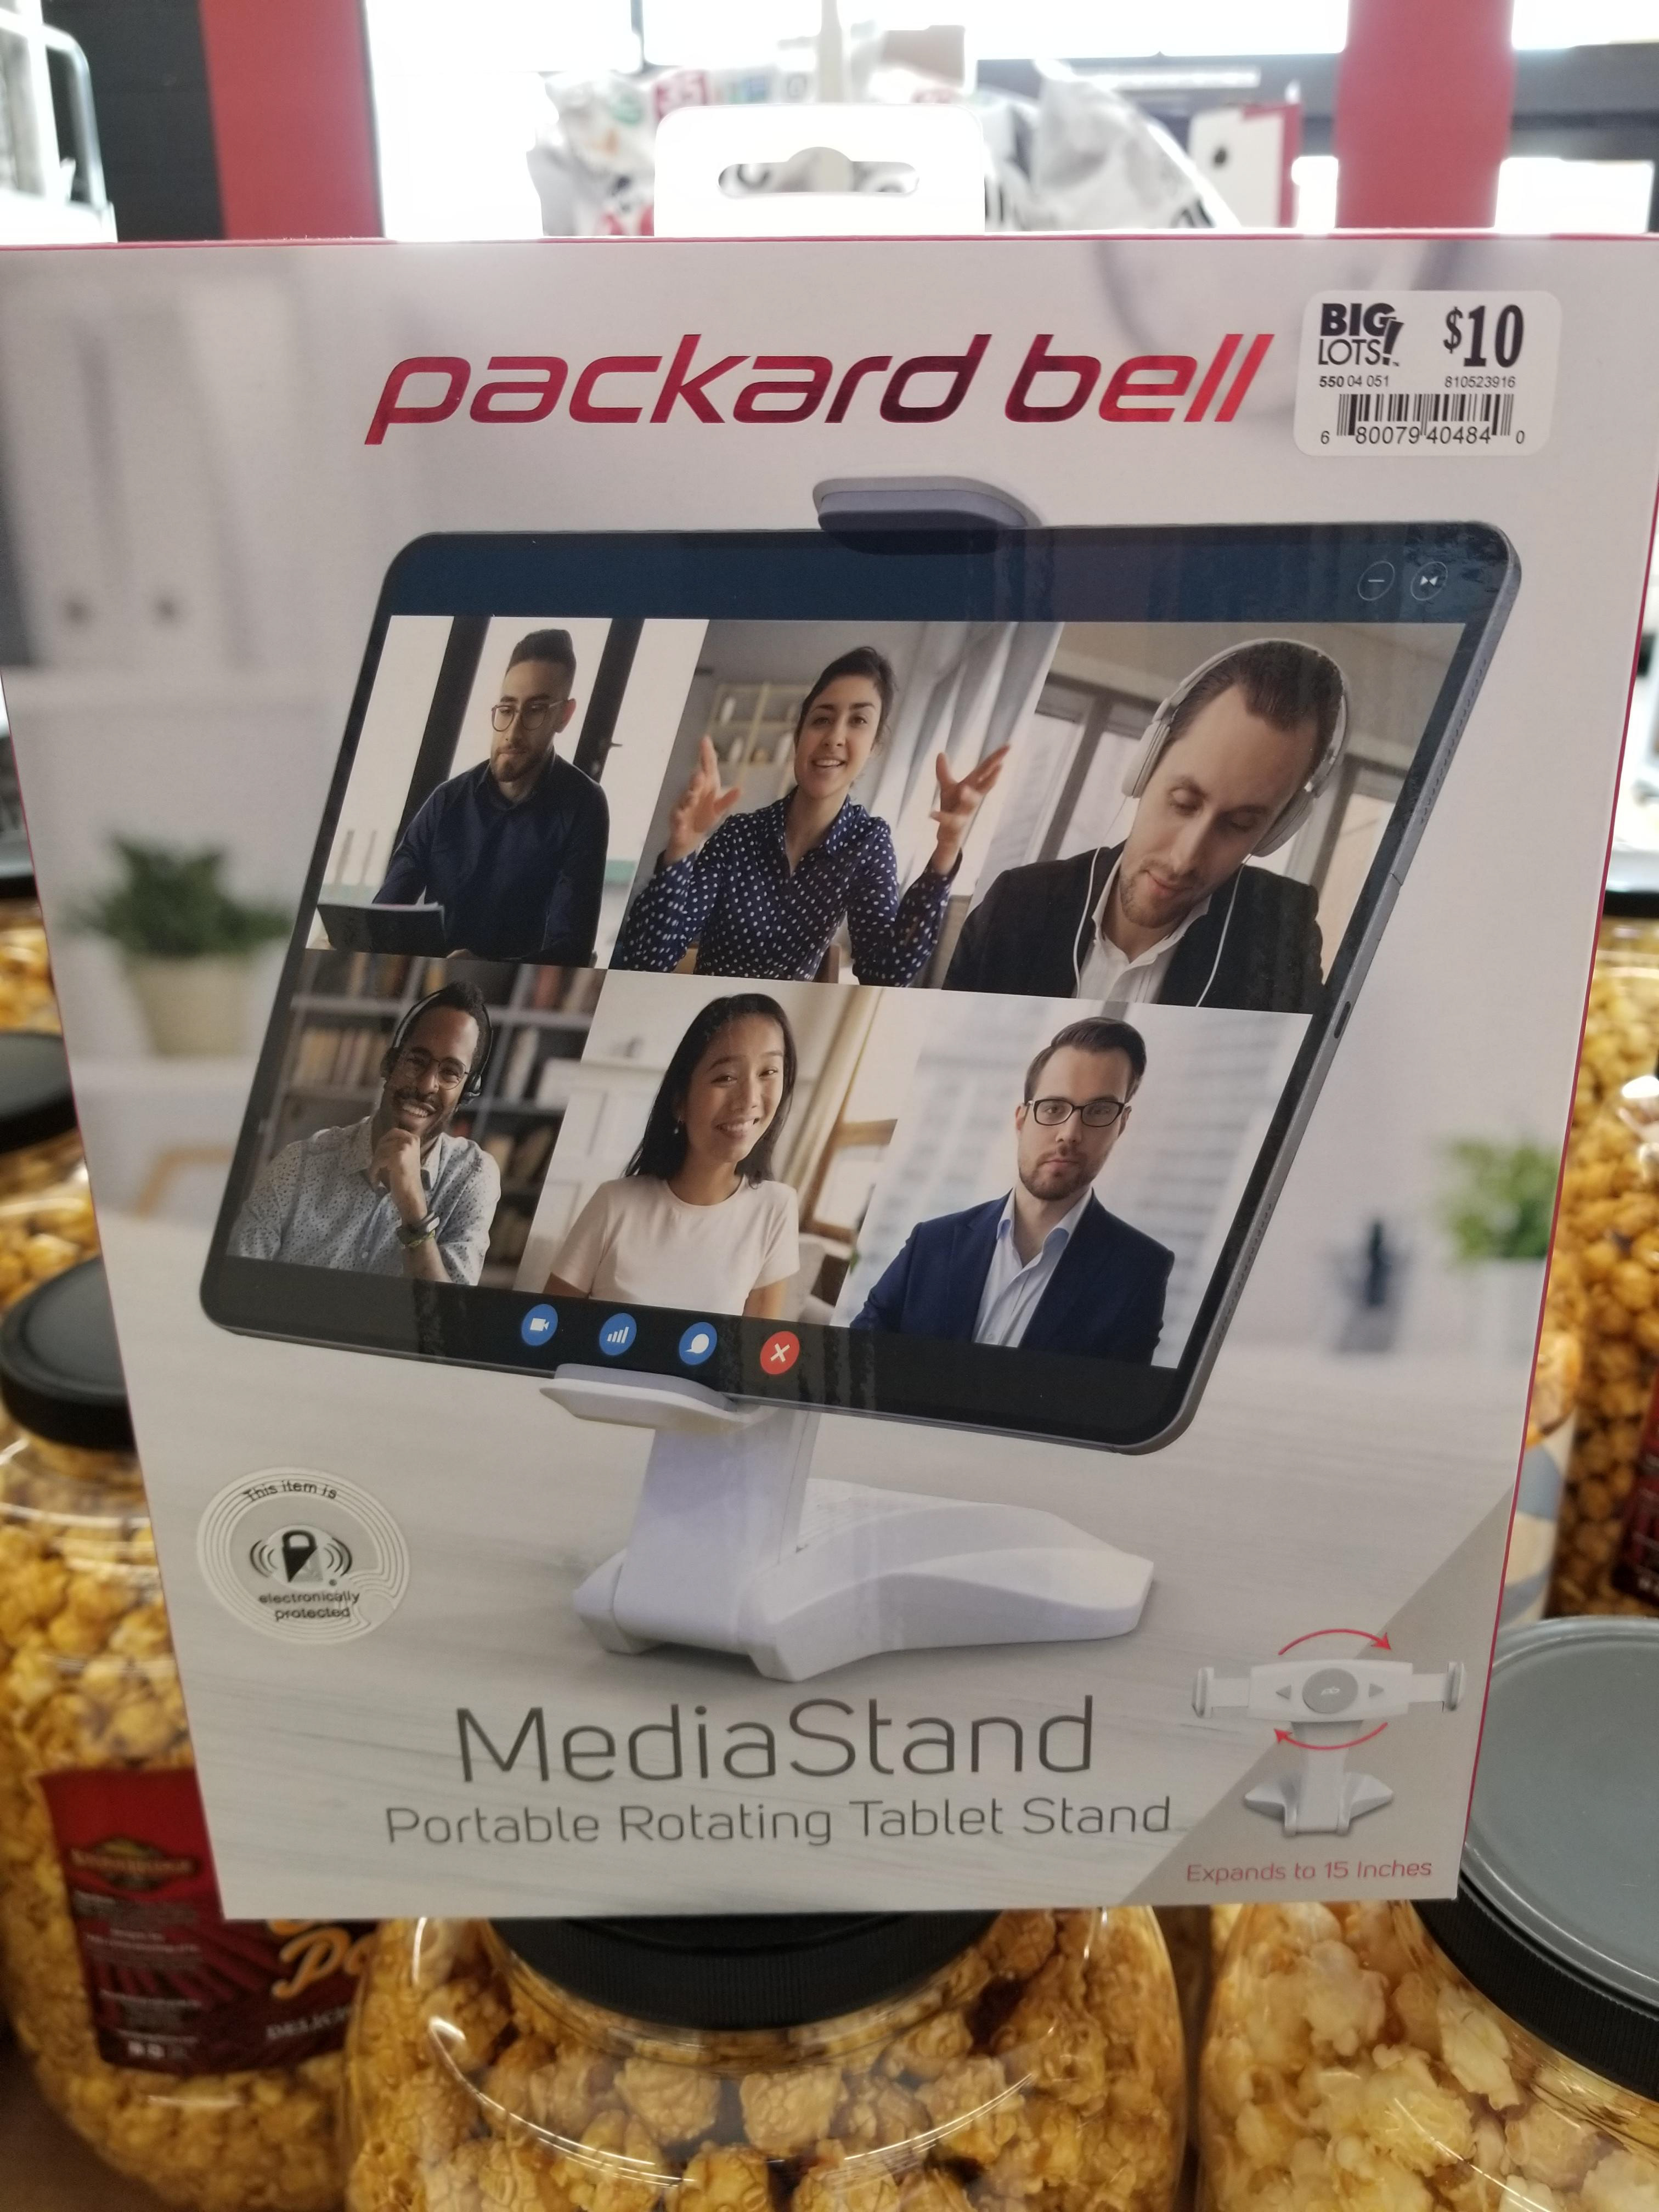
This holder was designed to replace the planform form a device that I bought at a thrift store in order to give me a grip that I can use to hold the tablet securely to one hand while drawing with the other. It is the prefect example of repurposing an idem for a new better use.

Here is the original instrument that I used for repurposing. I got it at Big Lots for $10
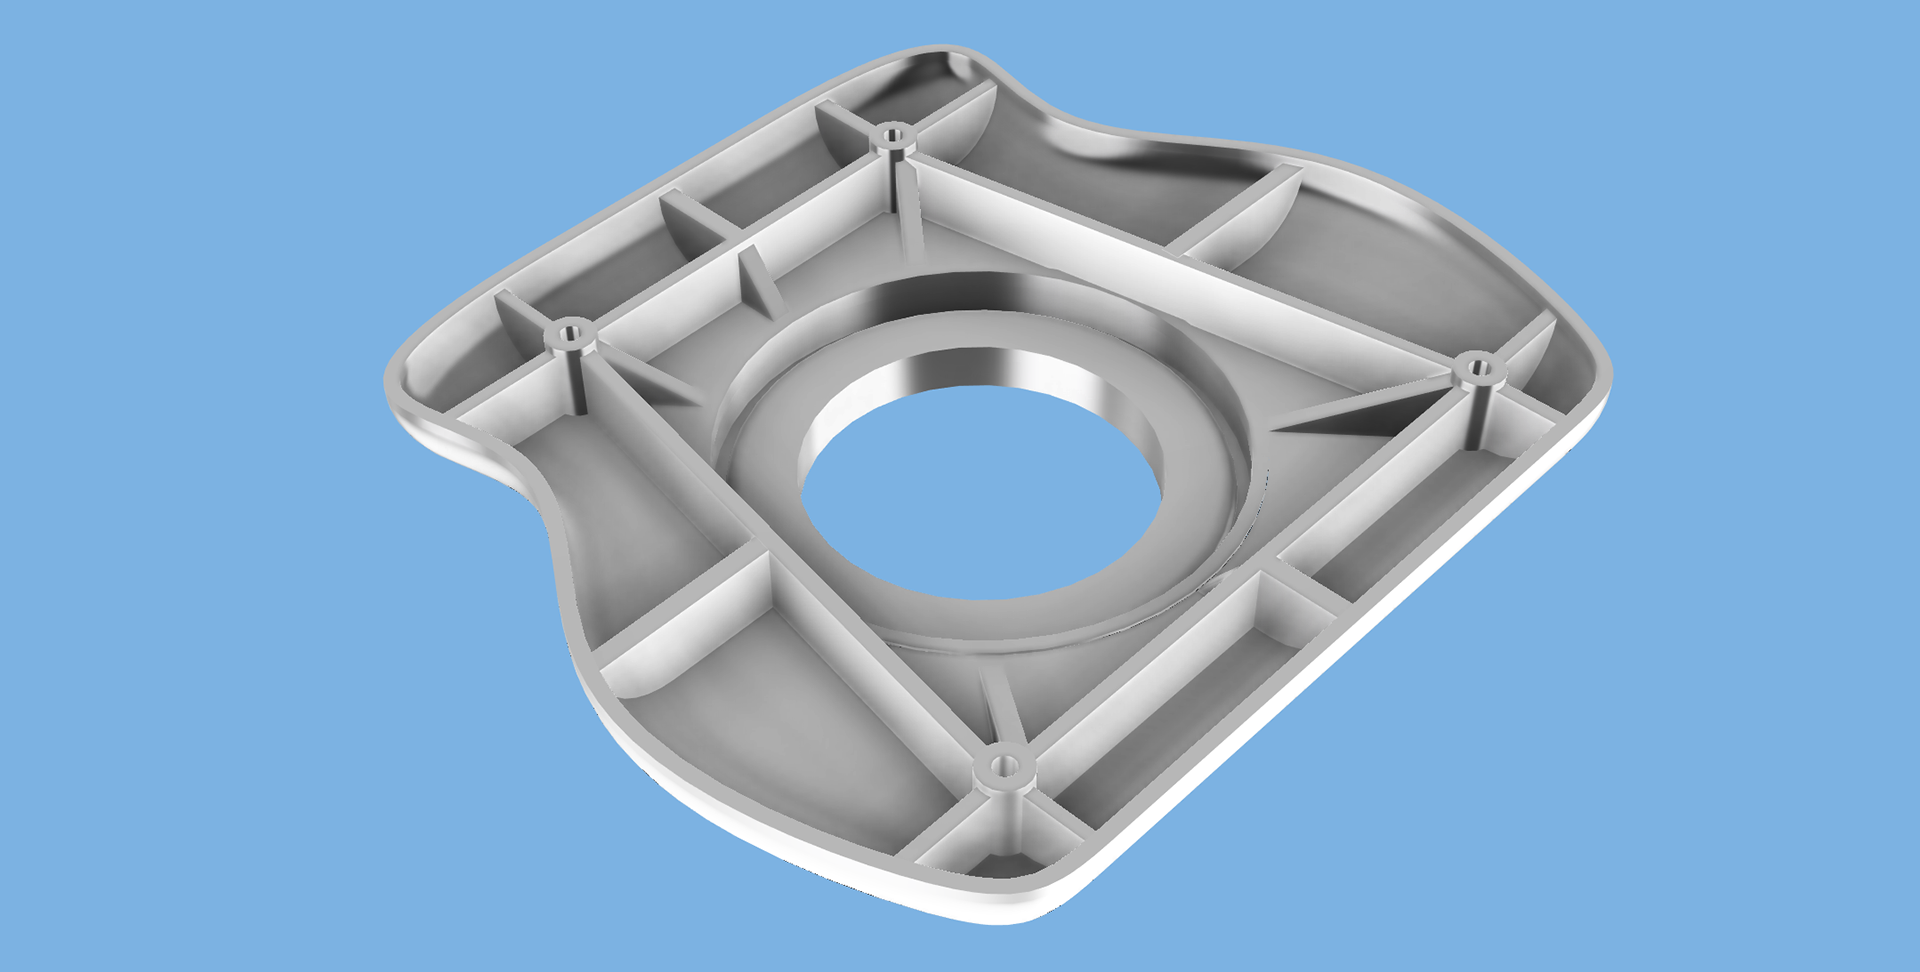
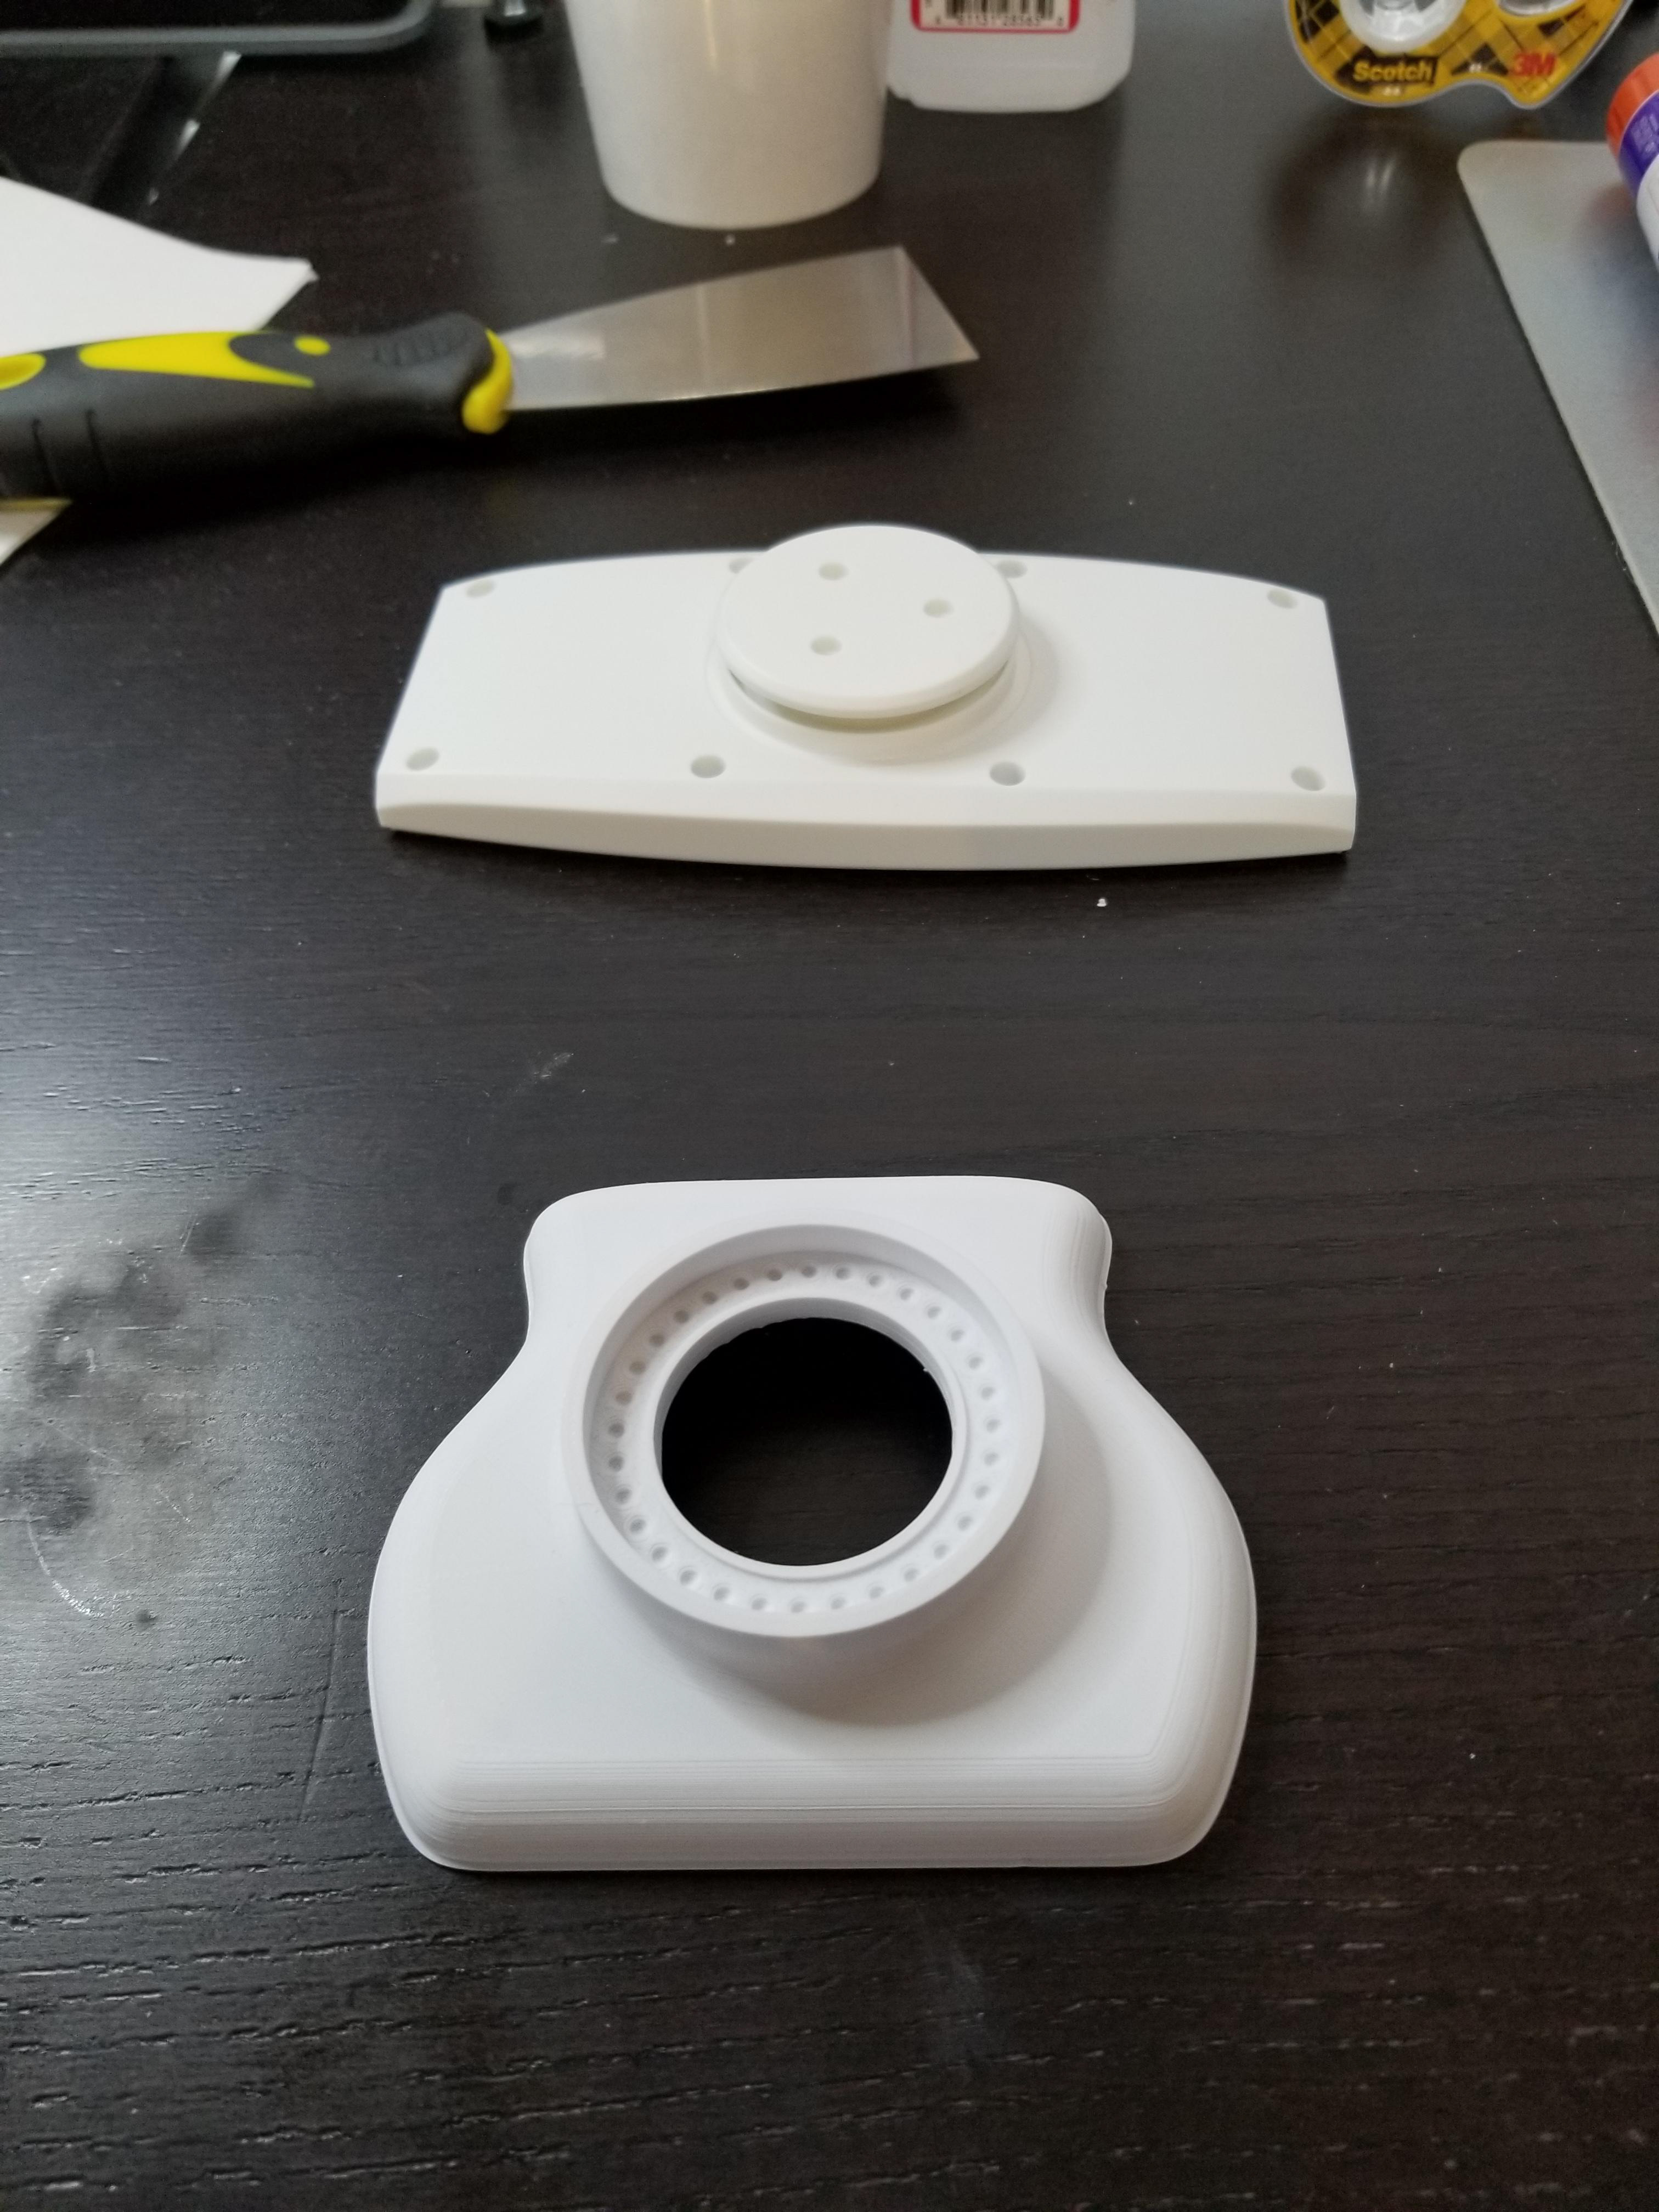
Here is the image layout of the shell for the handle.
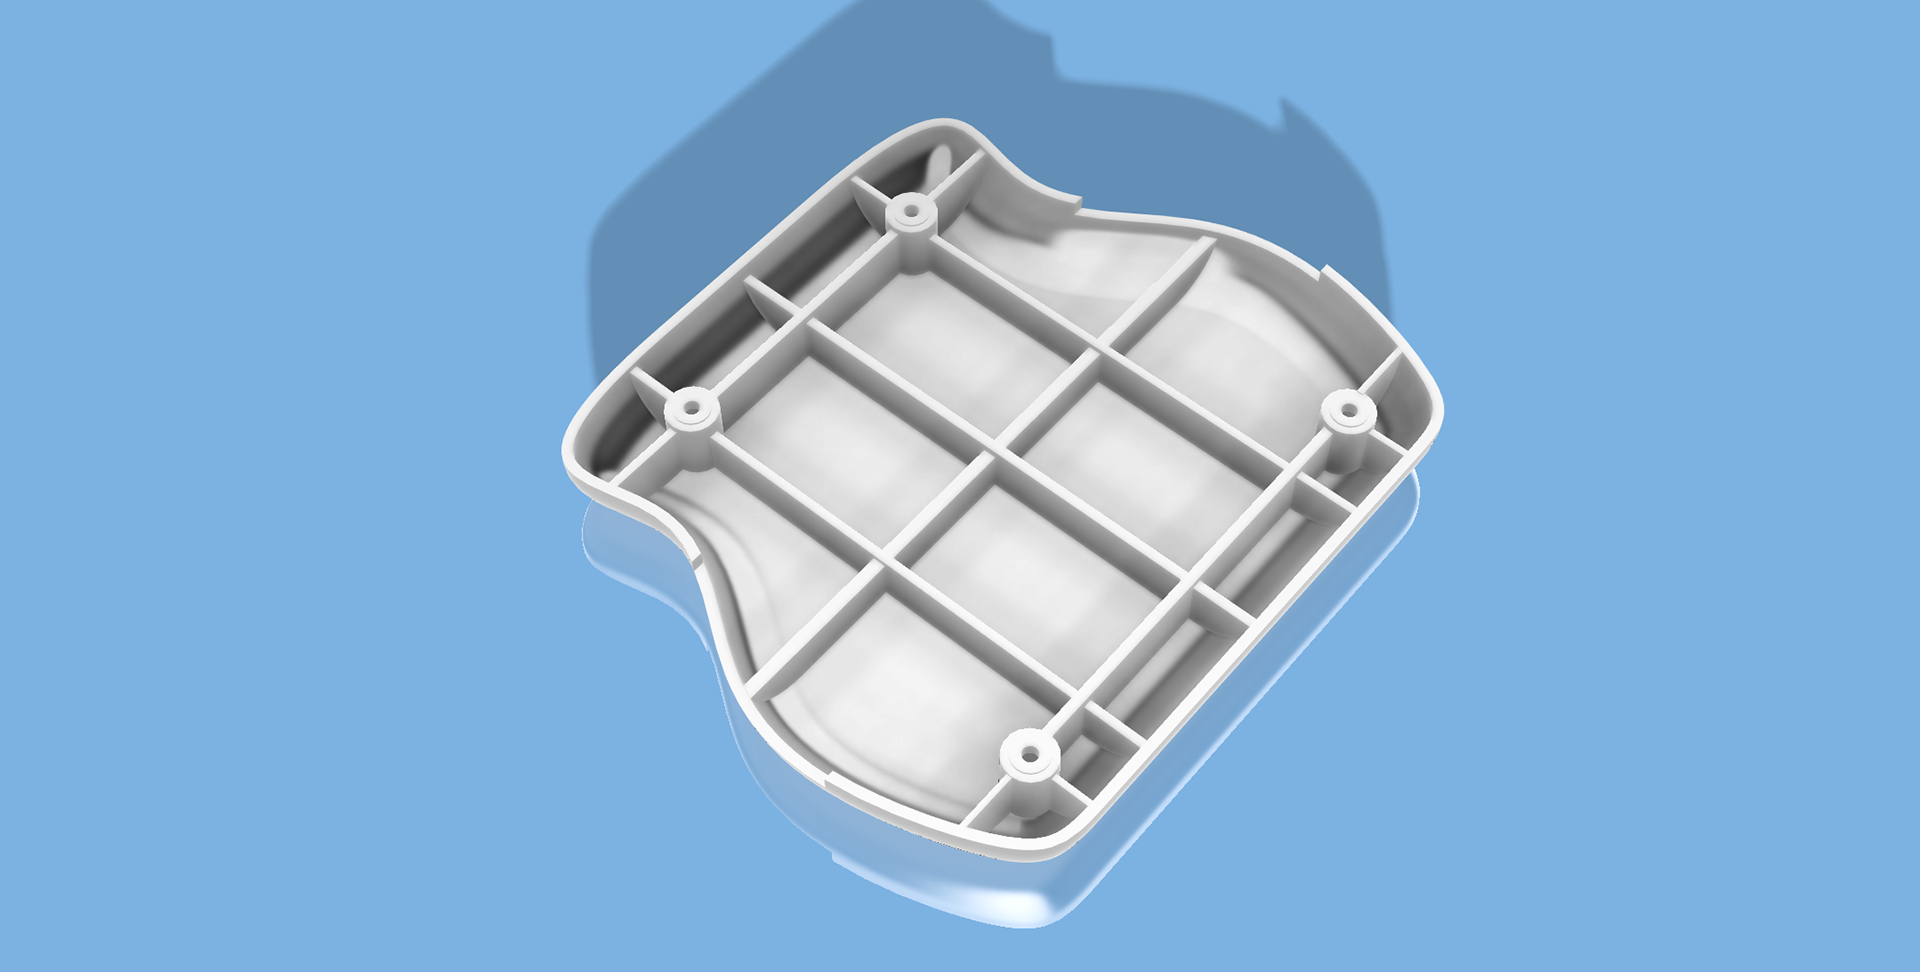
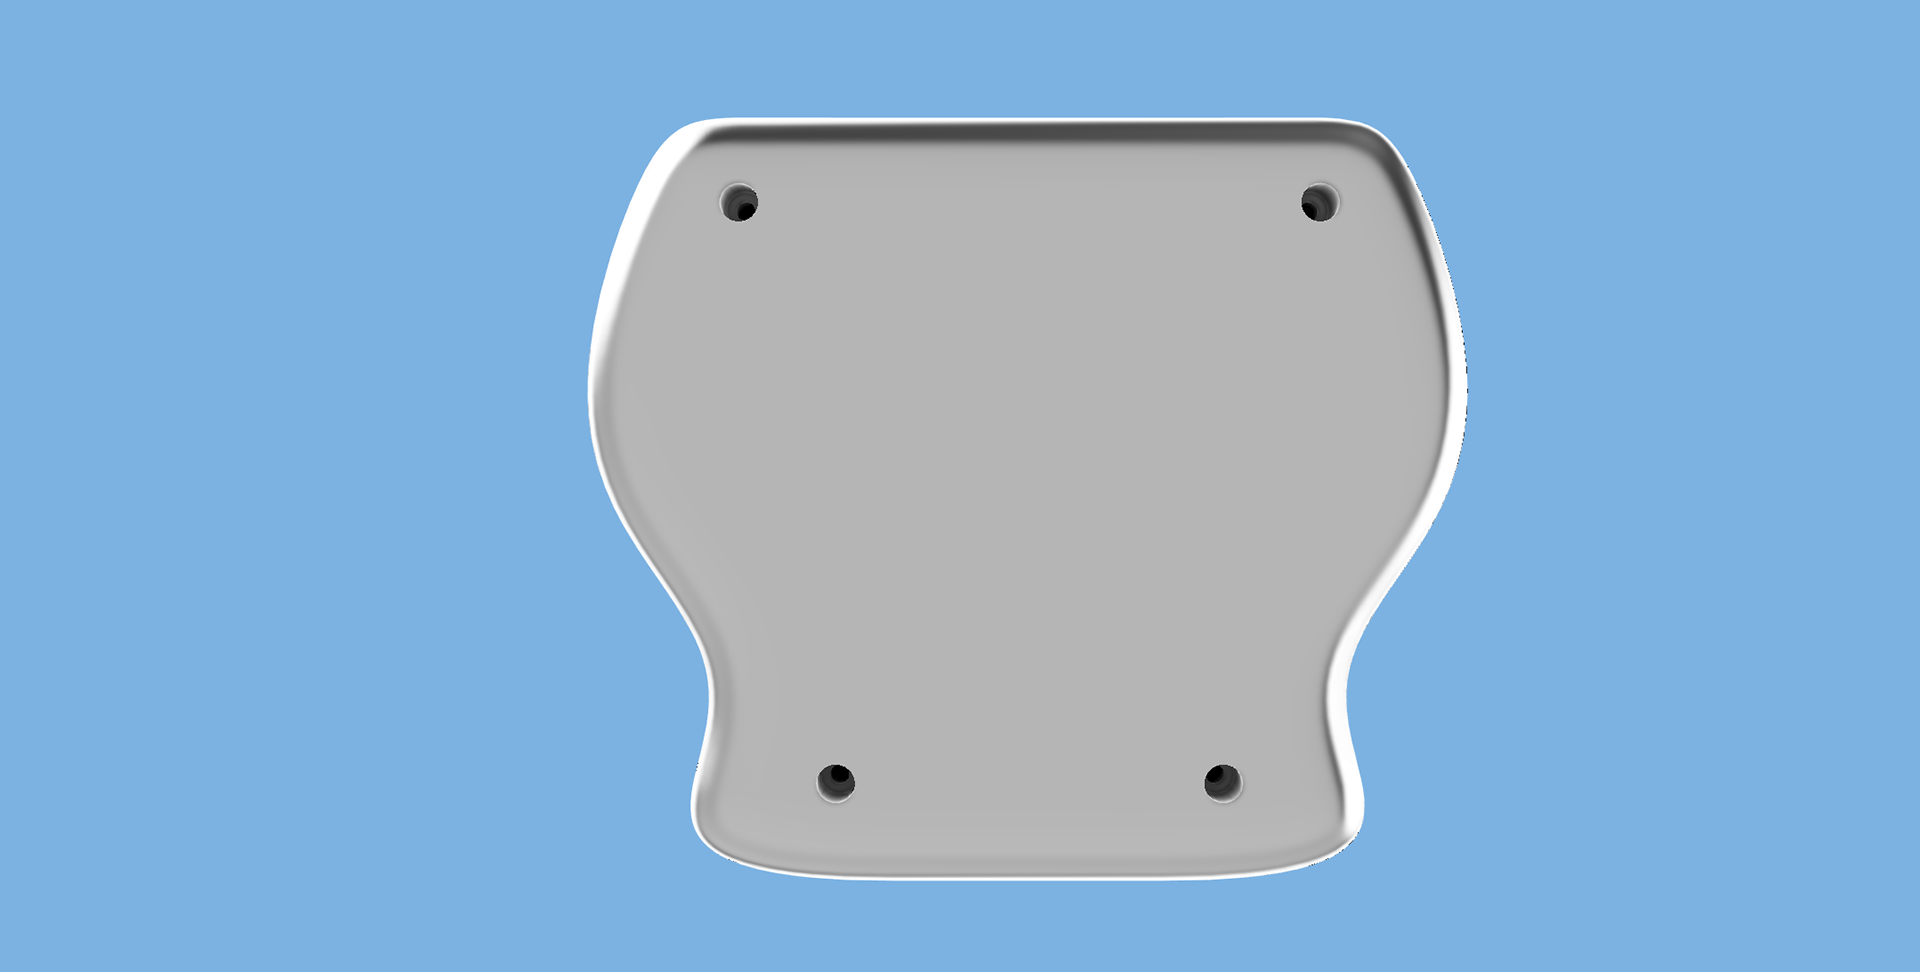
This is the back end of the holder with recess opening for the screws. I made it a point to reuse the screws from the original assemily.
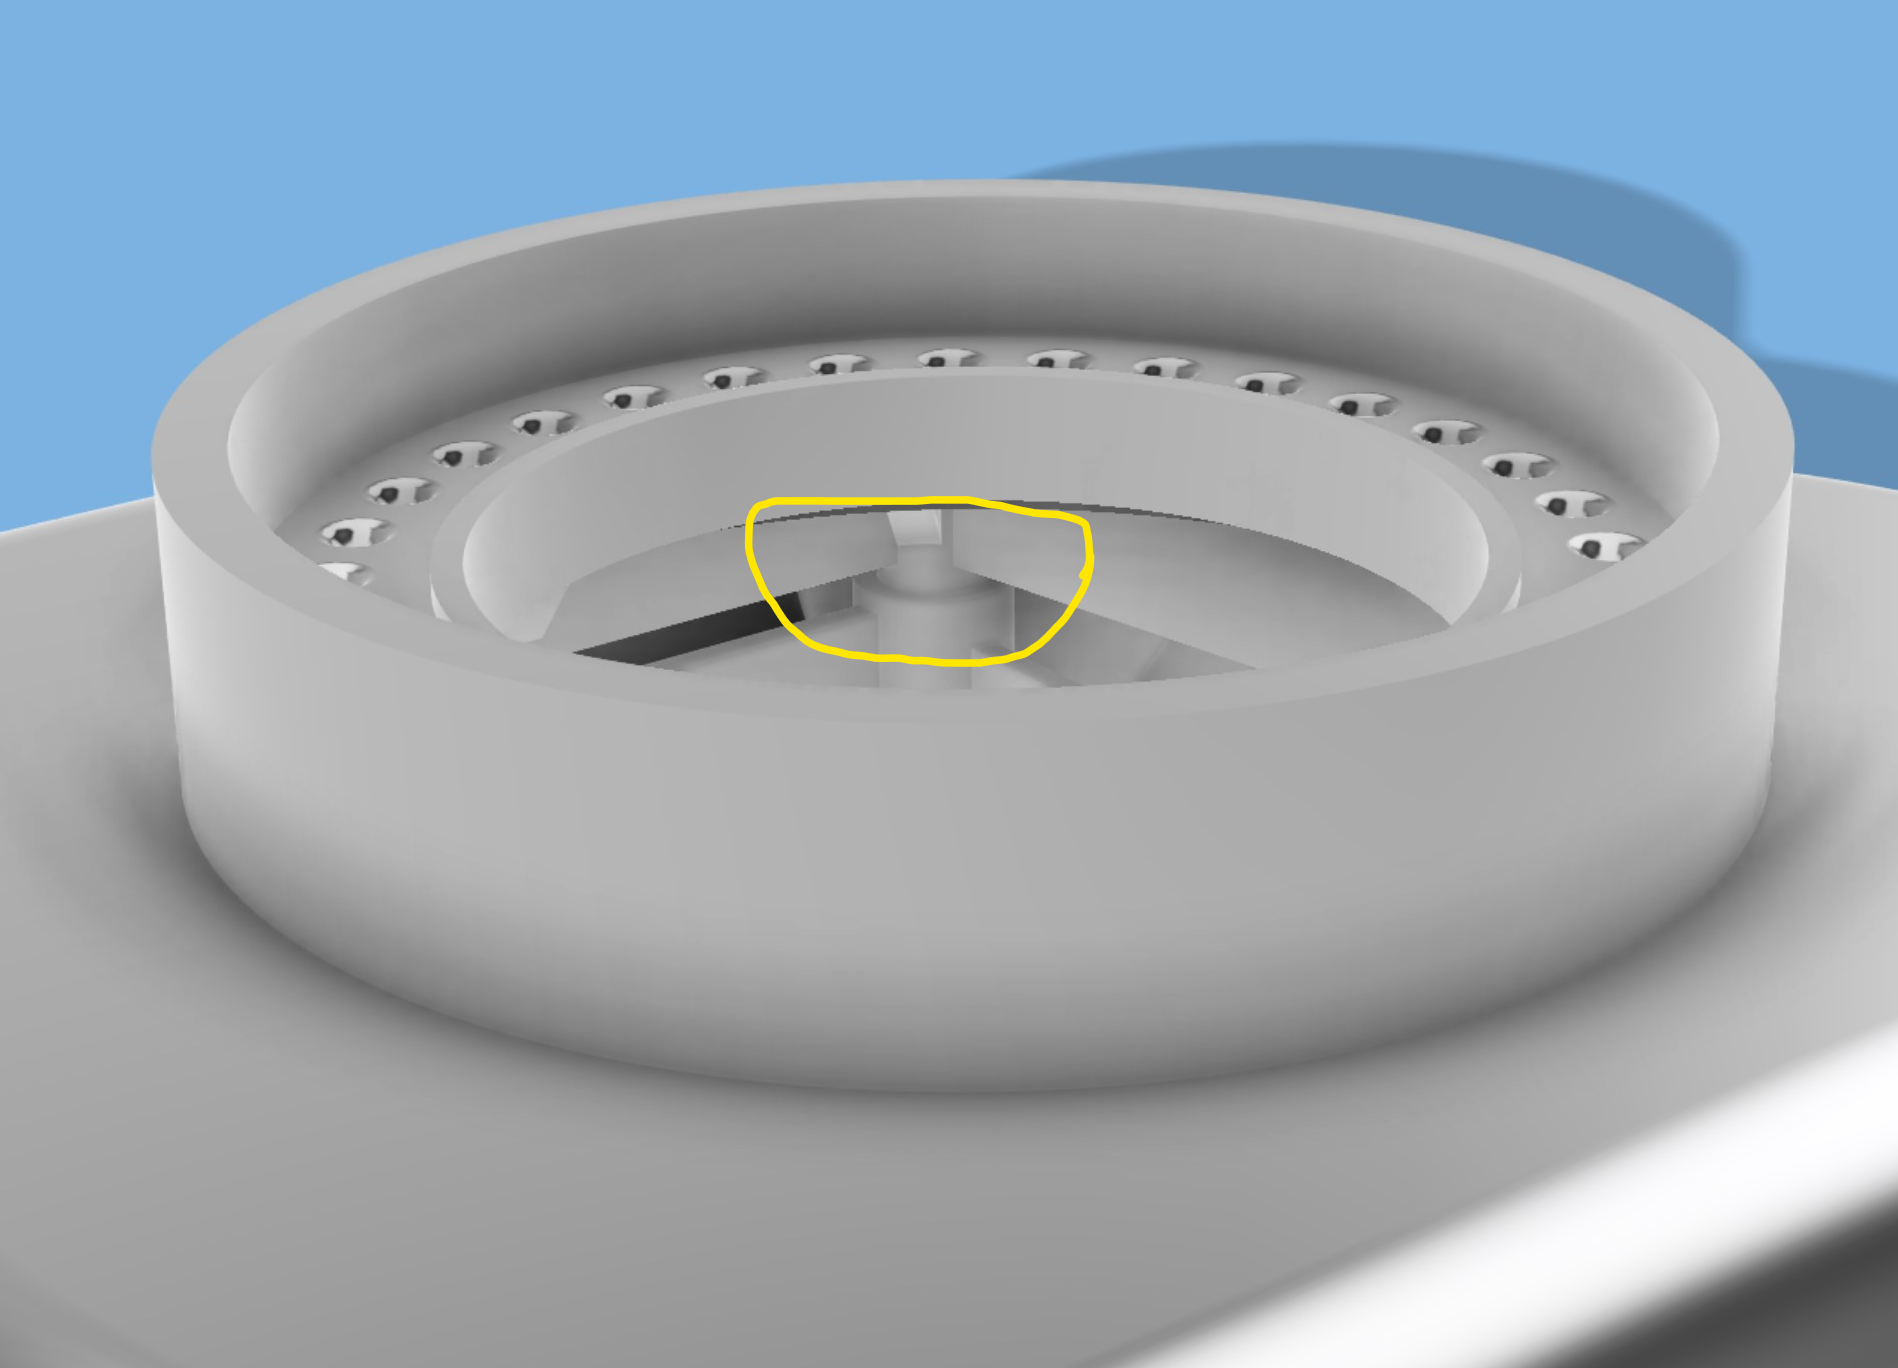
I Also had to be very carful that I matched the original base attachment to the handle for this to work. I also had to make sure that the inner structure was done correctly using Fusion 360's analytics to test it! I think it worked out well before I sliced it for making the g code.
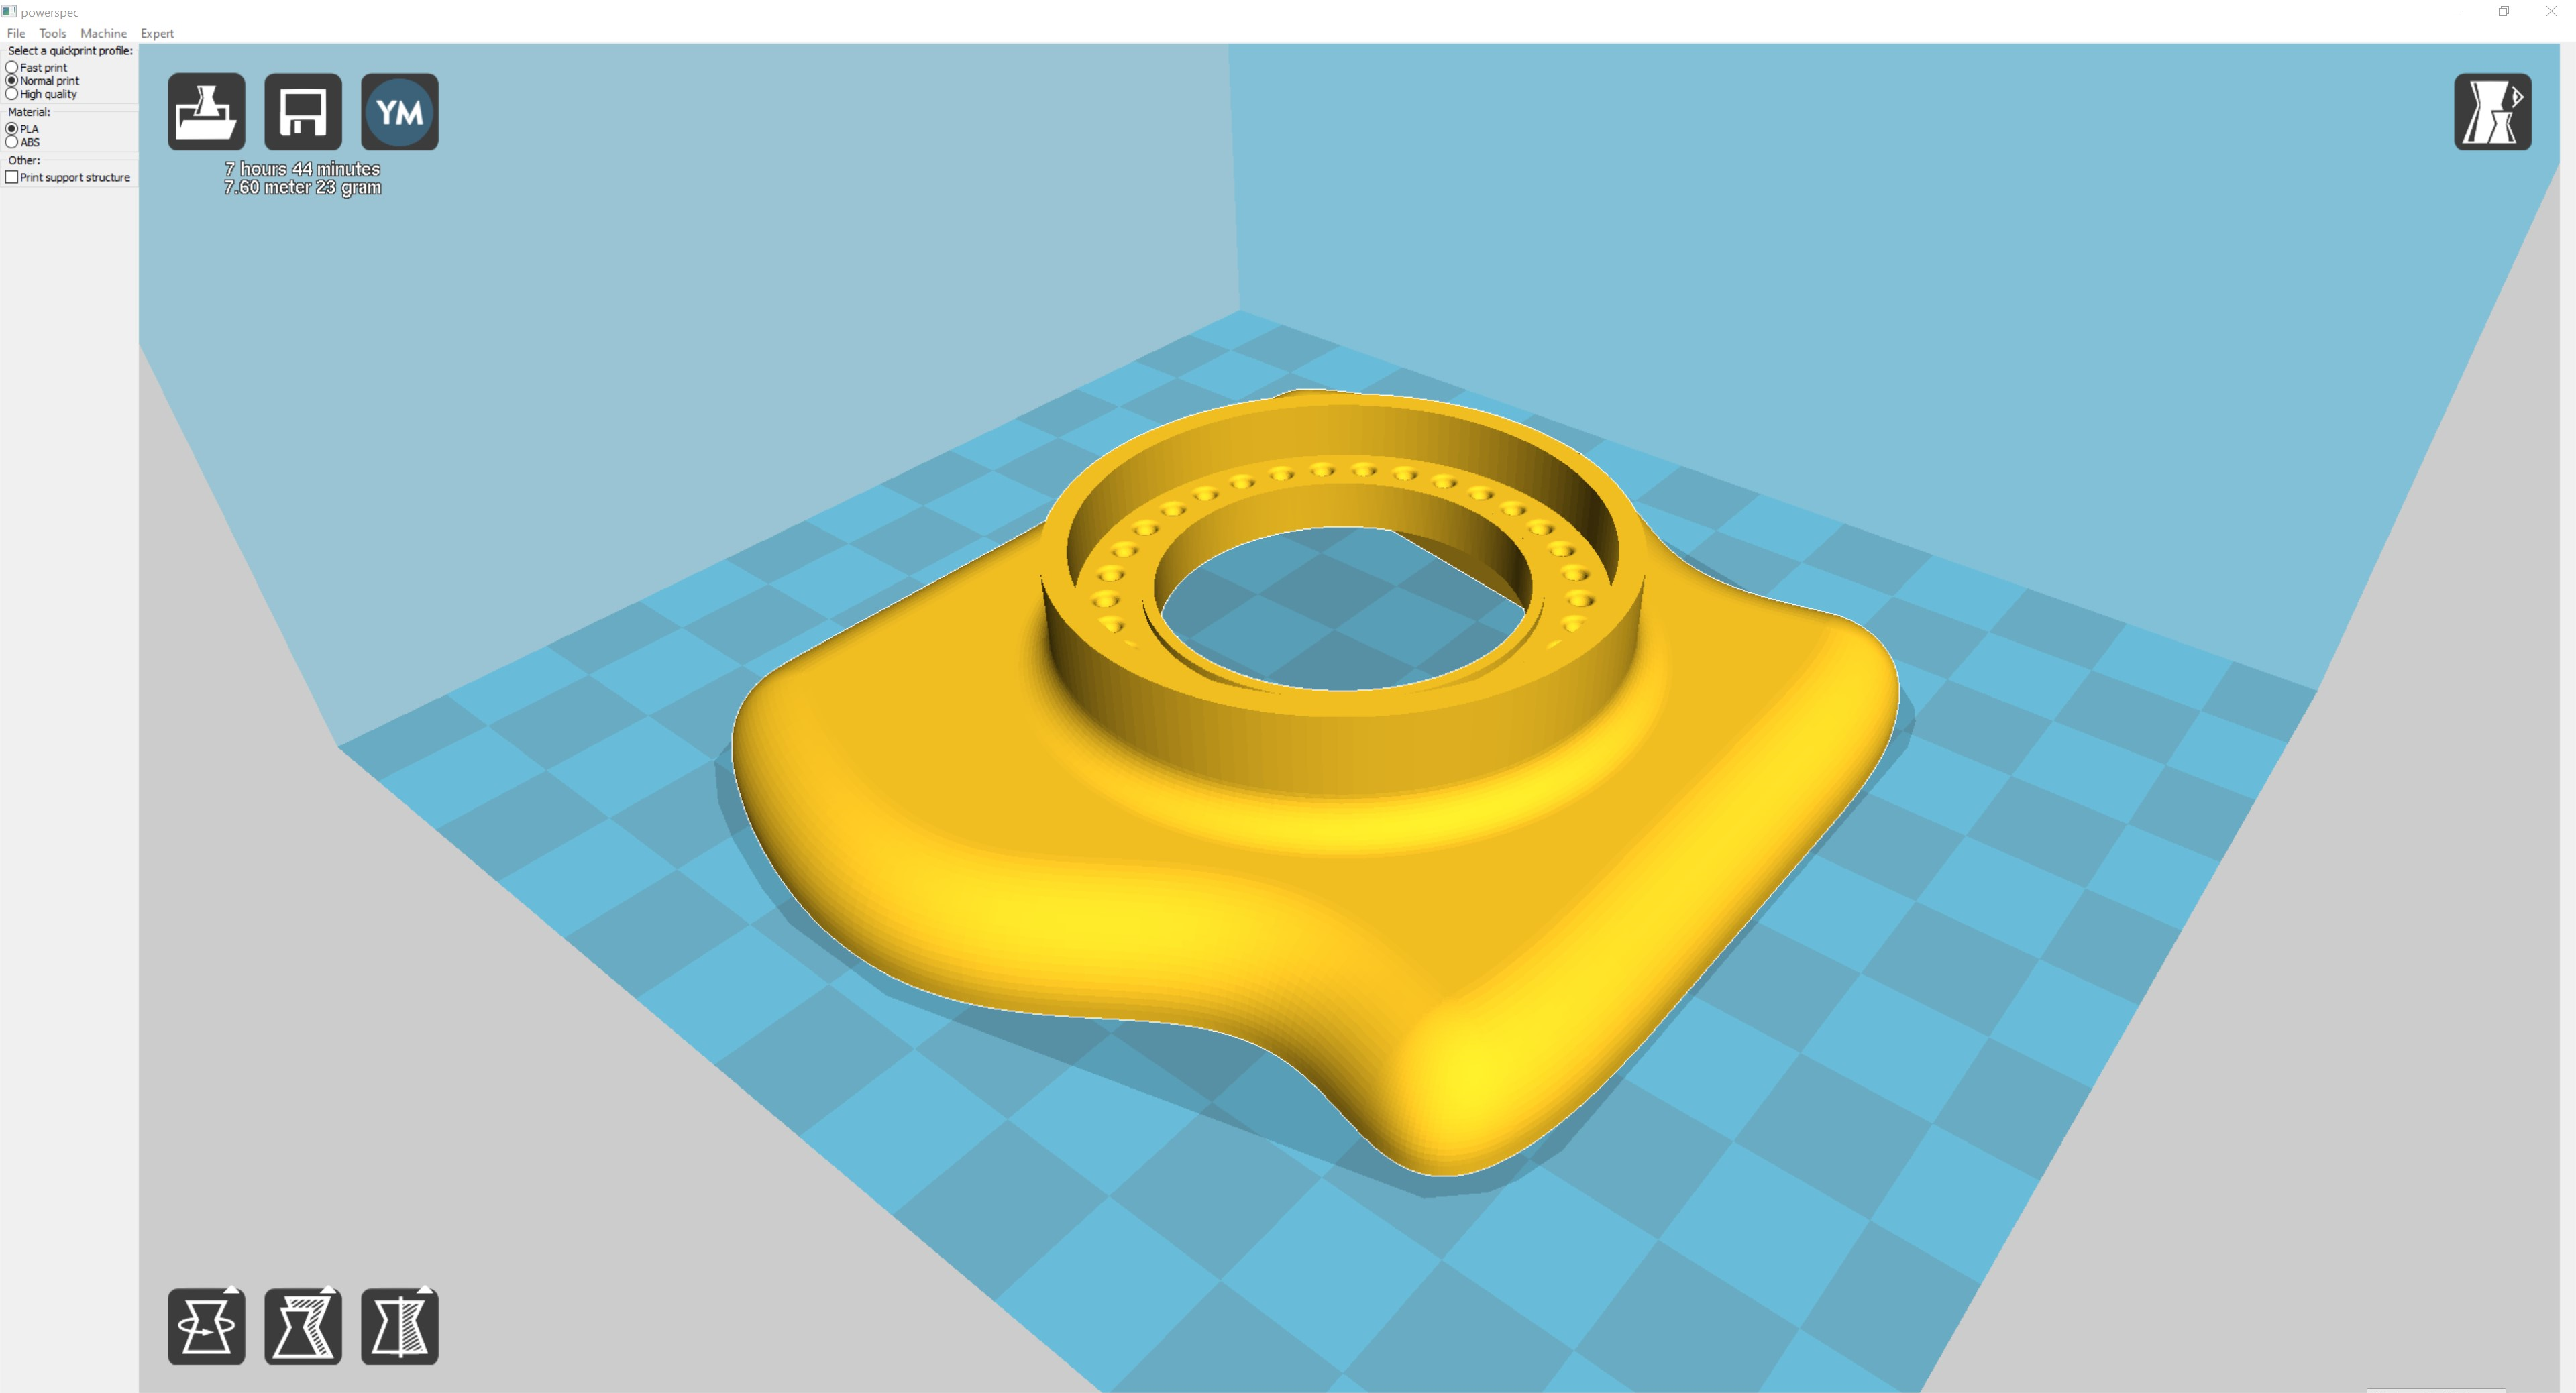
Here is the upper half in the Cura Slicer apacation. I had to be carful that everything was properly dimensioned. Fusion 360 des have it's own slicer software, but I wanted to make sure that it had all the proper g code commands that the printer requires.
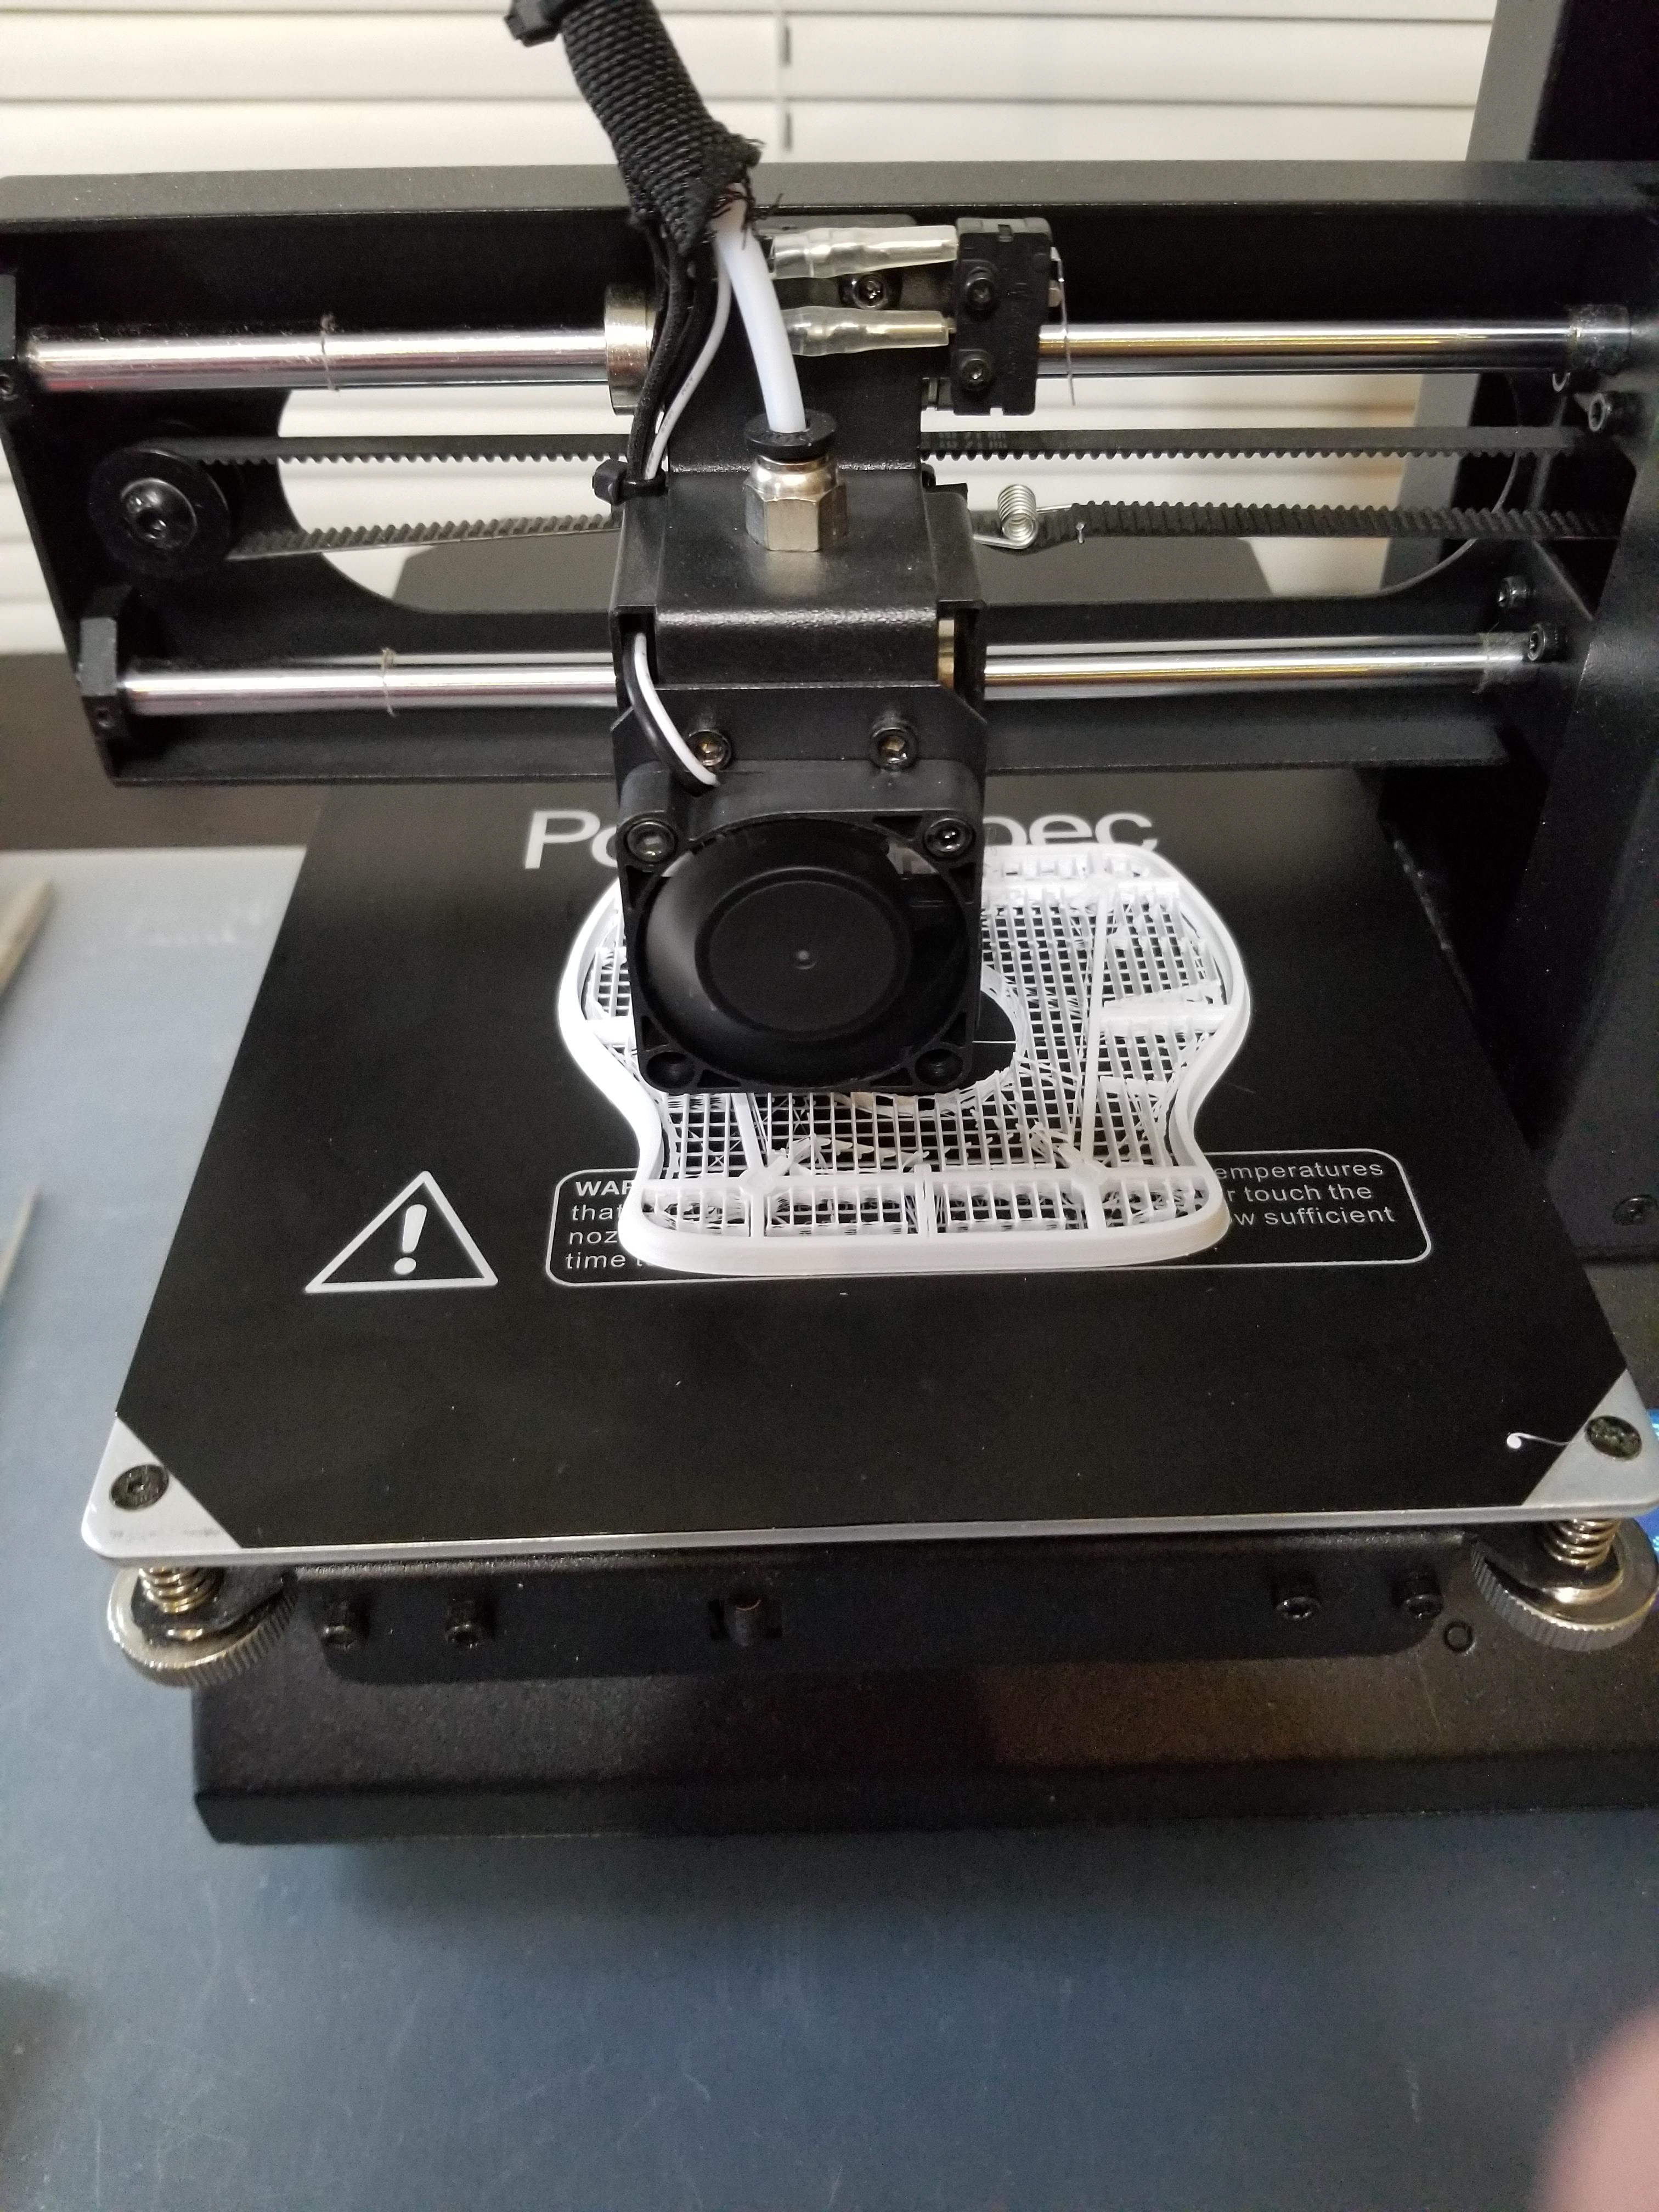
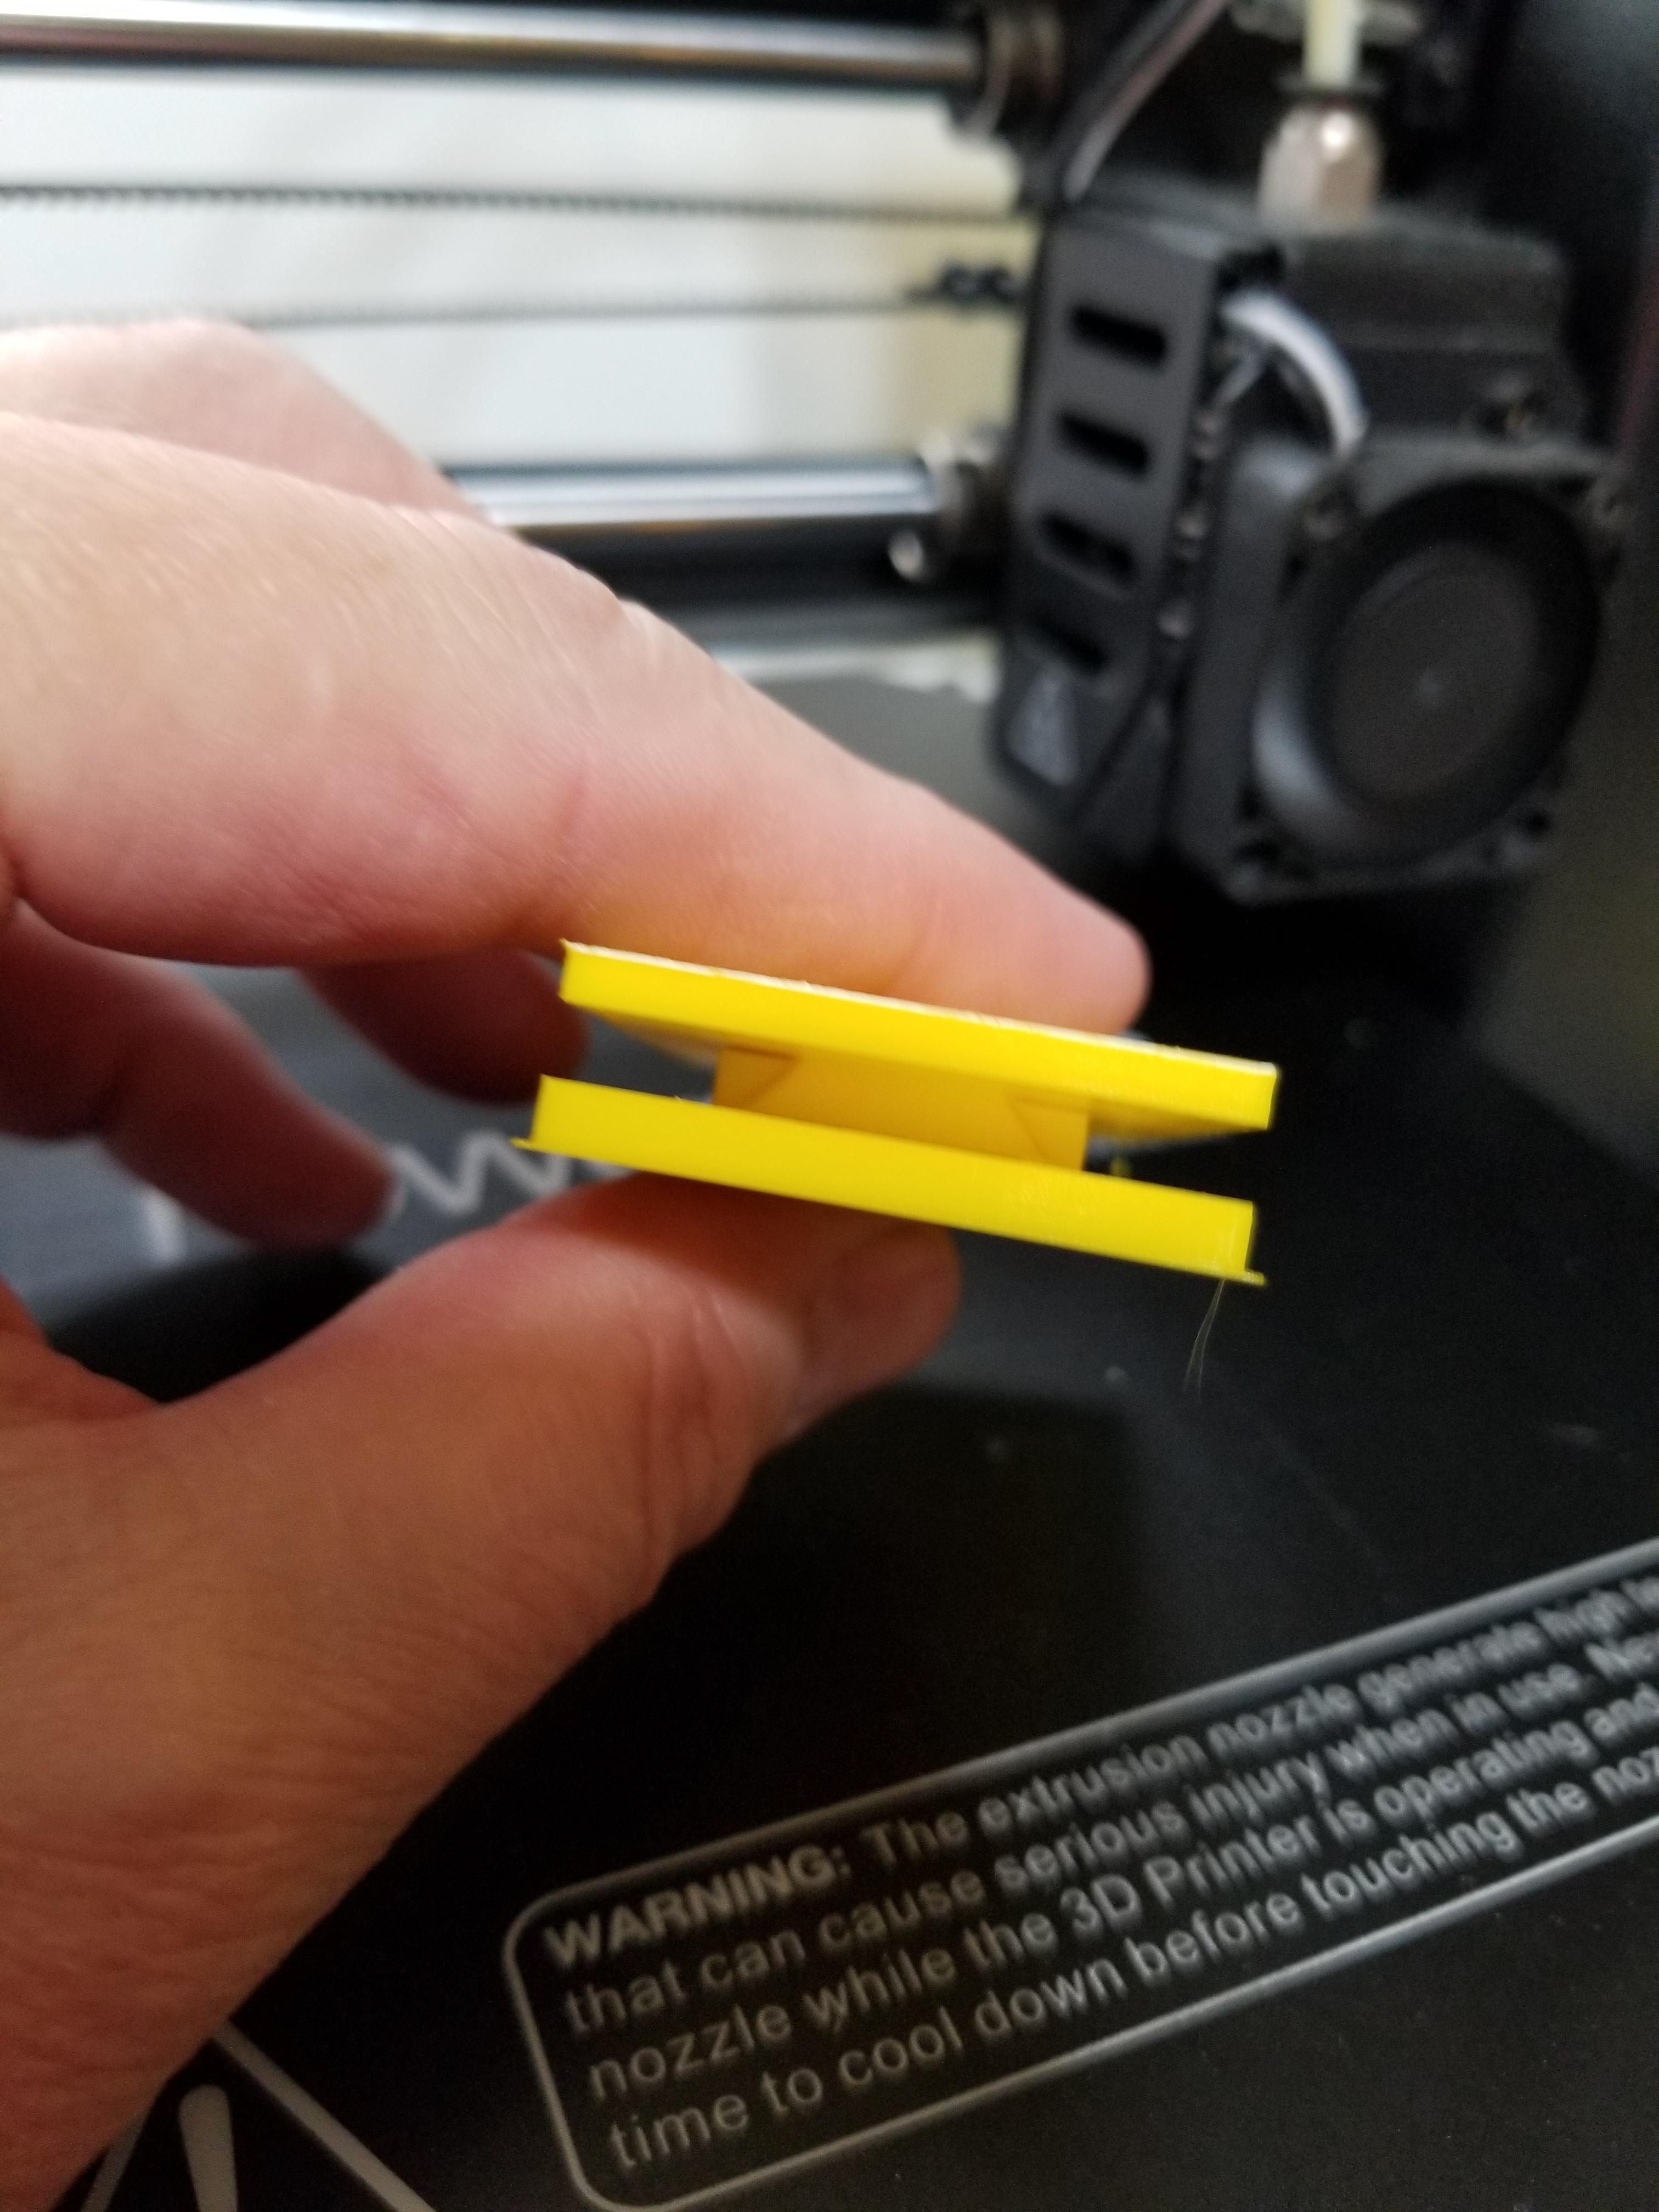
Here is the holder grip being made in the 3D Printer.
Here is the grip top installed in the preexisting tablet holder. Fits Perfectly!
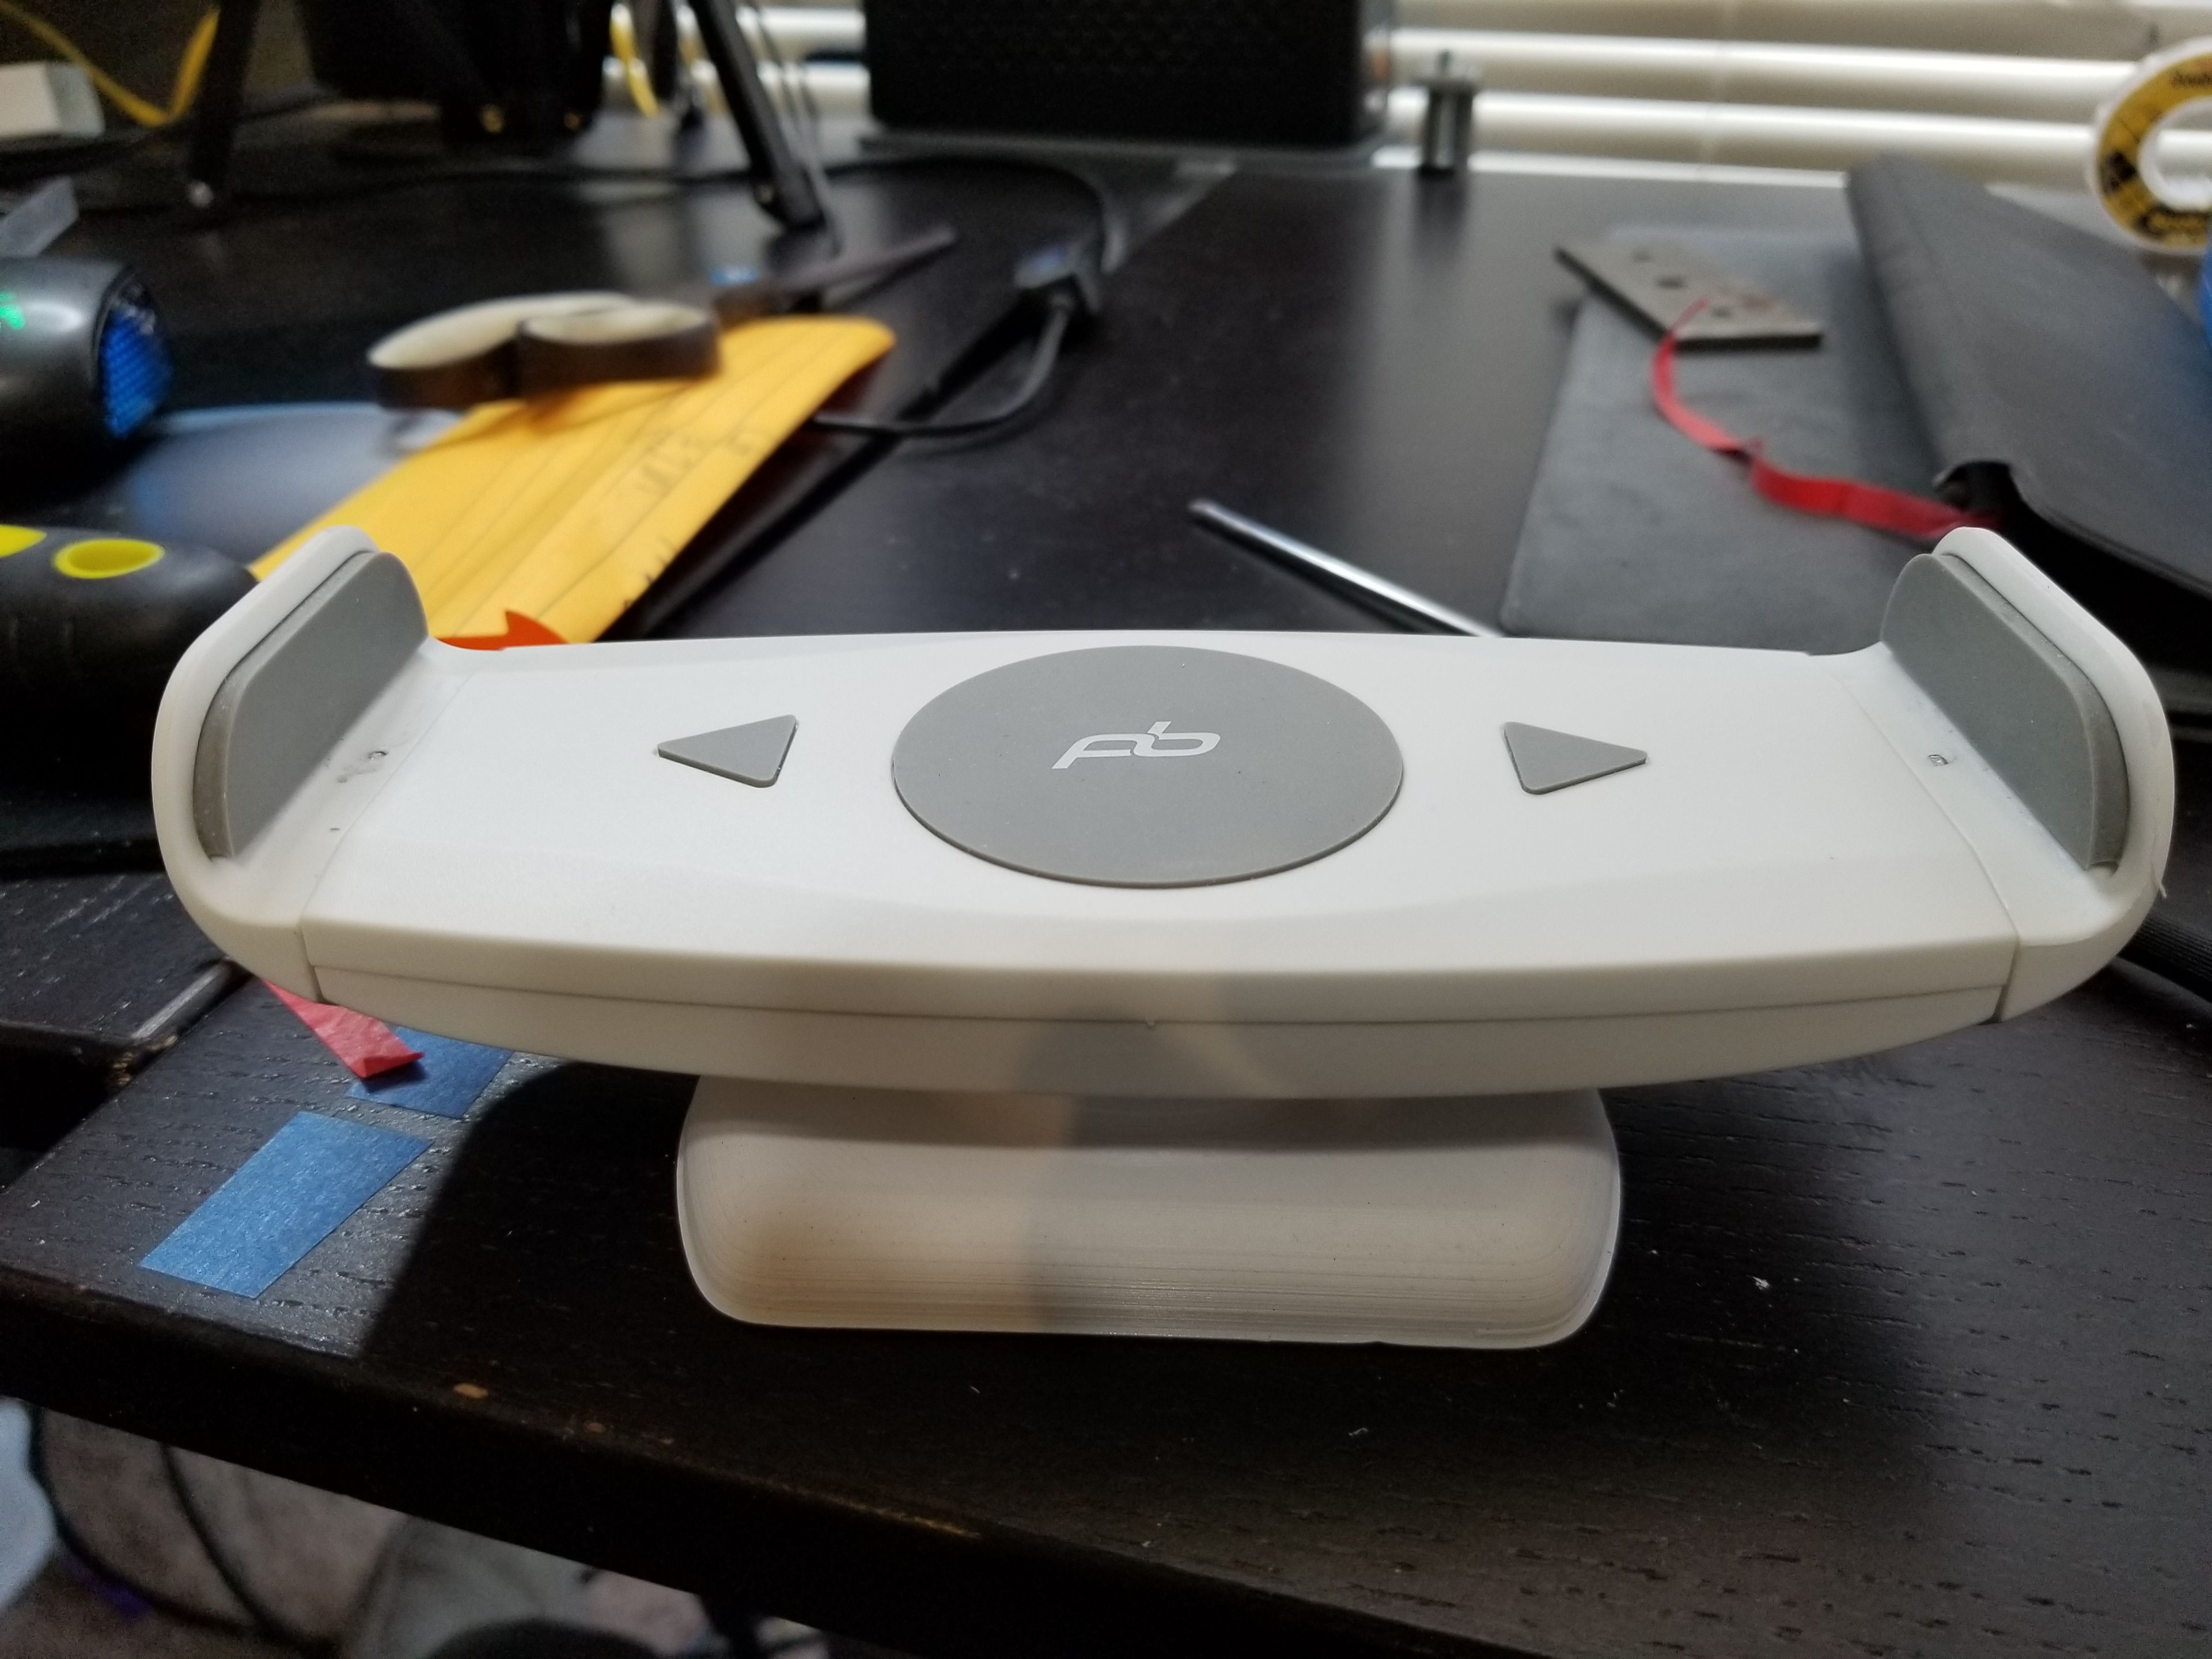
In the end, the only other modification I made was to replace the pads that hold the tablet with a lip, to better hold the tabit more securlay
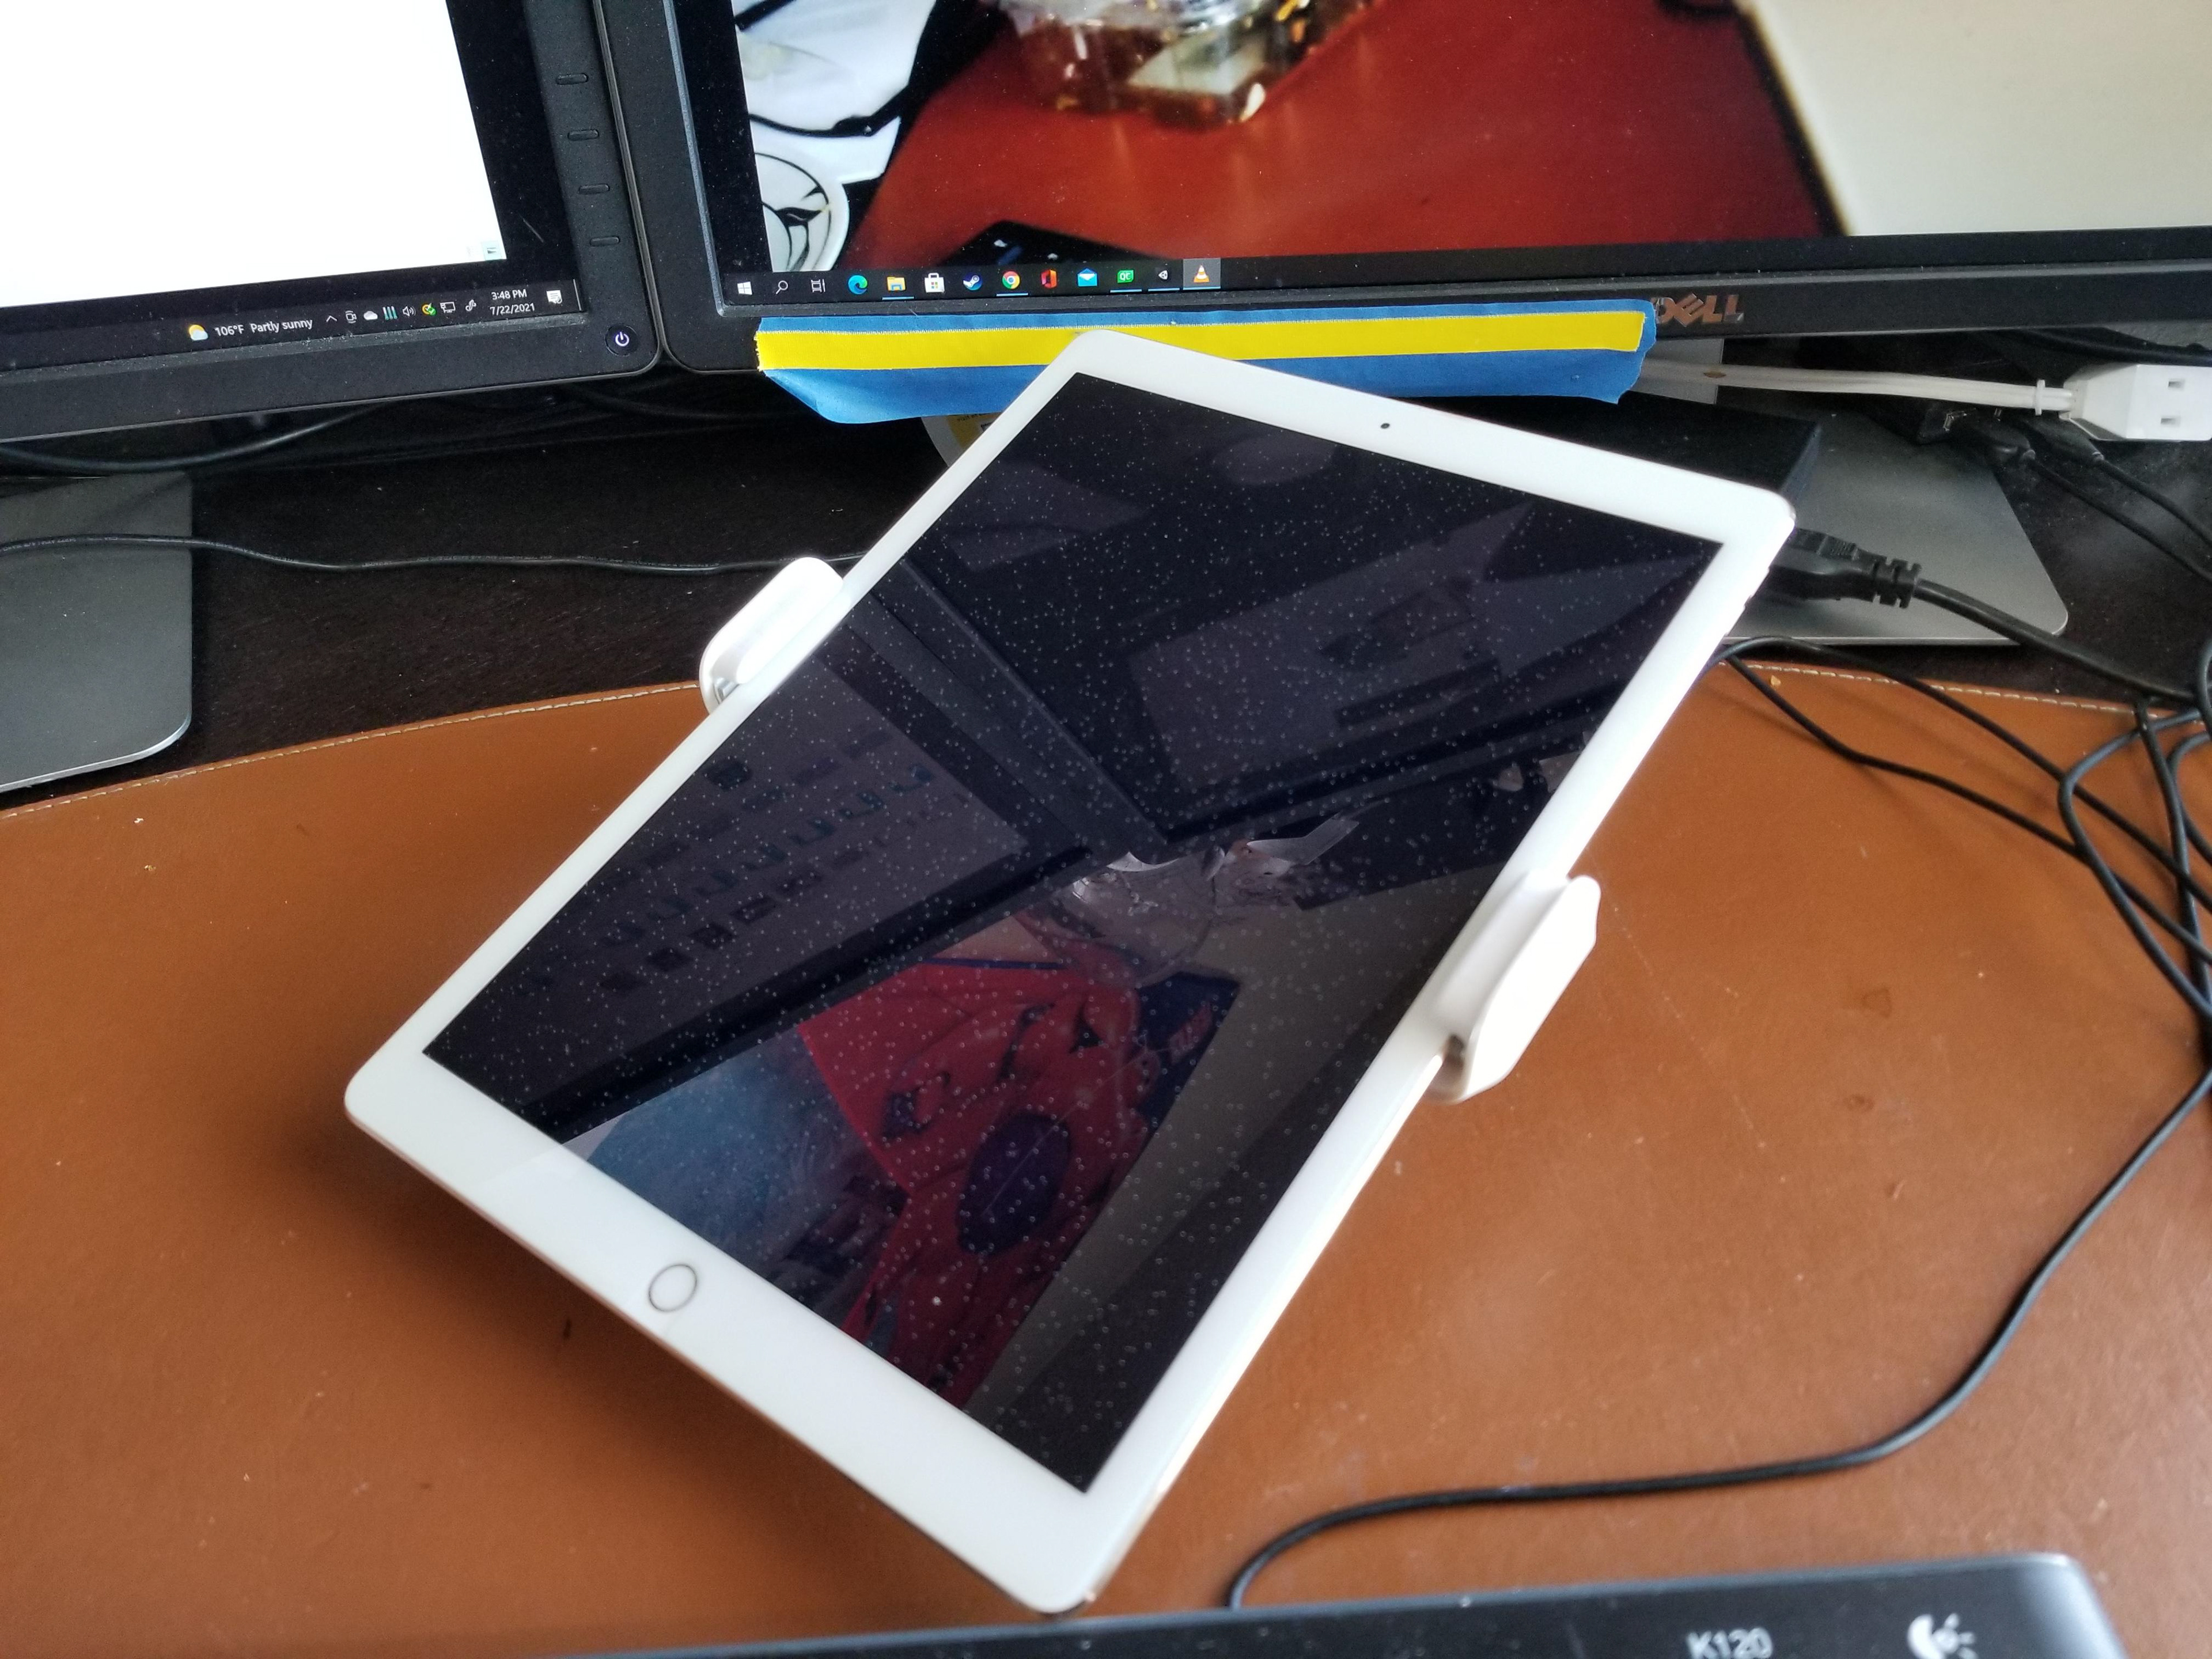
The results was exactly what I needed!
Here is some Video of the Analytics that I did on the hand grip to test the strength of the grip. I added some reinforcement and I wanted to make sure it had enough material to do the job - not collapsing under my grip!
Note that I used the video editor in Blender to make this video.
Note that I used the video editor in Blender to make this video.
Work Light Base
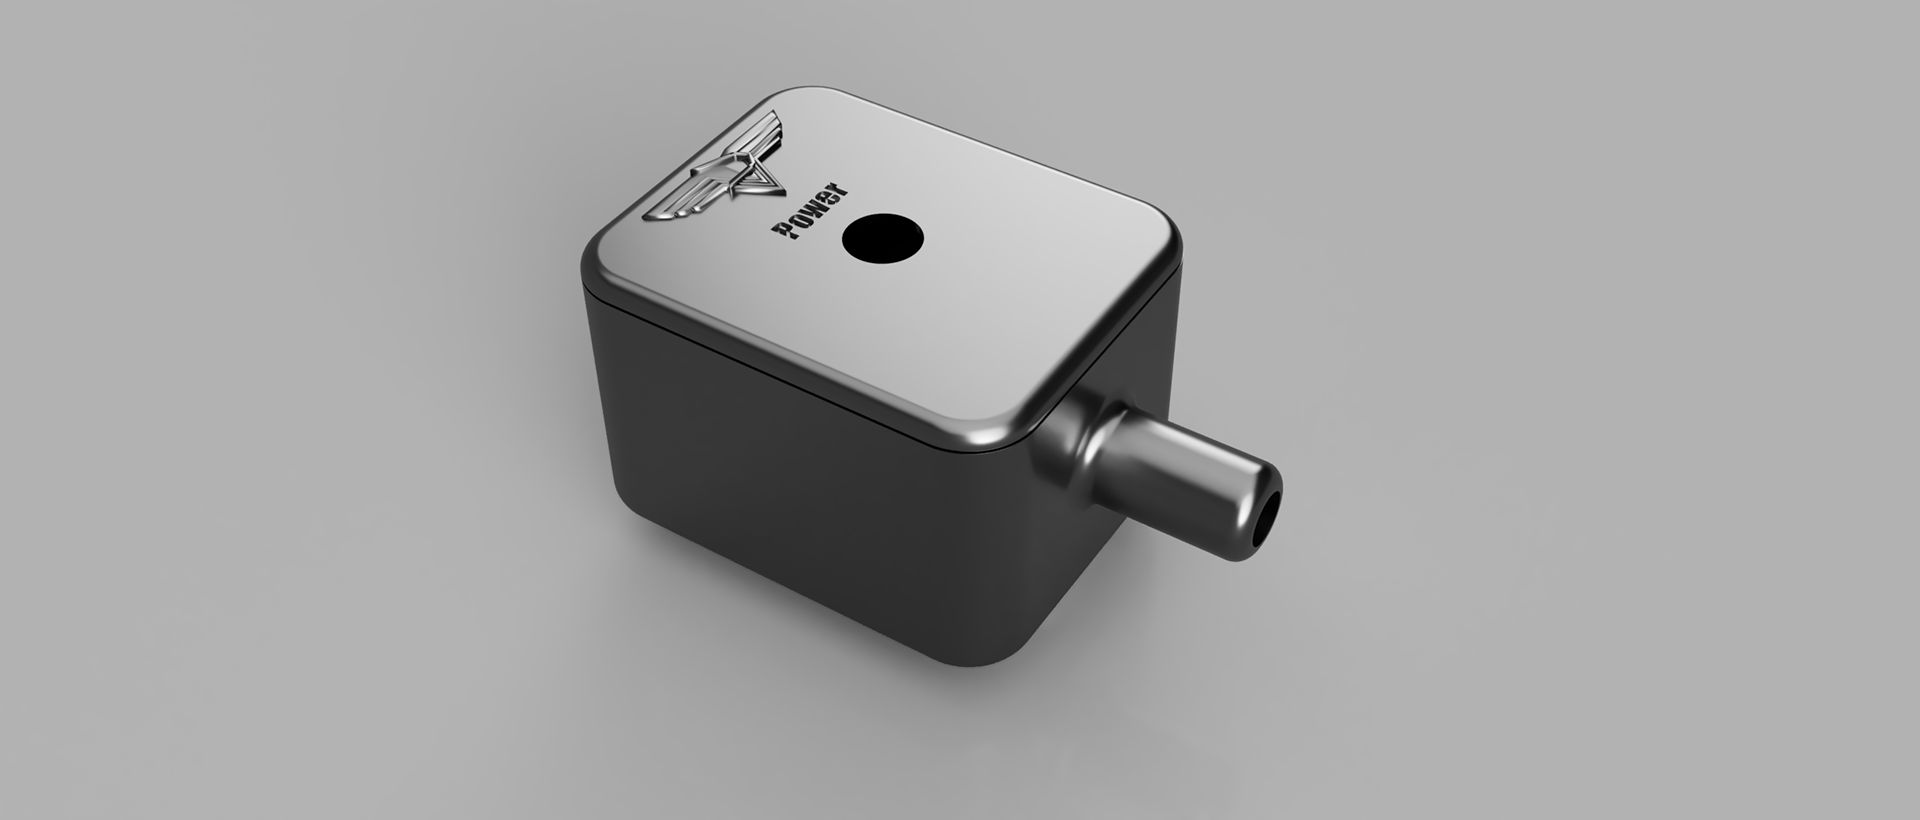
This was a project to make a base fixture for a work light for my band saw. It was created in Fusion 360 and was 3D Printed. The cover also includes my logo on the face.

Here is the base assembly. You can see the holes that was custom made for the parts that I used to make the lamp.
Lamp Base Assembly
Male Mounting Wedge and gooseneck base for flexible lamp head.

Back end with hole made for coex power plug for power supply.
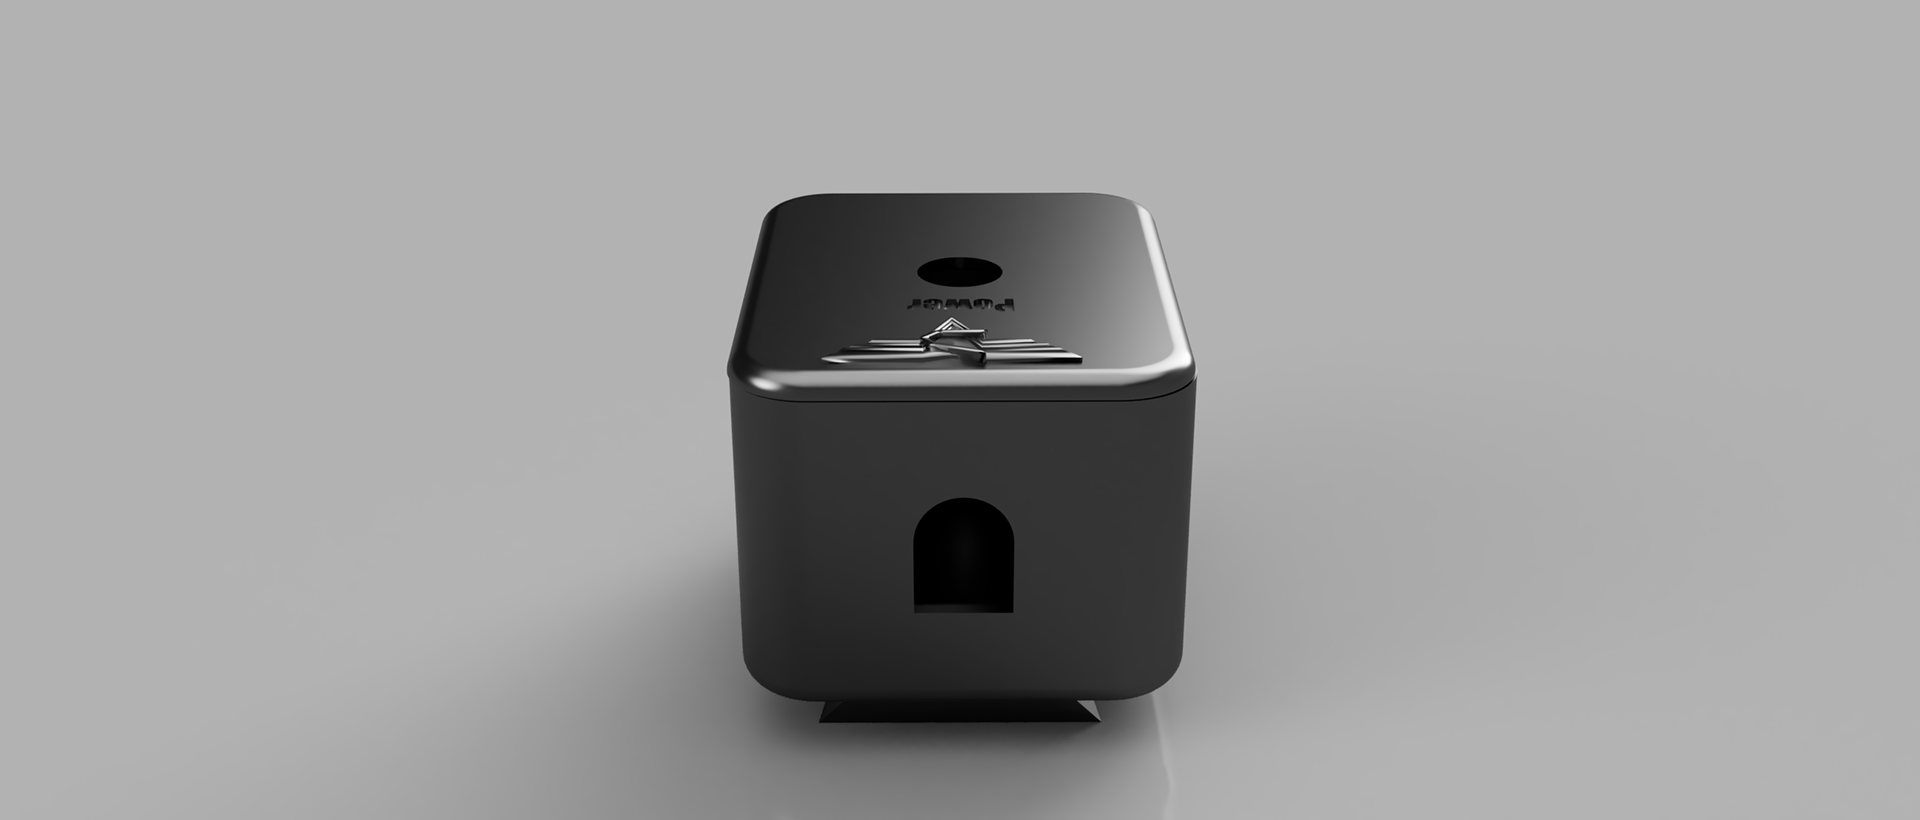
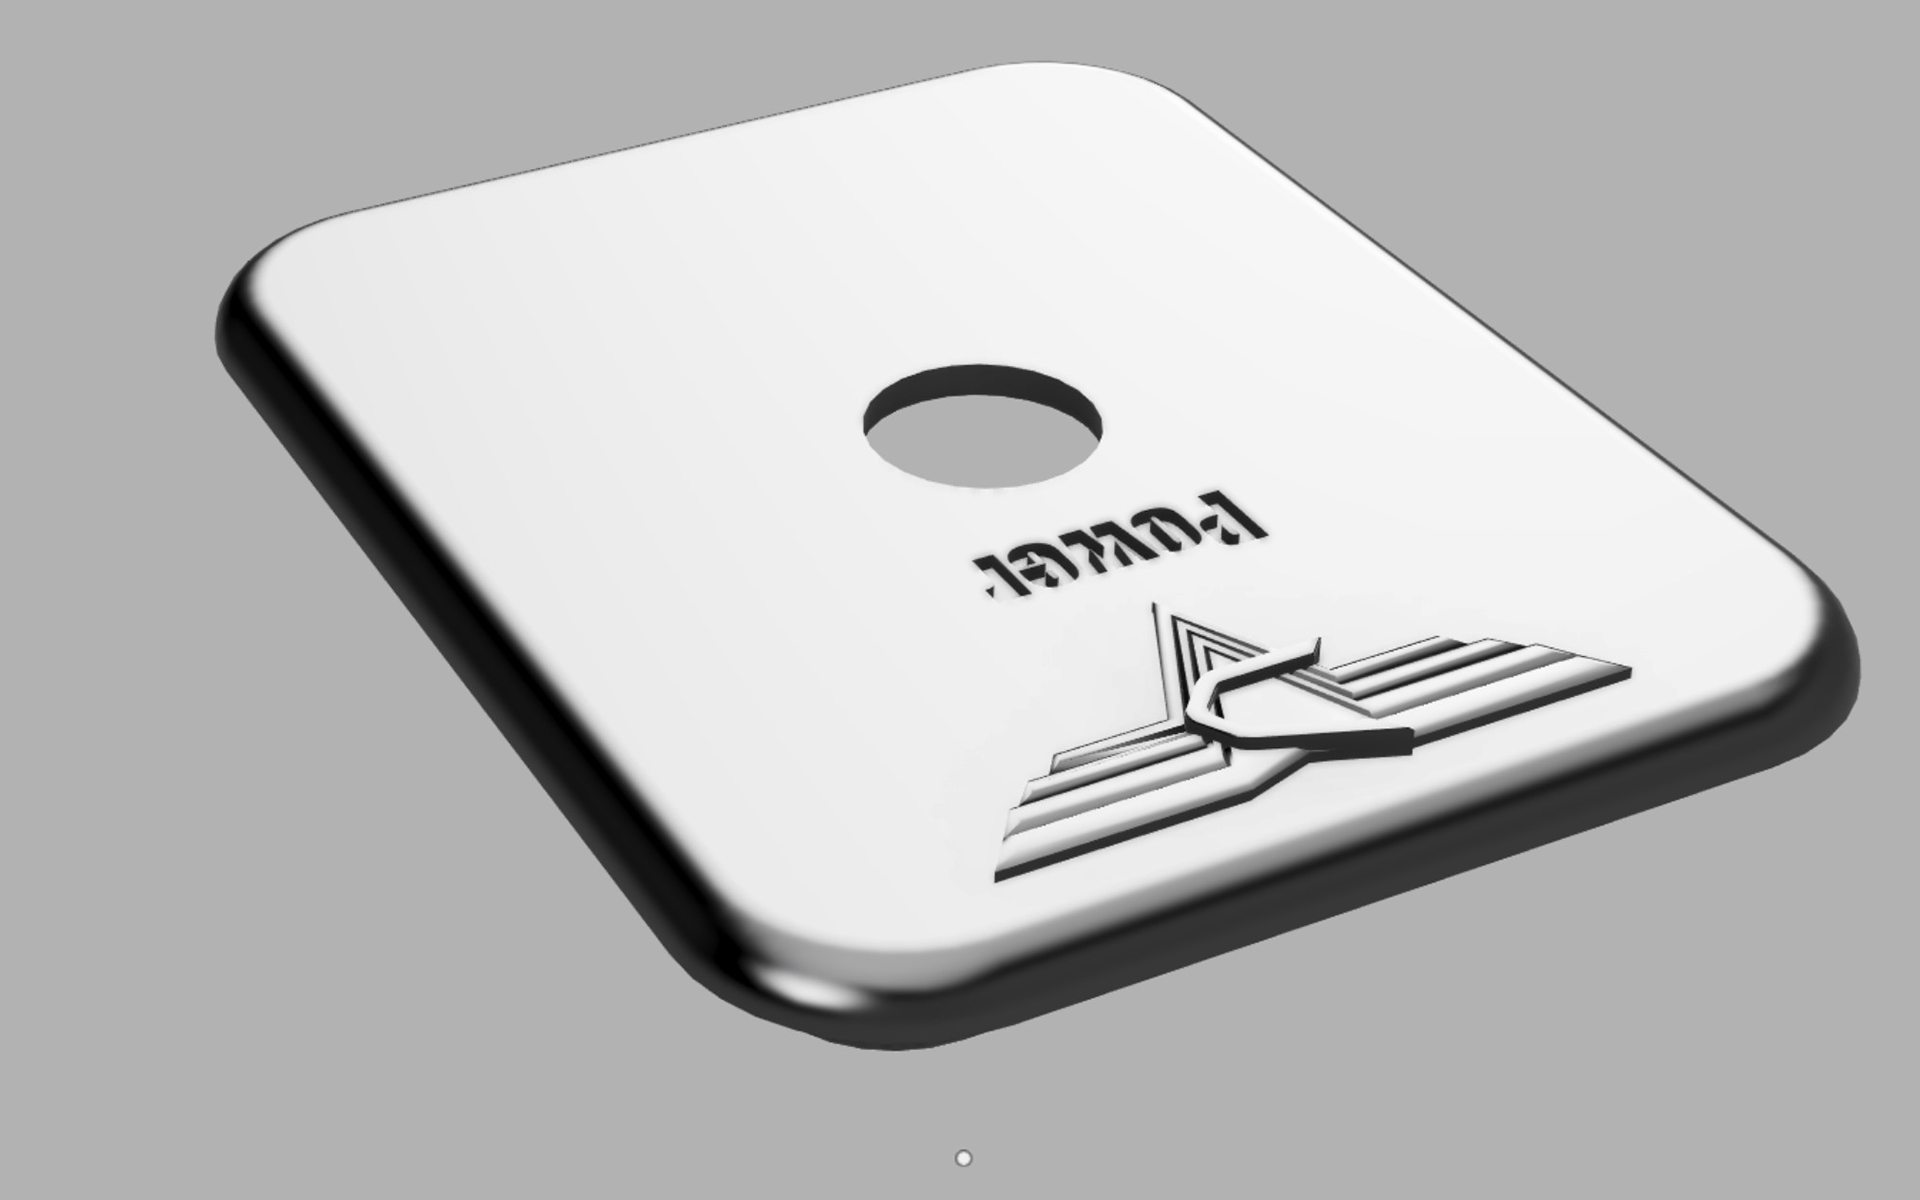
Base lid with switch hole
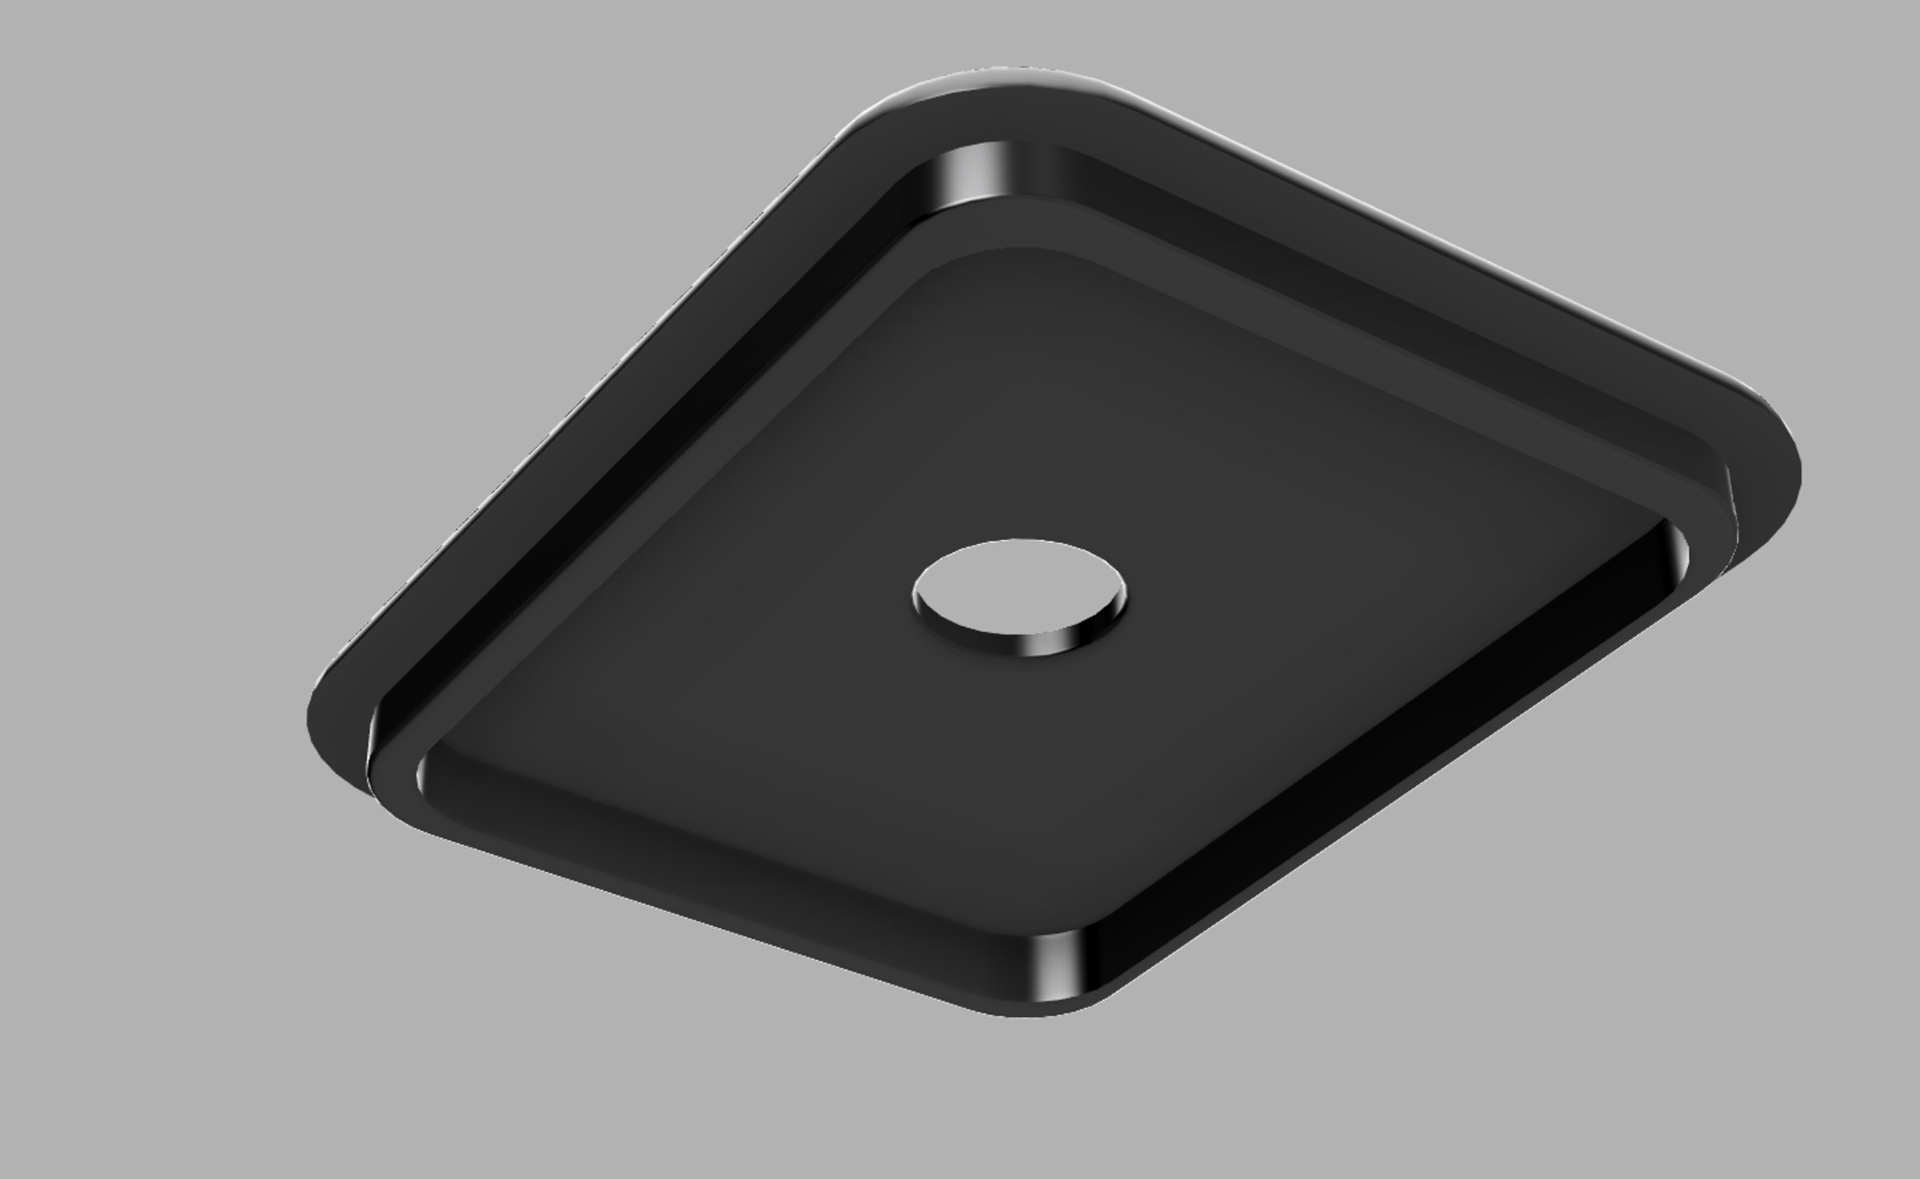
Underside of Lid with mounting lip.
Close up of logo detail
Video of lamp base in Fusion 360
Test Case for Mounting base.
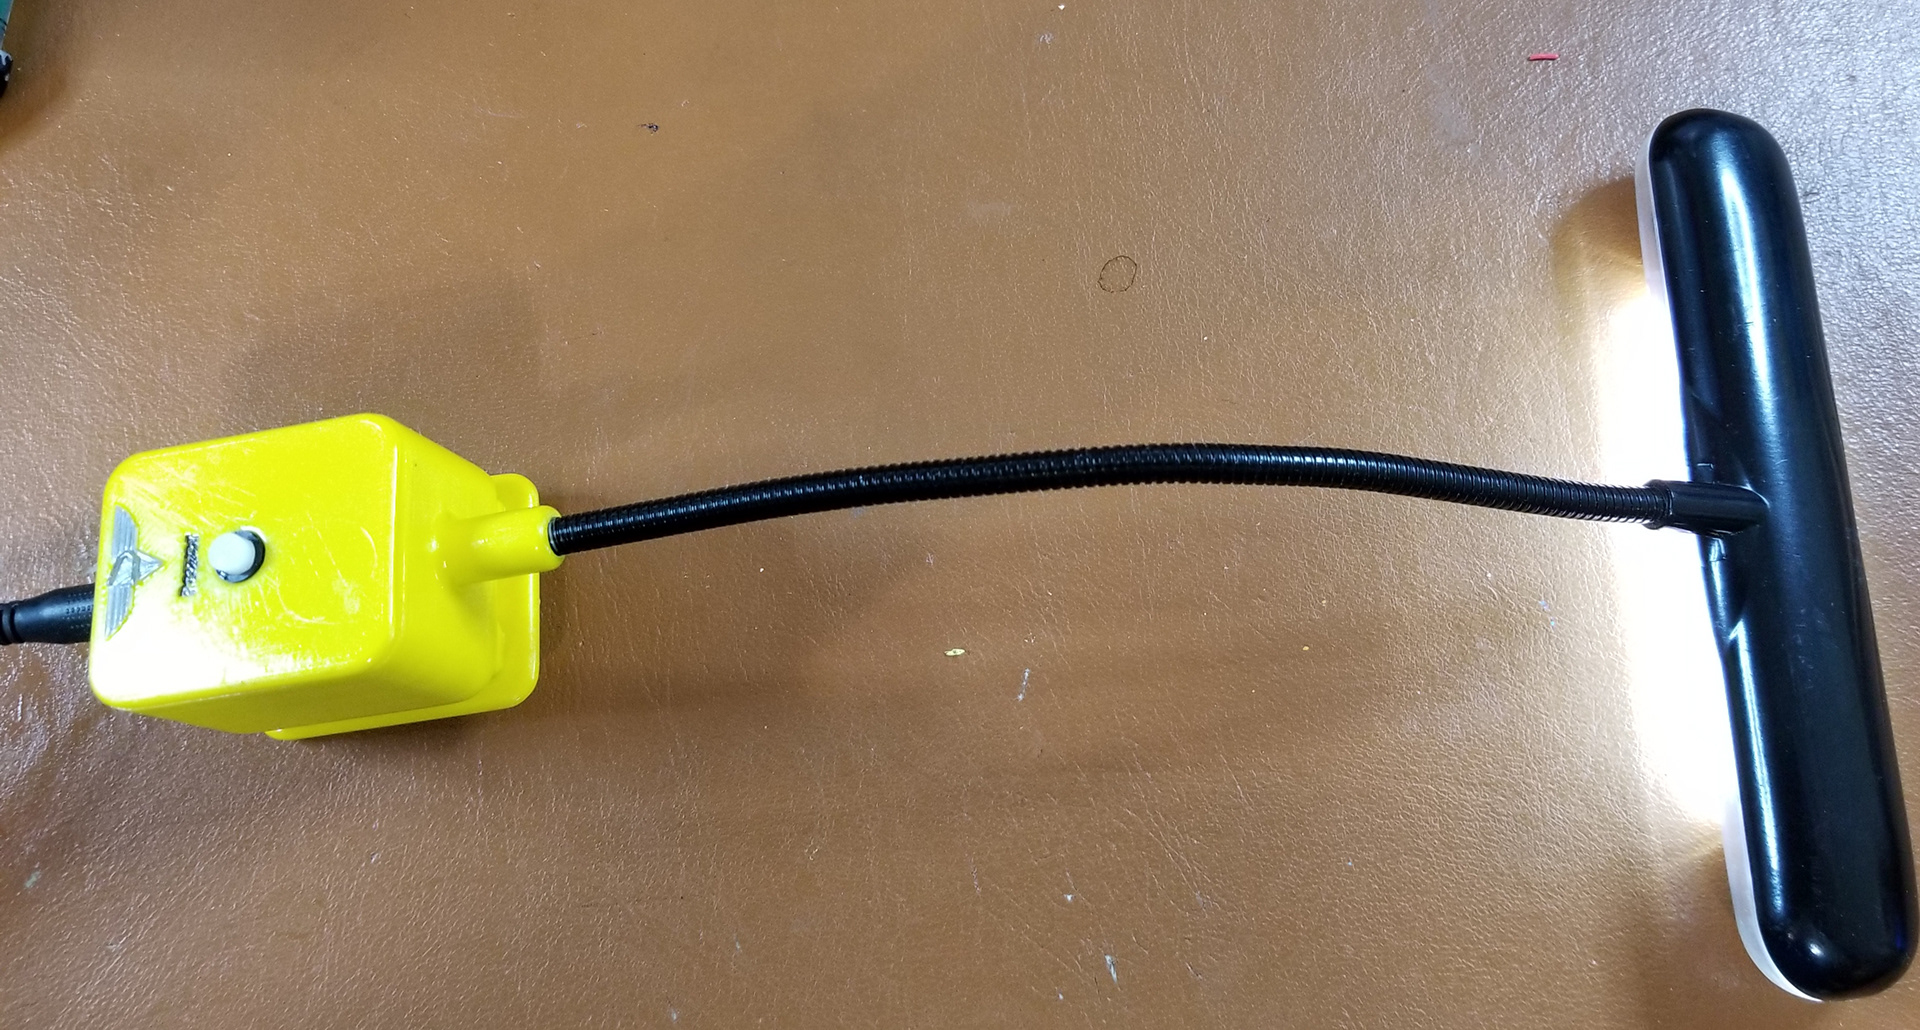
Completed and working lamp fixture.
Now To the
3D Character Shop!
3D Character Shop!
This A photo assay on the 3D Printing proses that I have used in the past.
See My process of 3D Printing and painting Star Butterfly.
See My process of 3D Printing and painting Star Butterfly.
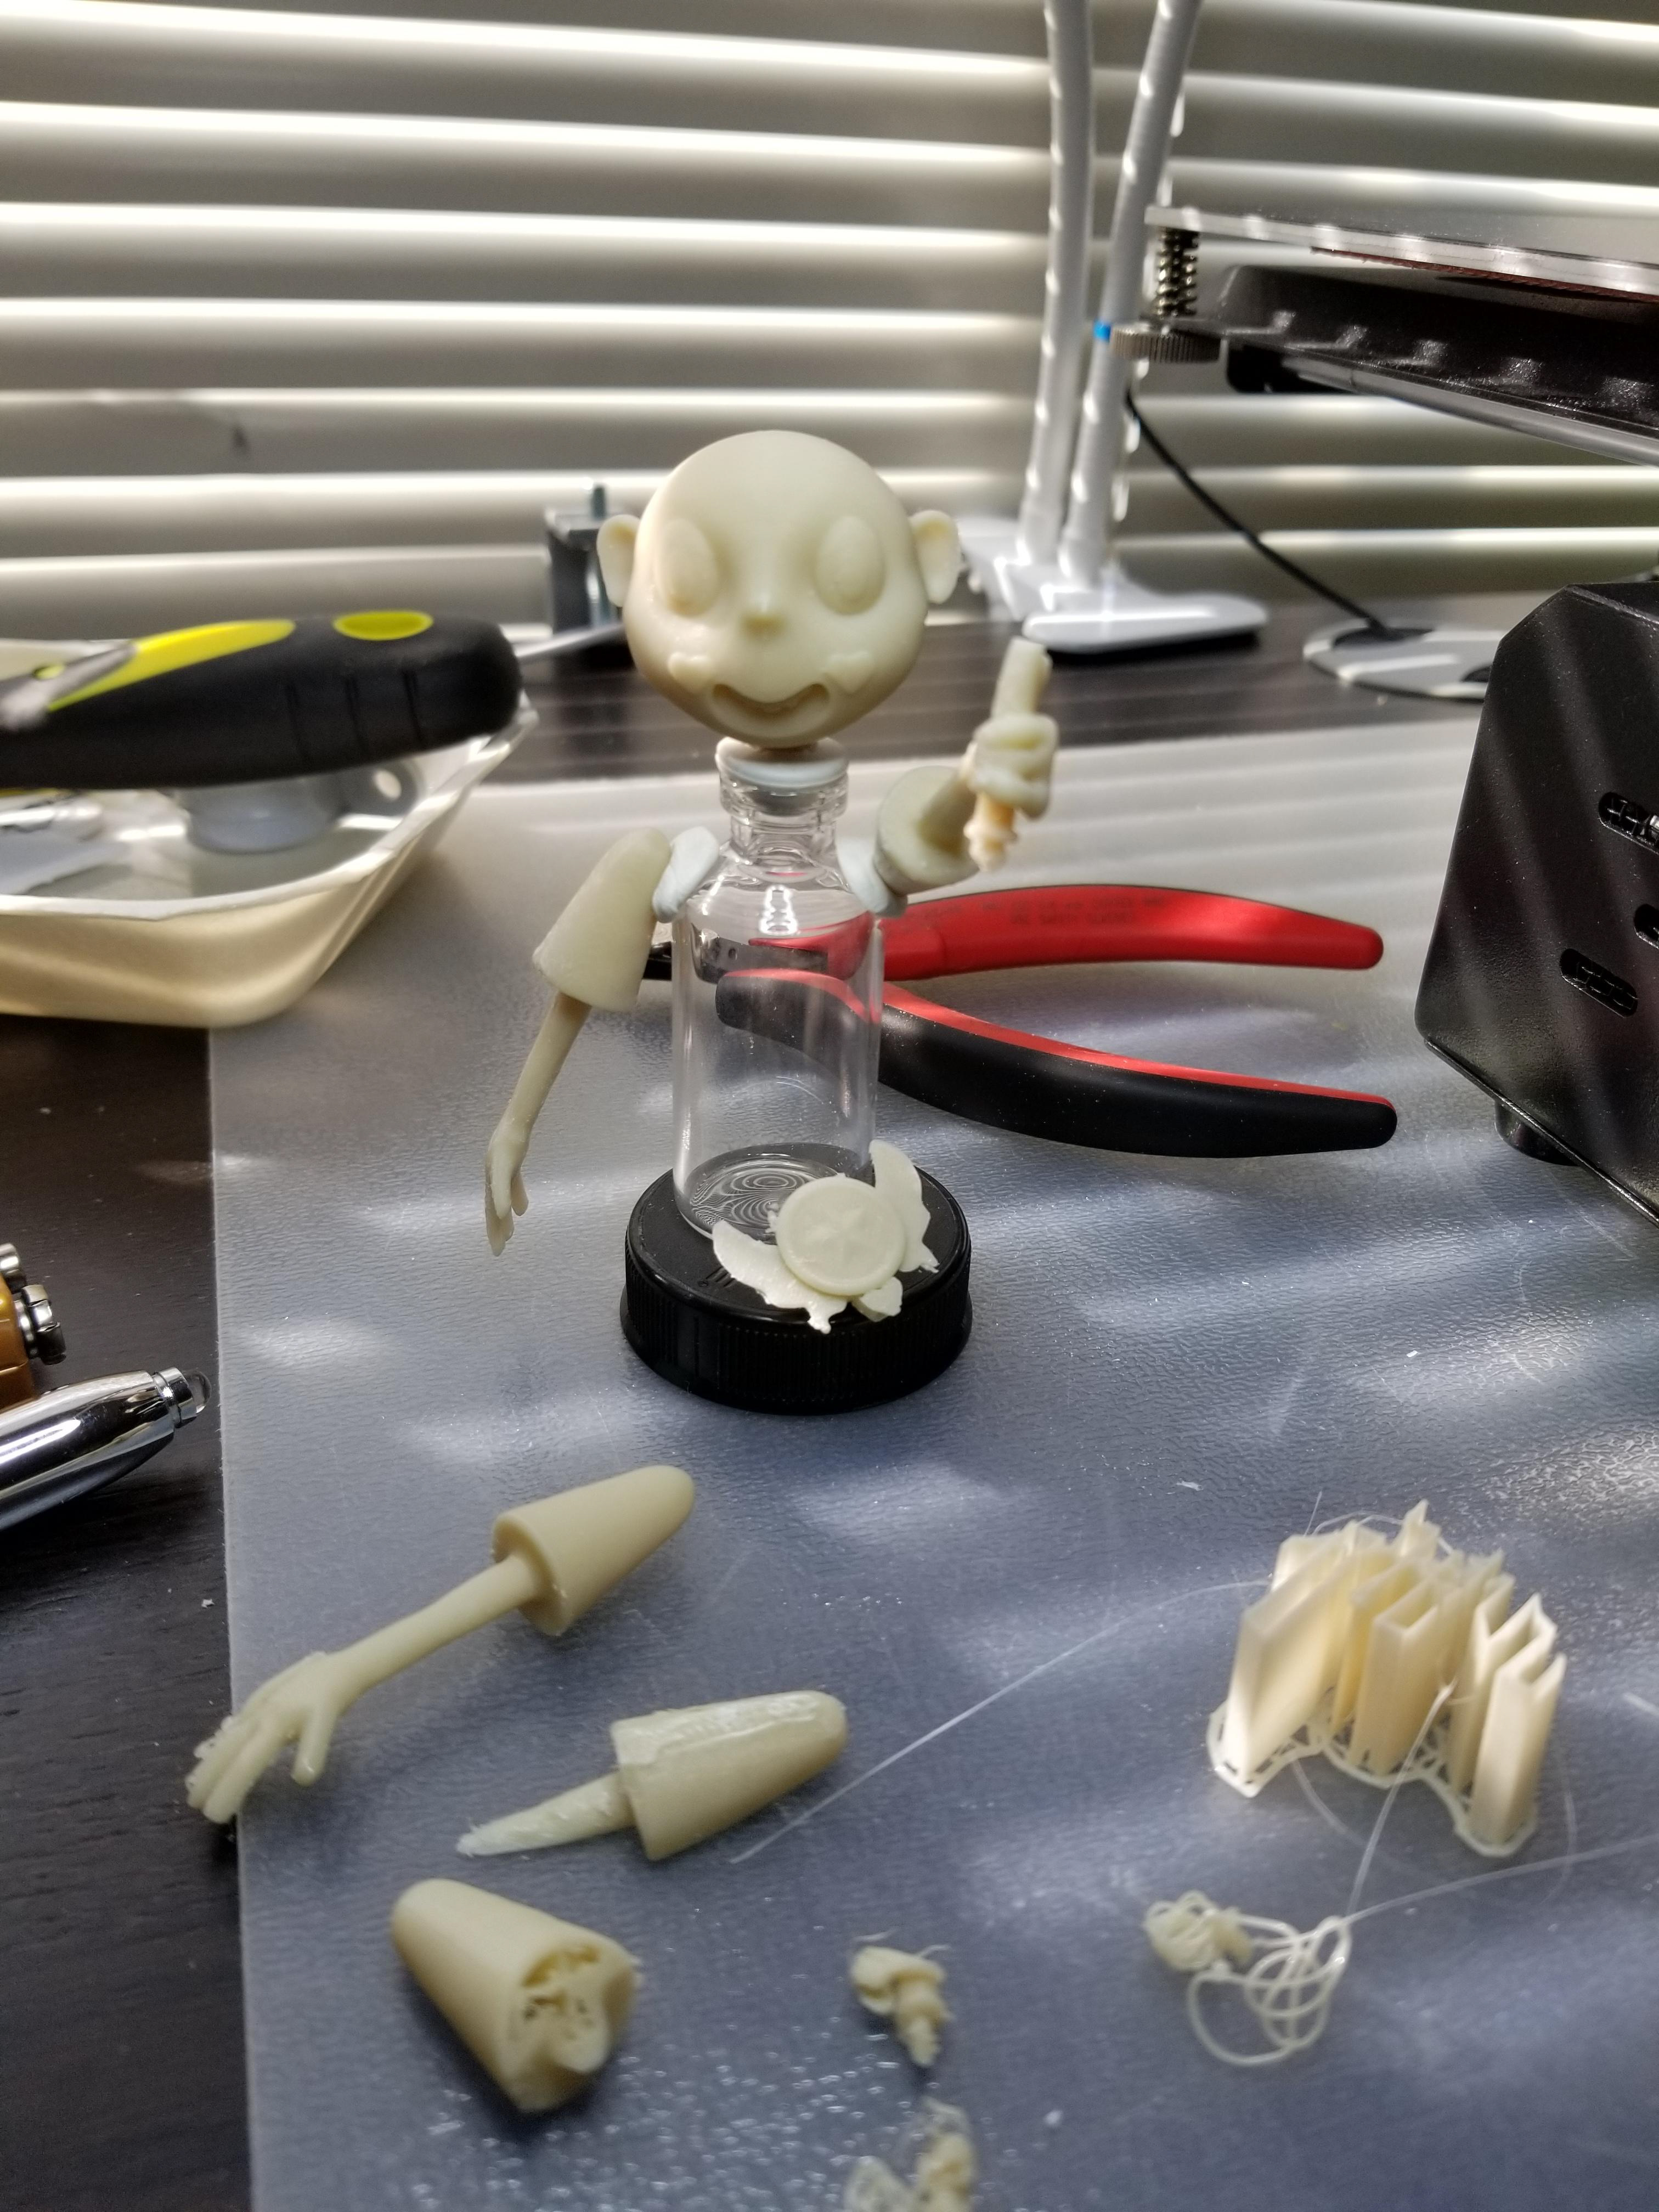
Let start by making some of the parts. As you can see, not everything works out in the first try!
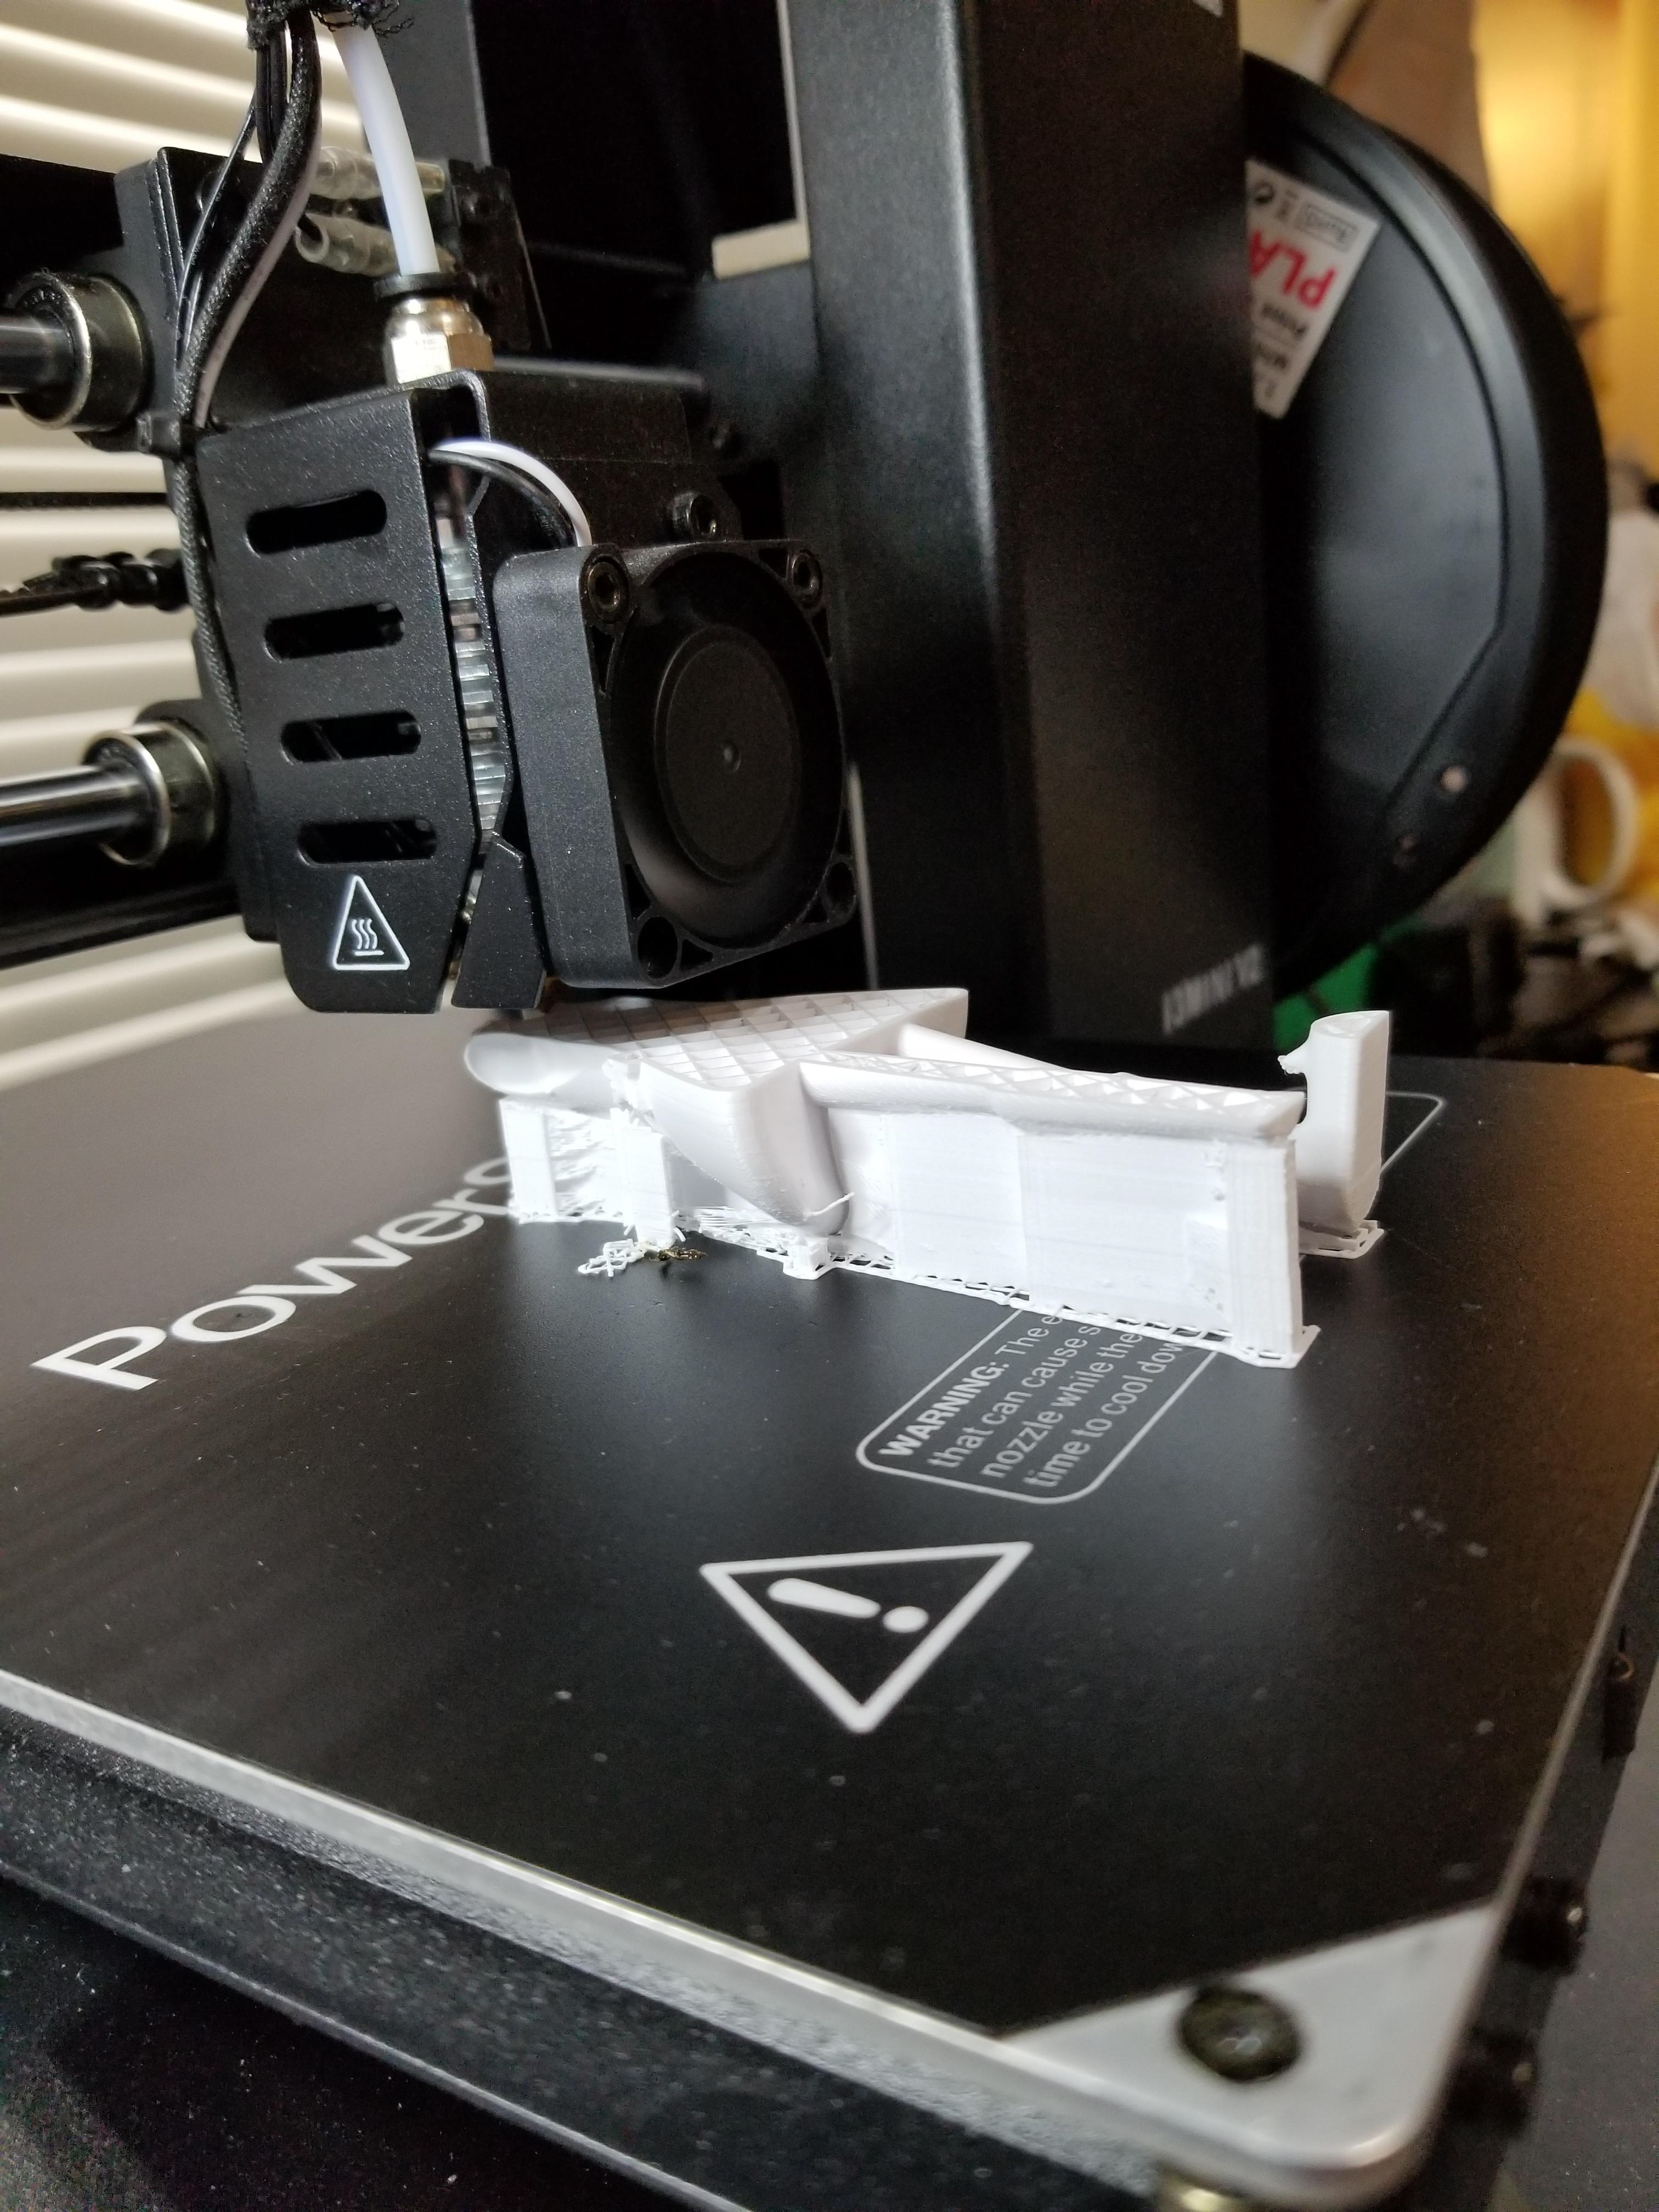
Here is my 3D Printer hard at work.
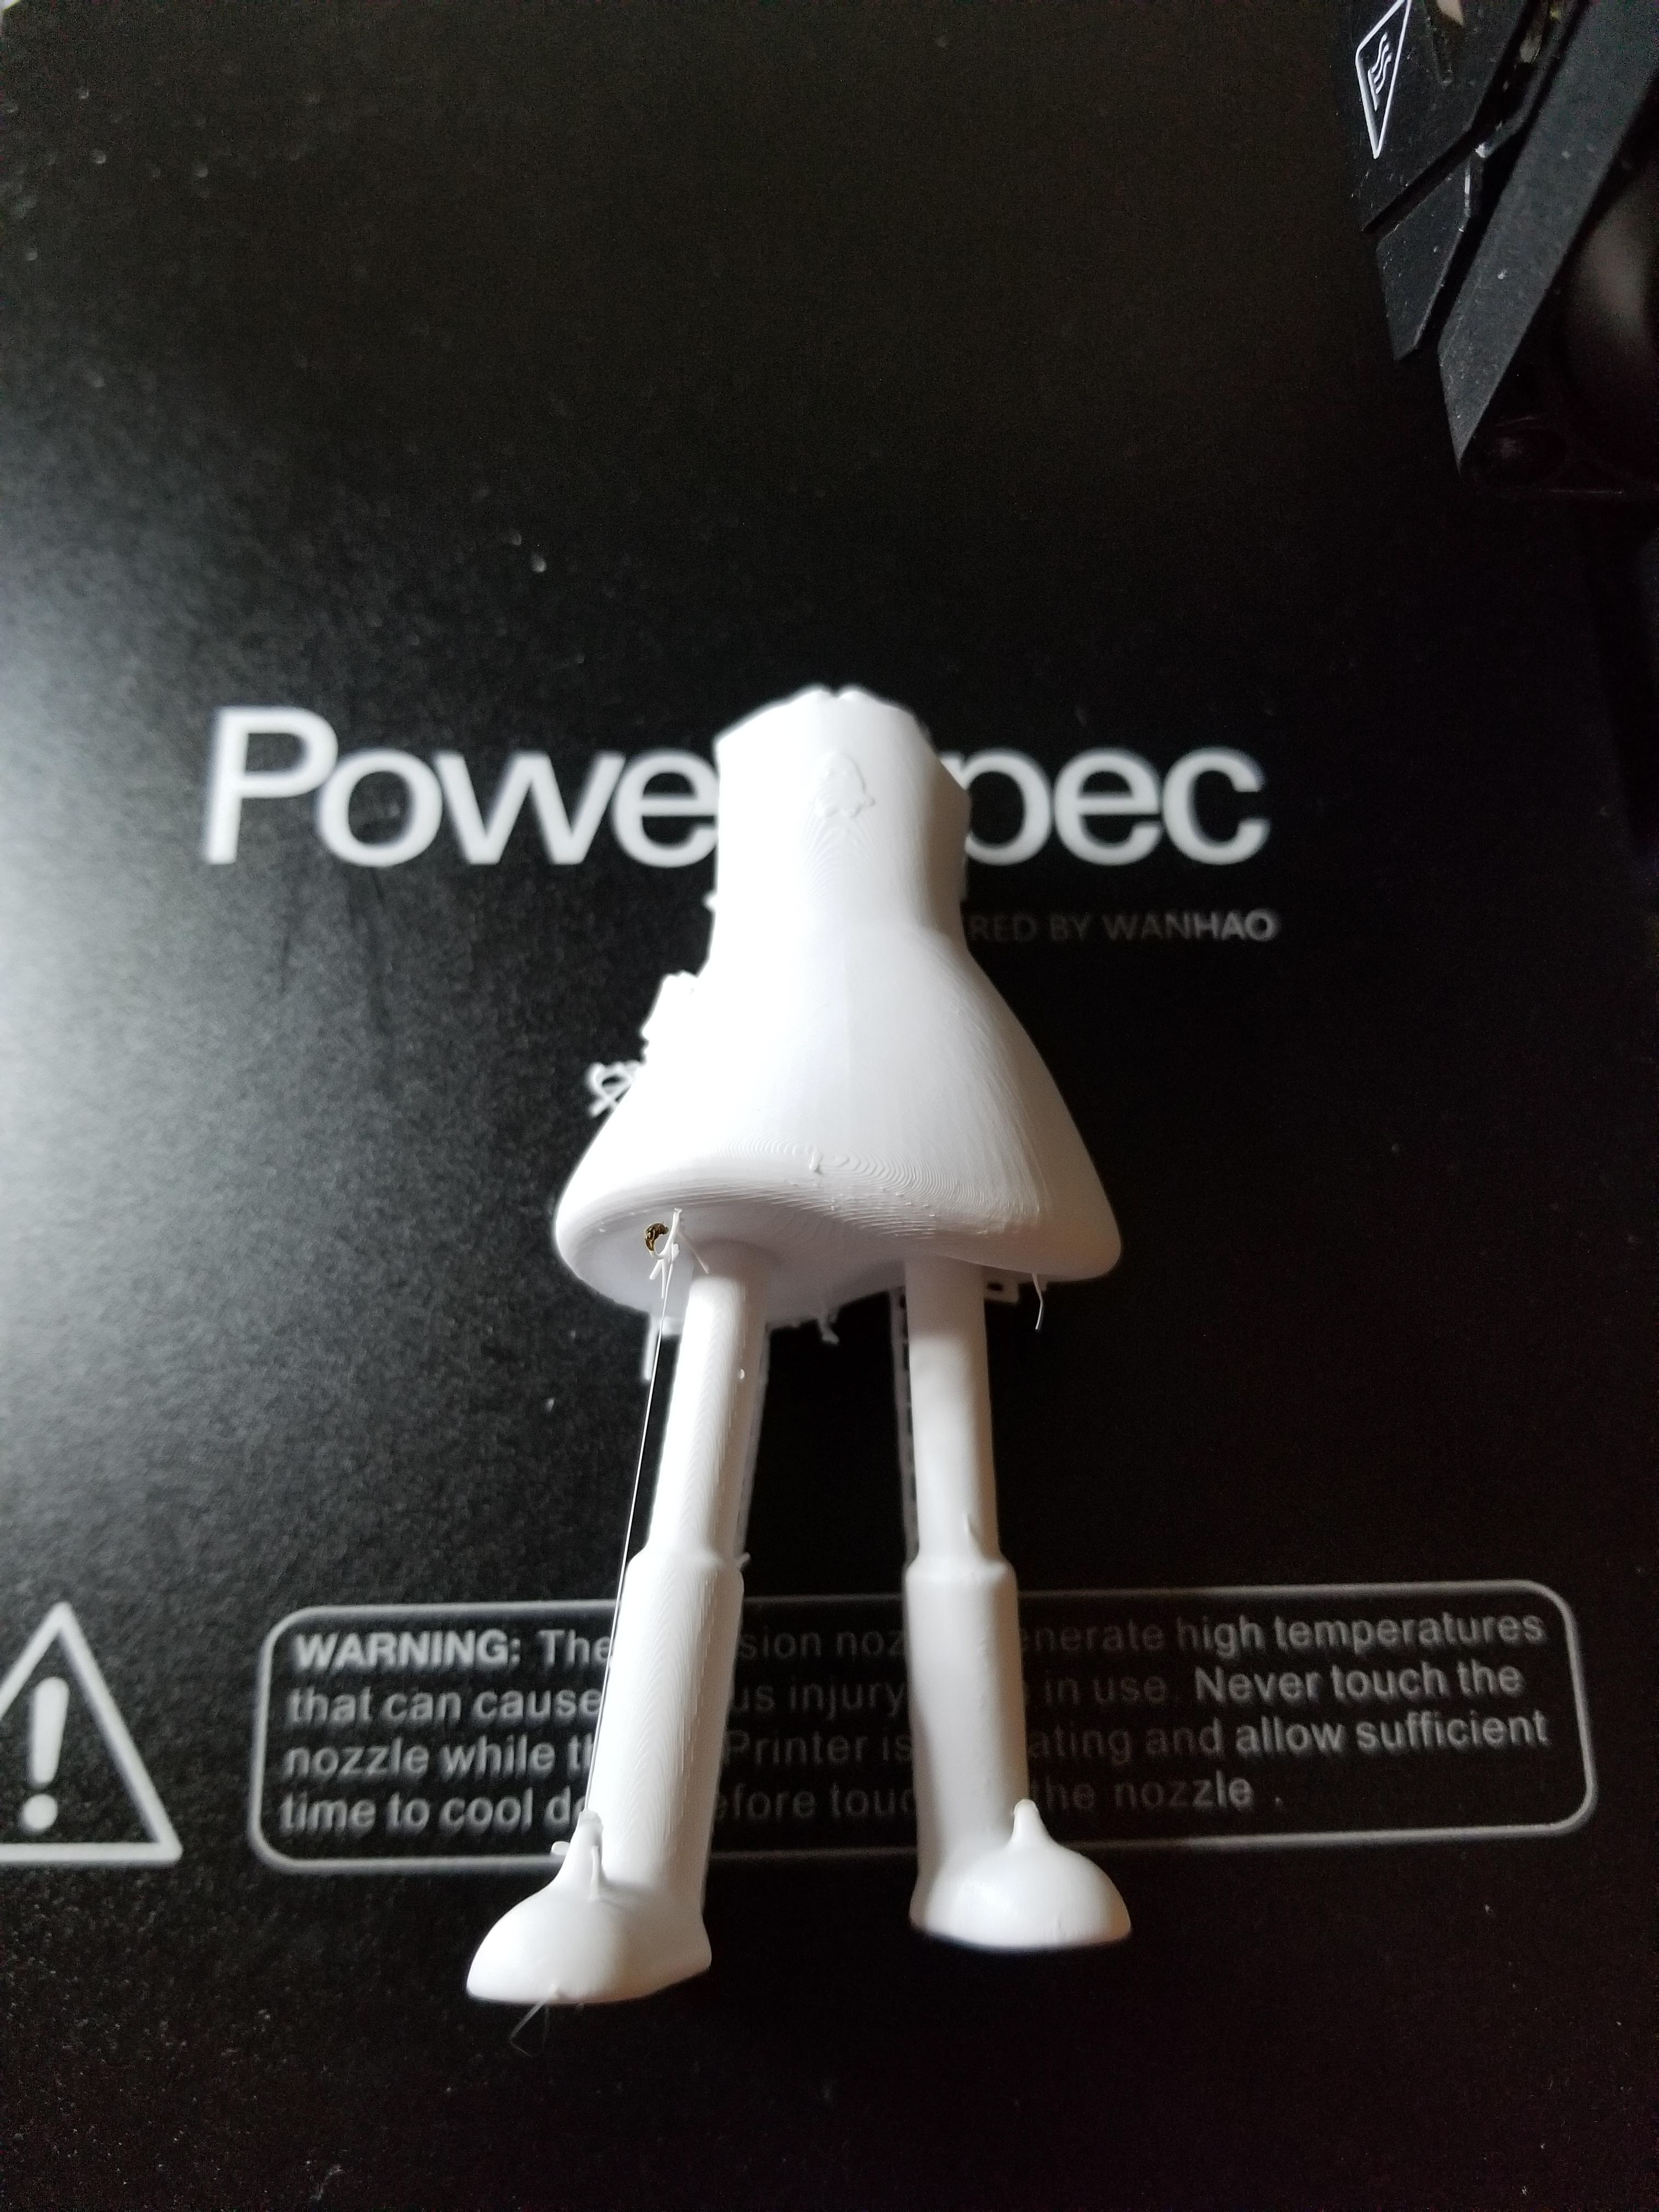
The body and the legs are finished

There is much wase to be removed
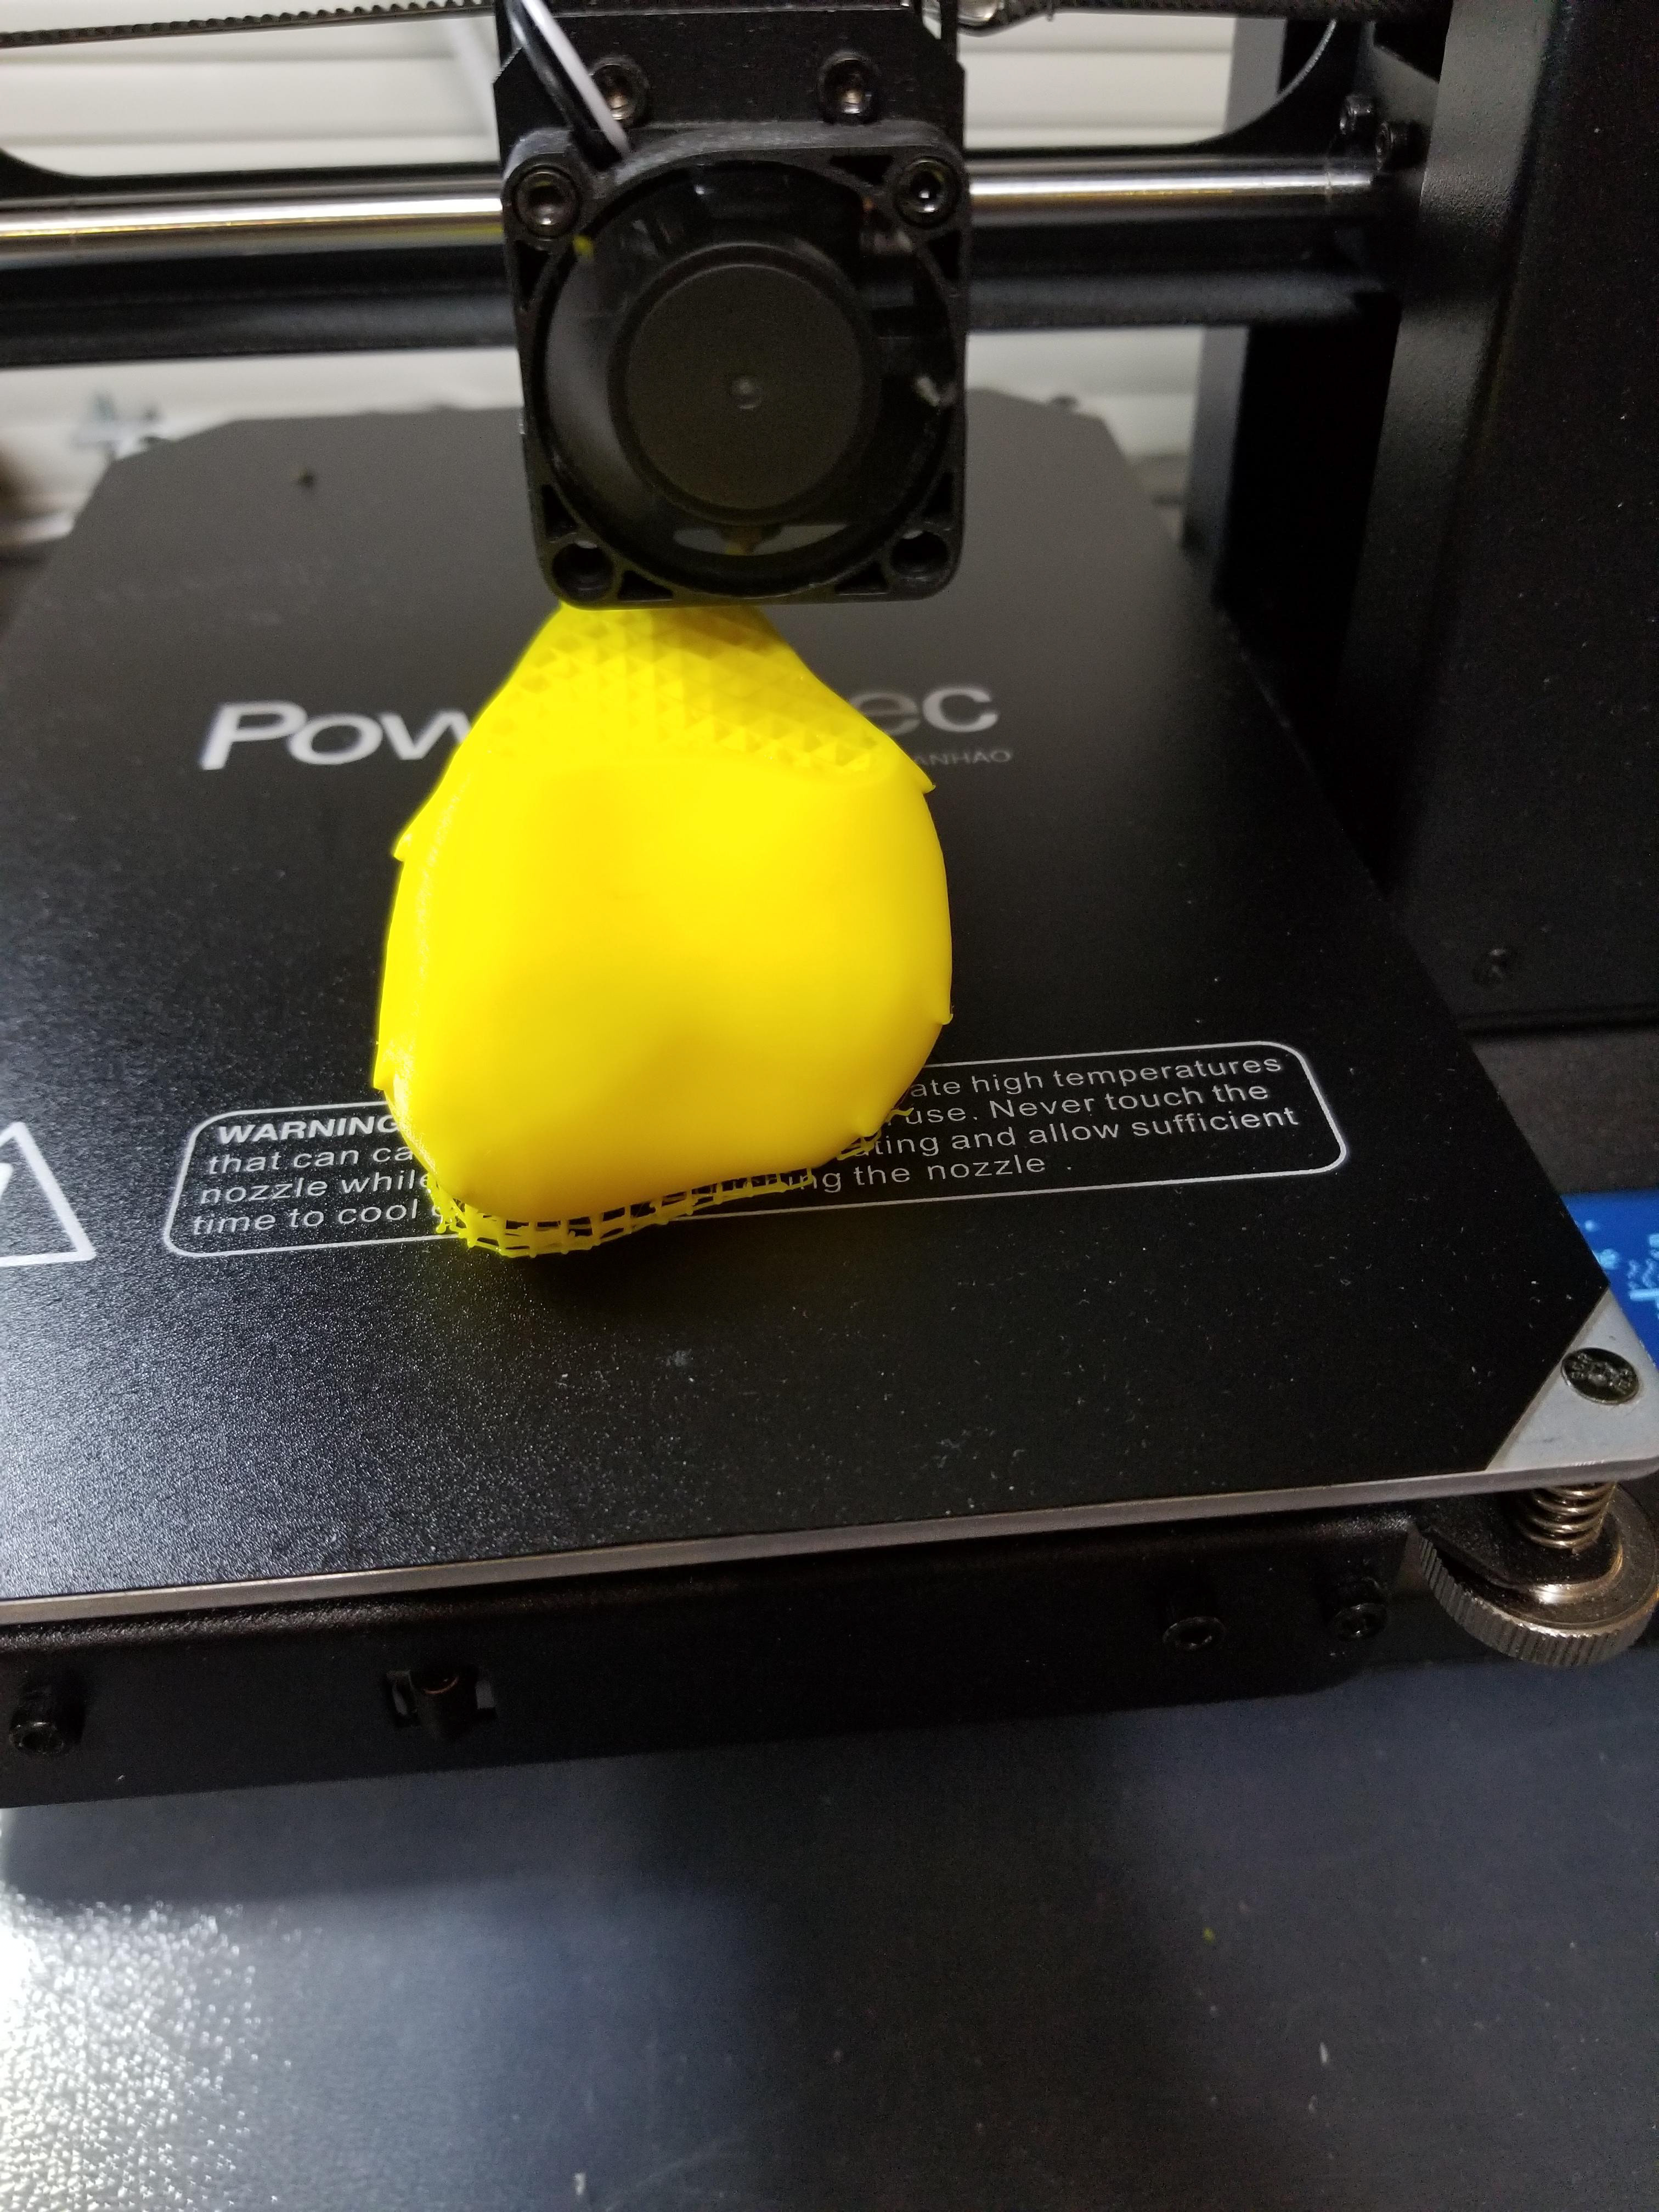
Time to print our character's hair
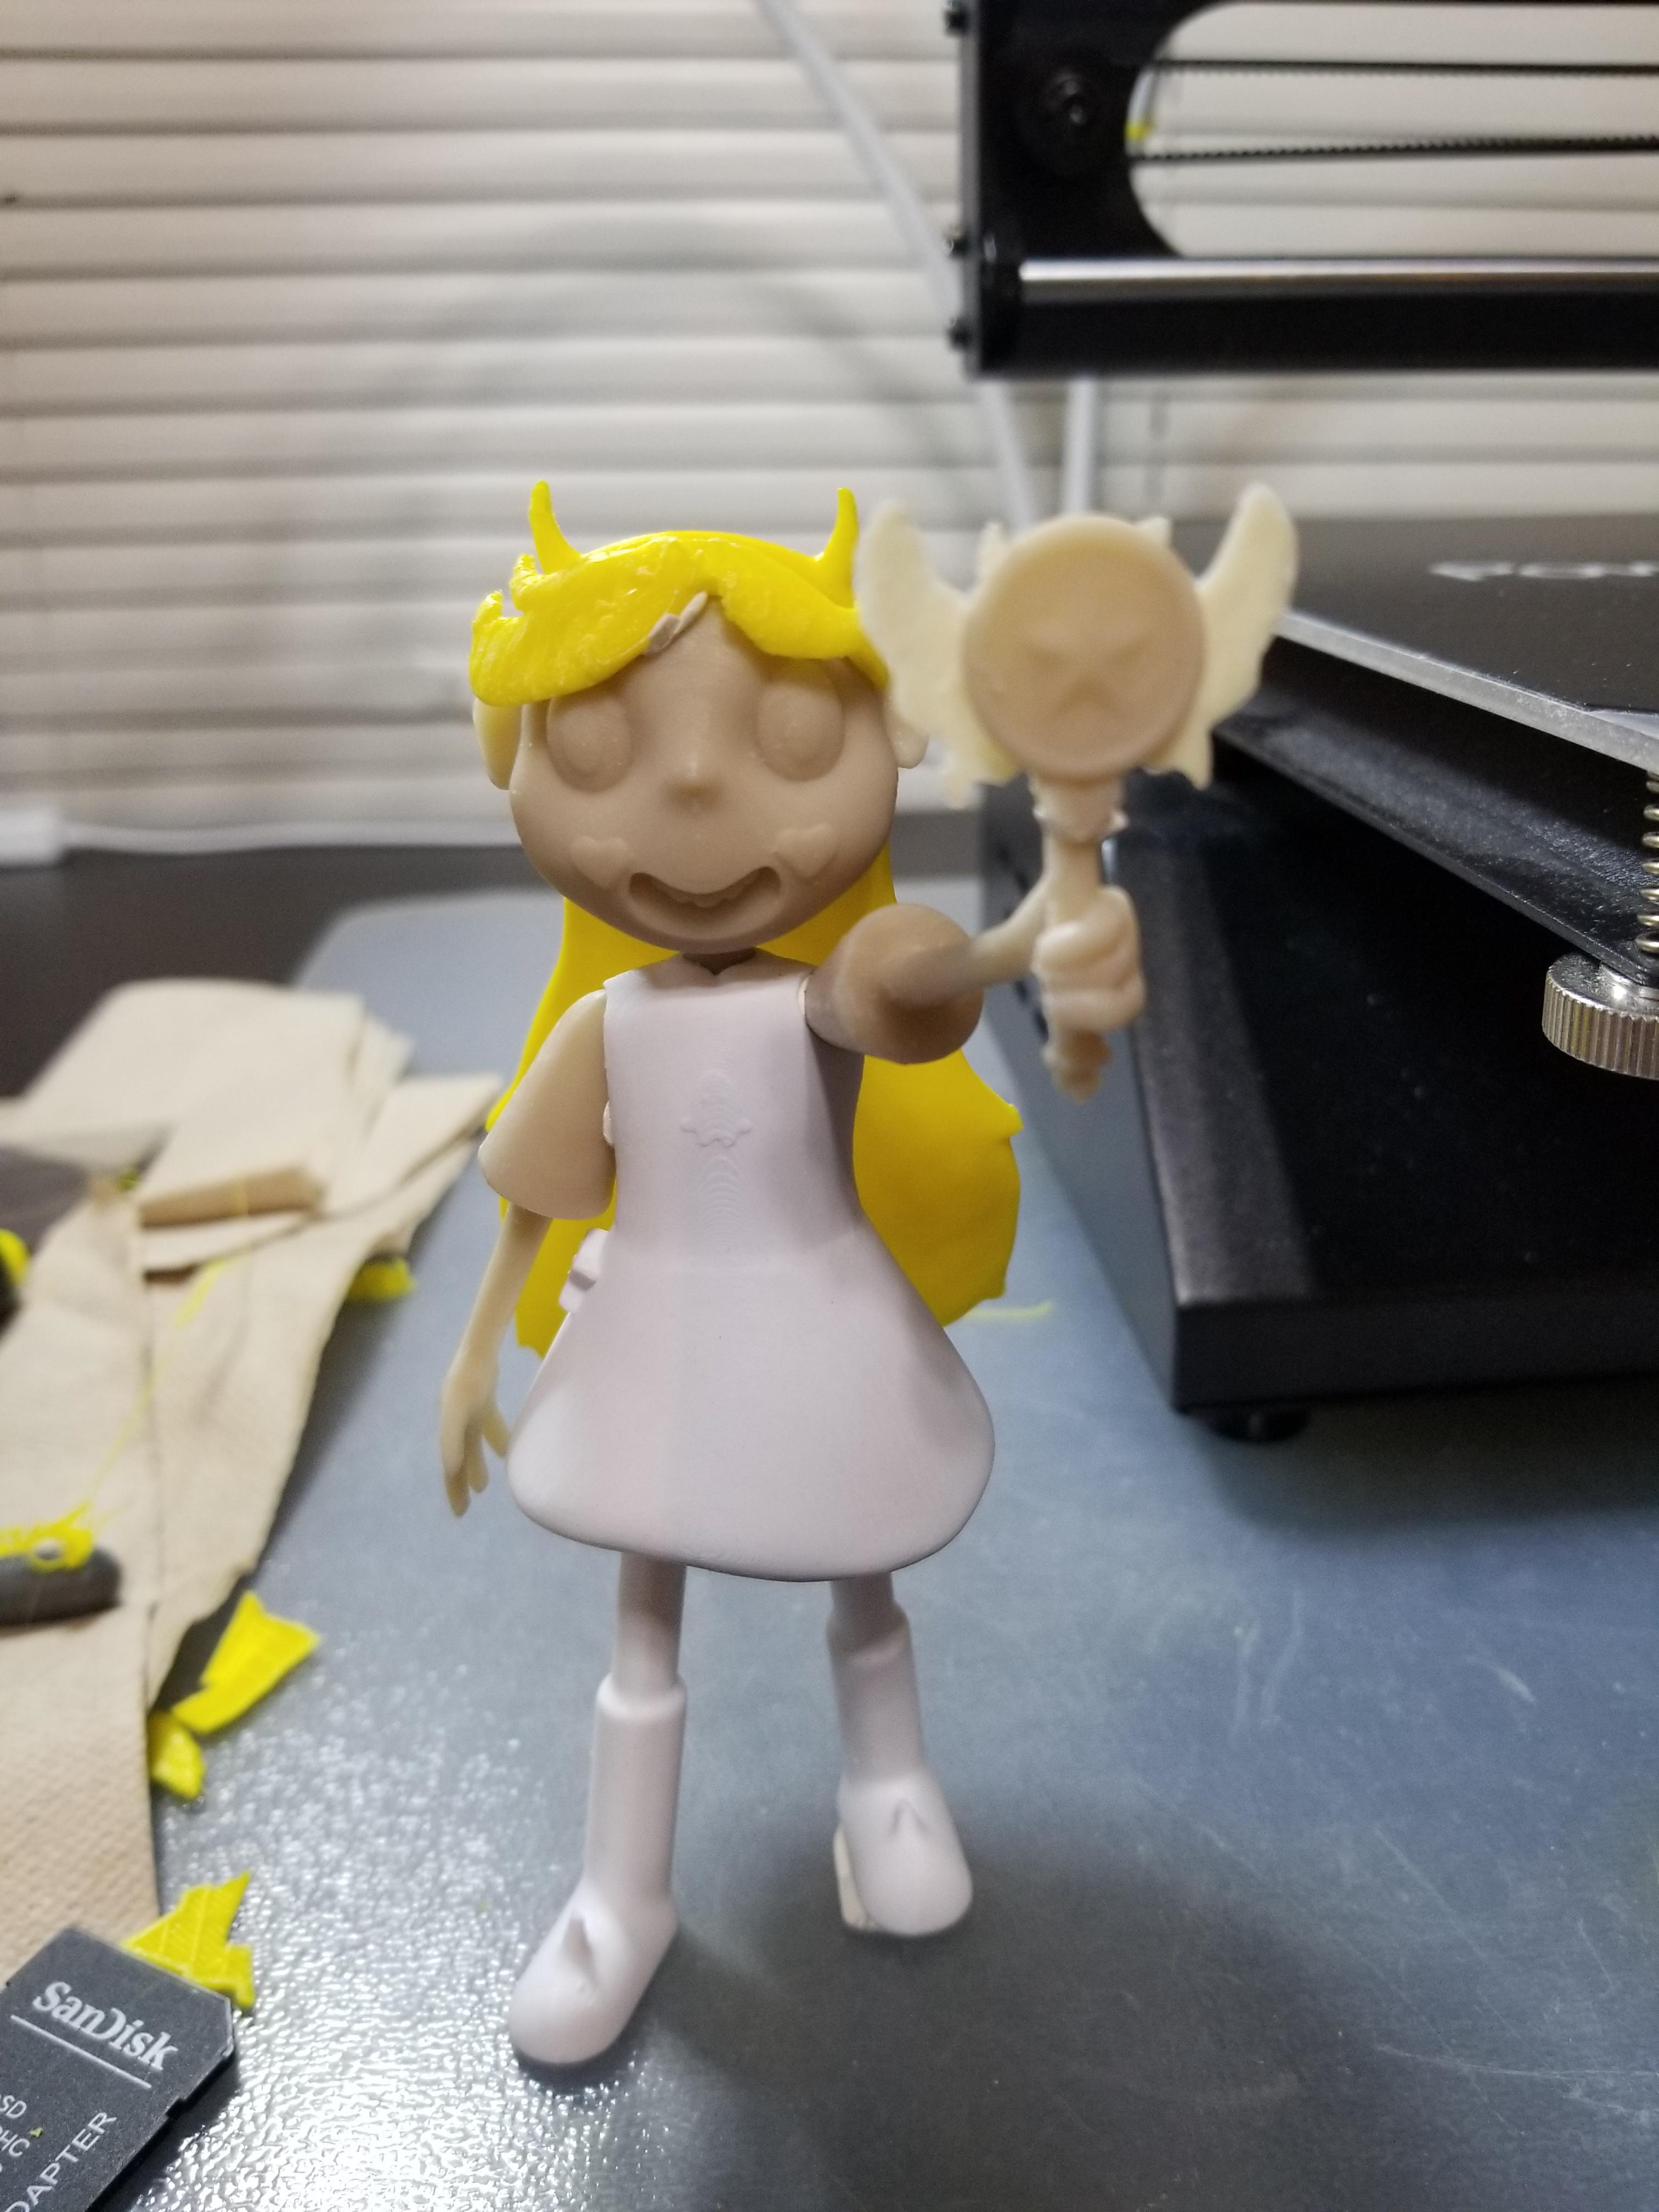
Now the 3D Printing is complete. There is sanding and painting.
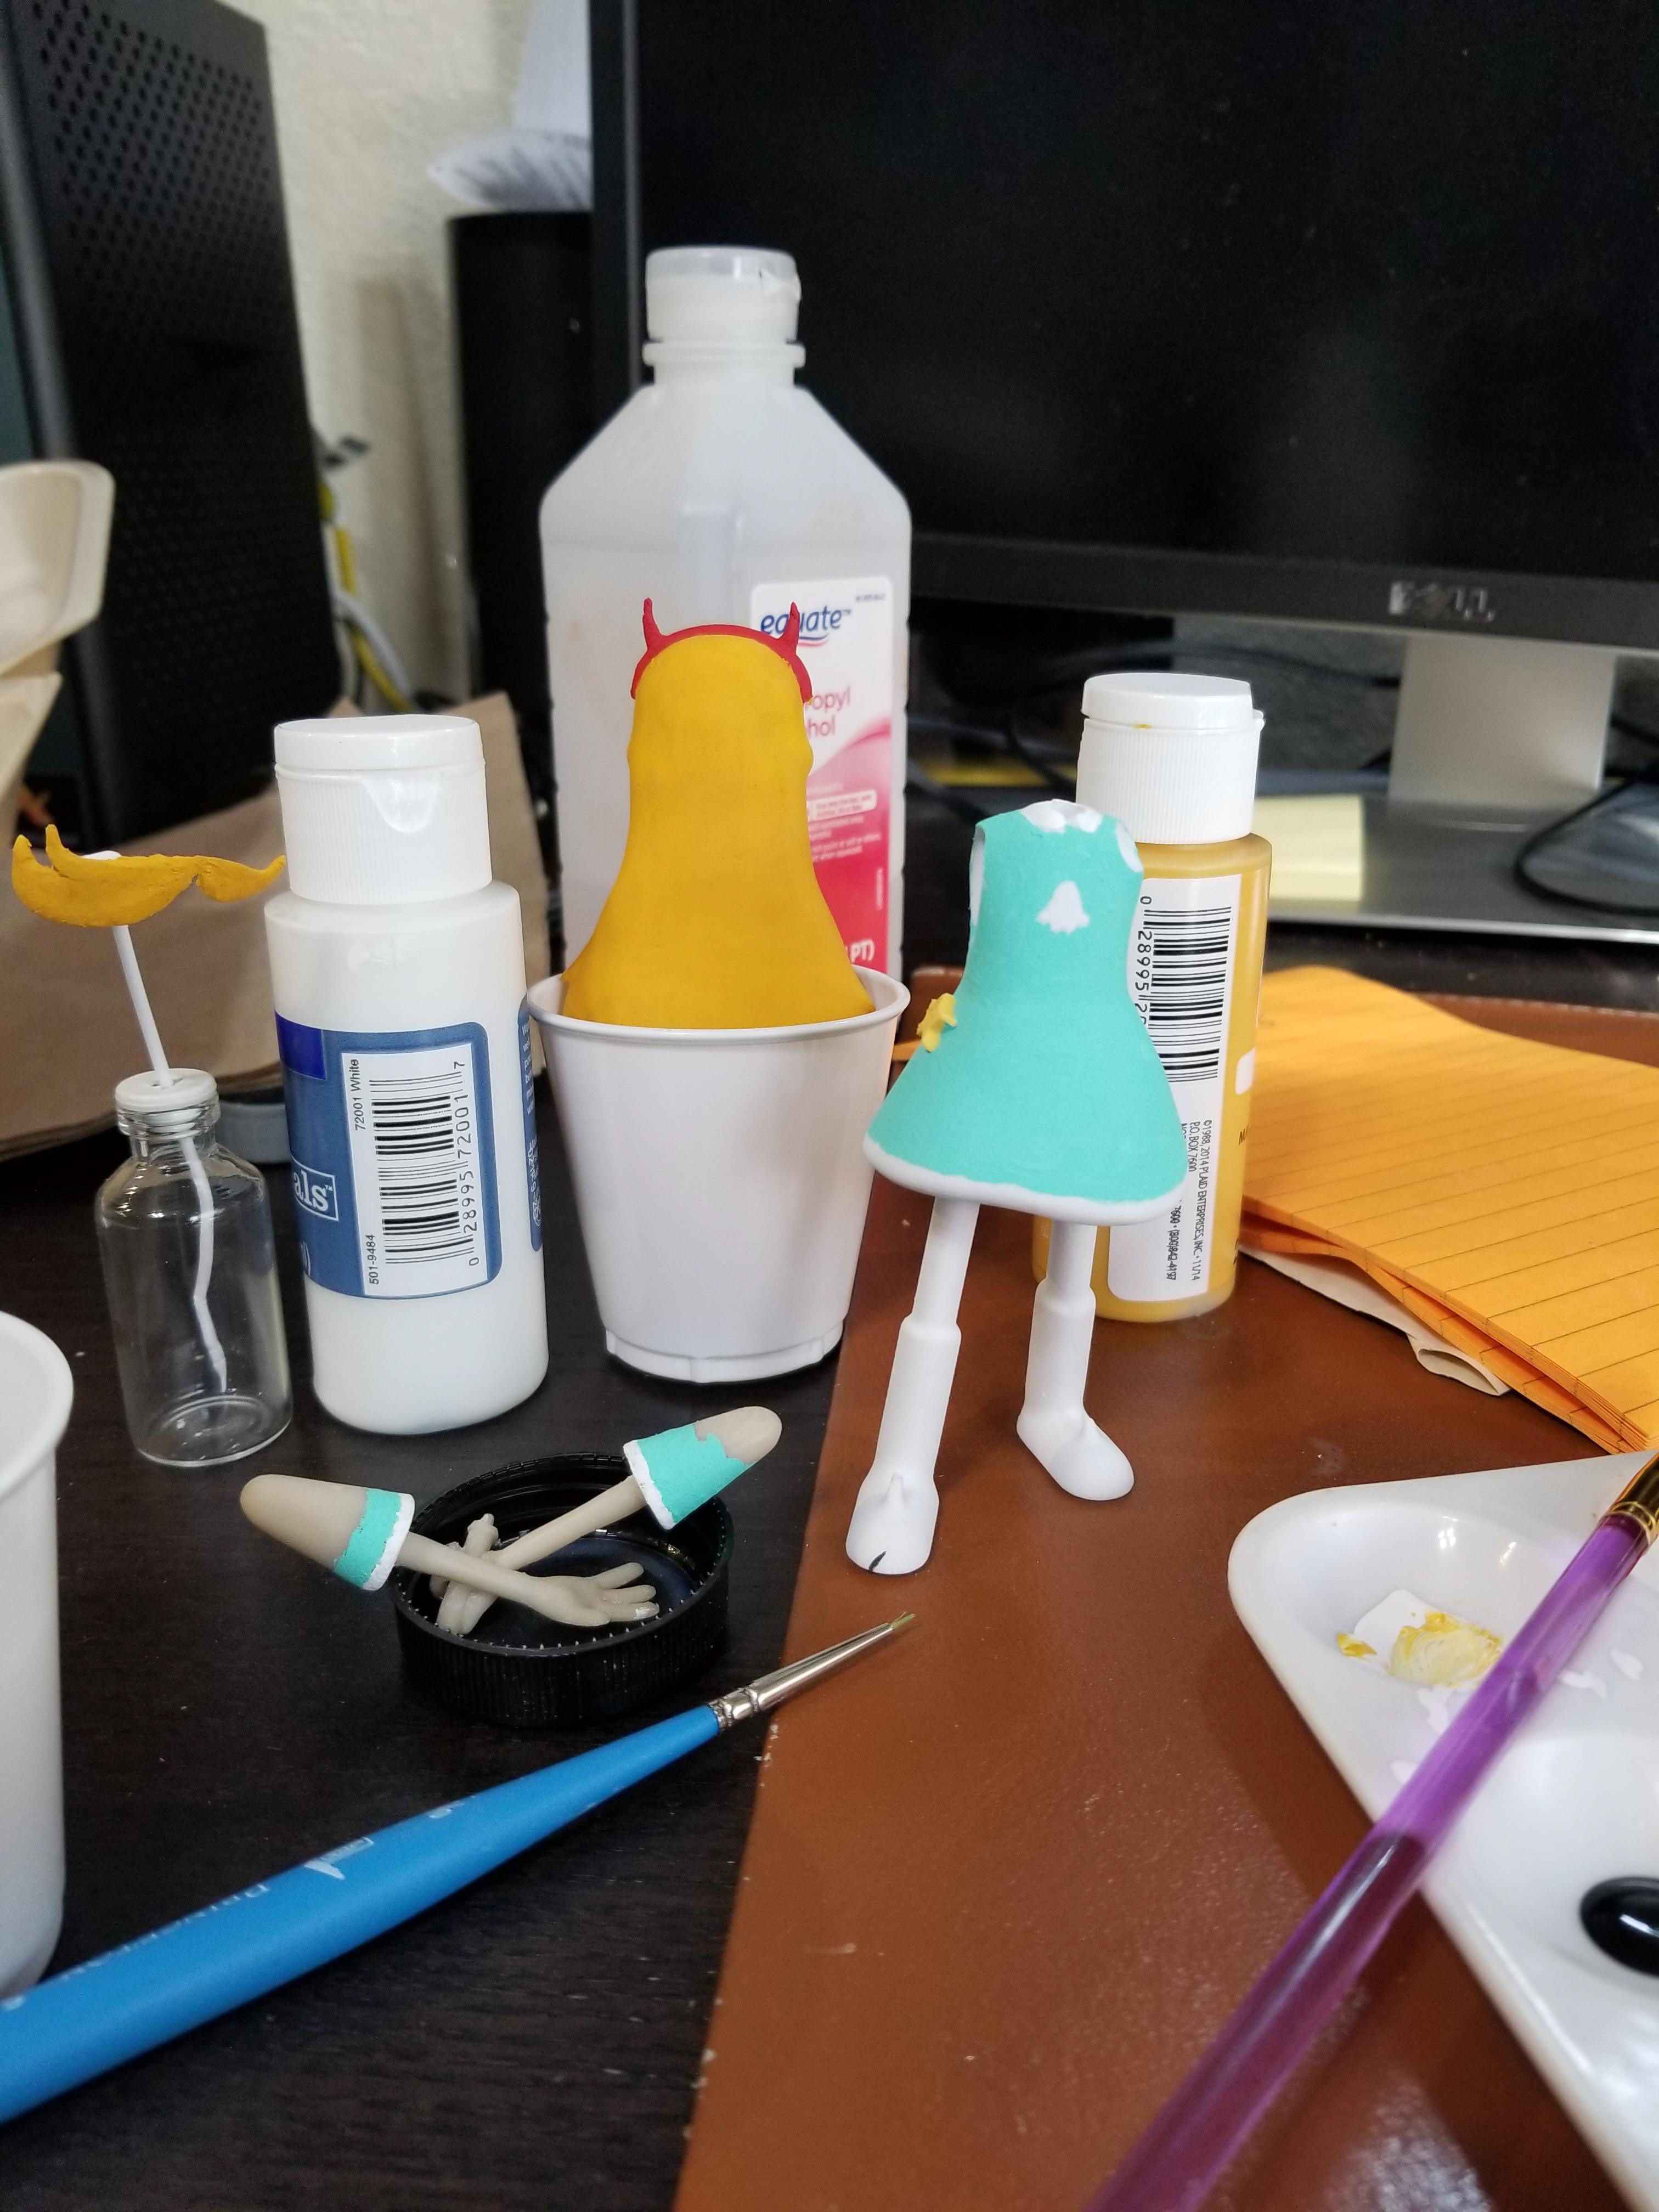
Painting is the hard part with the requirement of using creative supports.
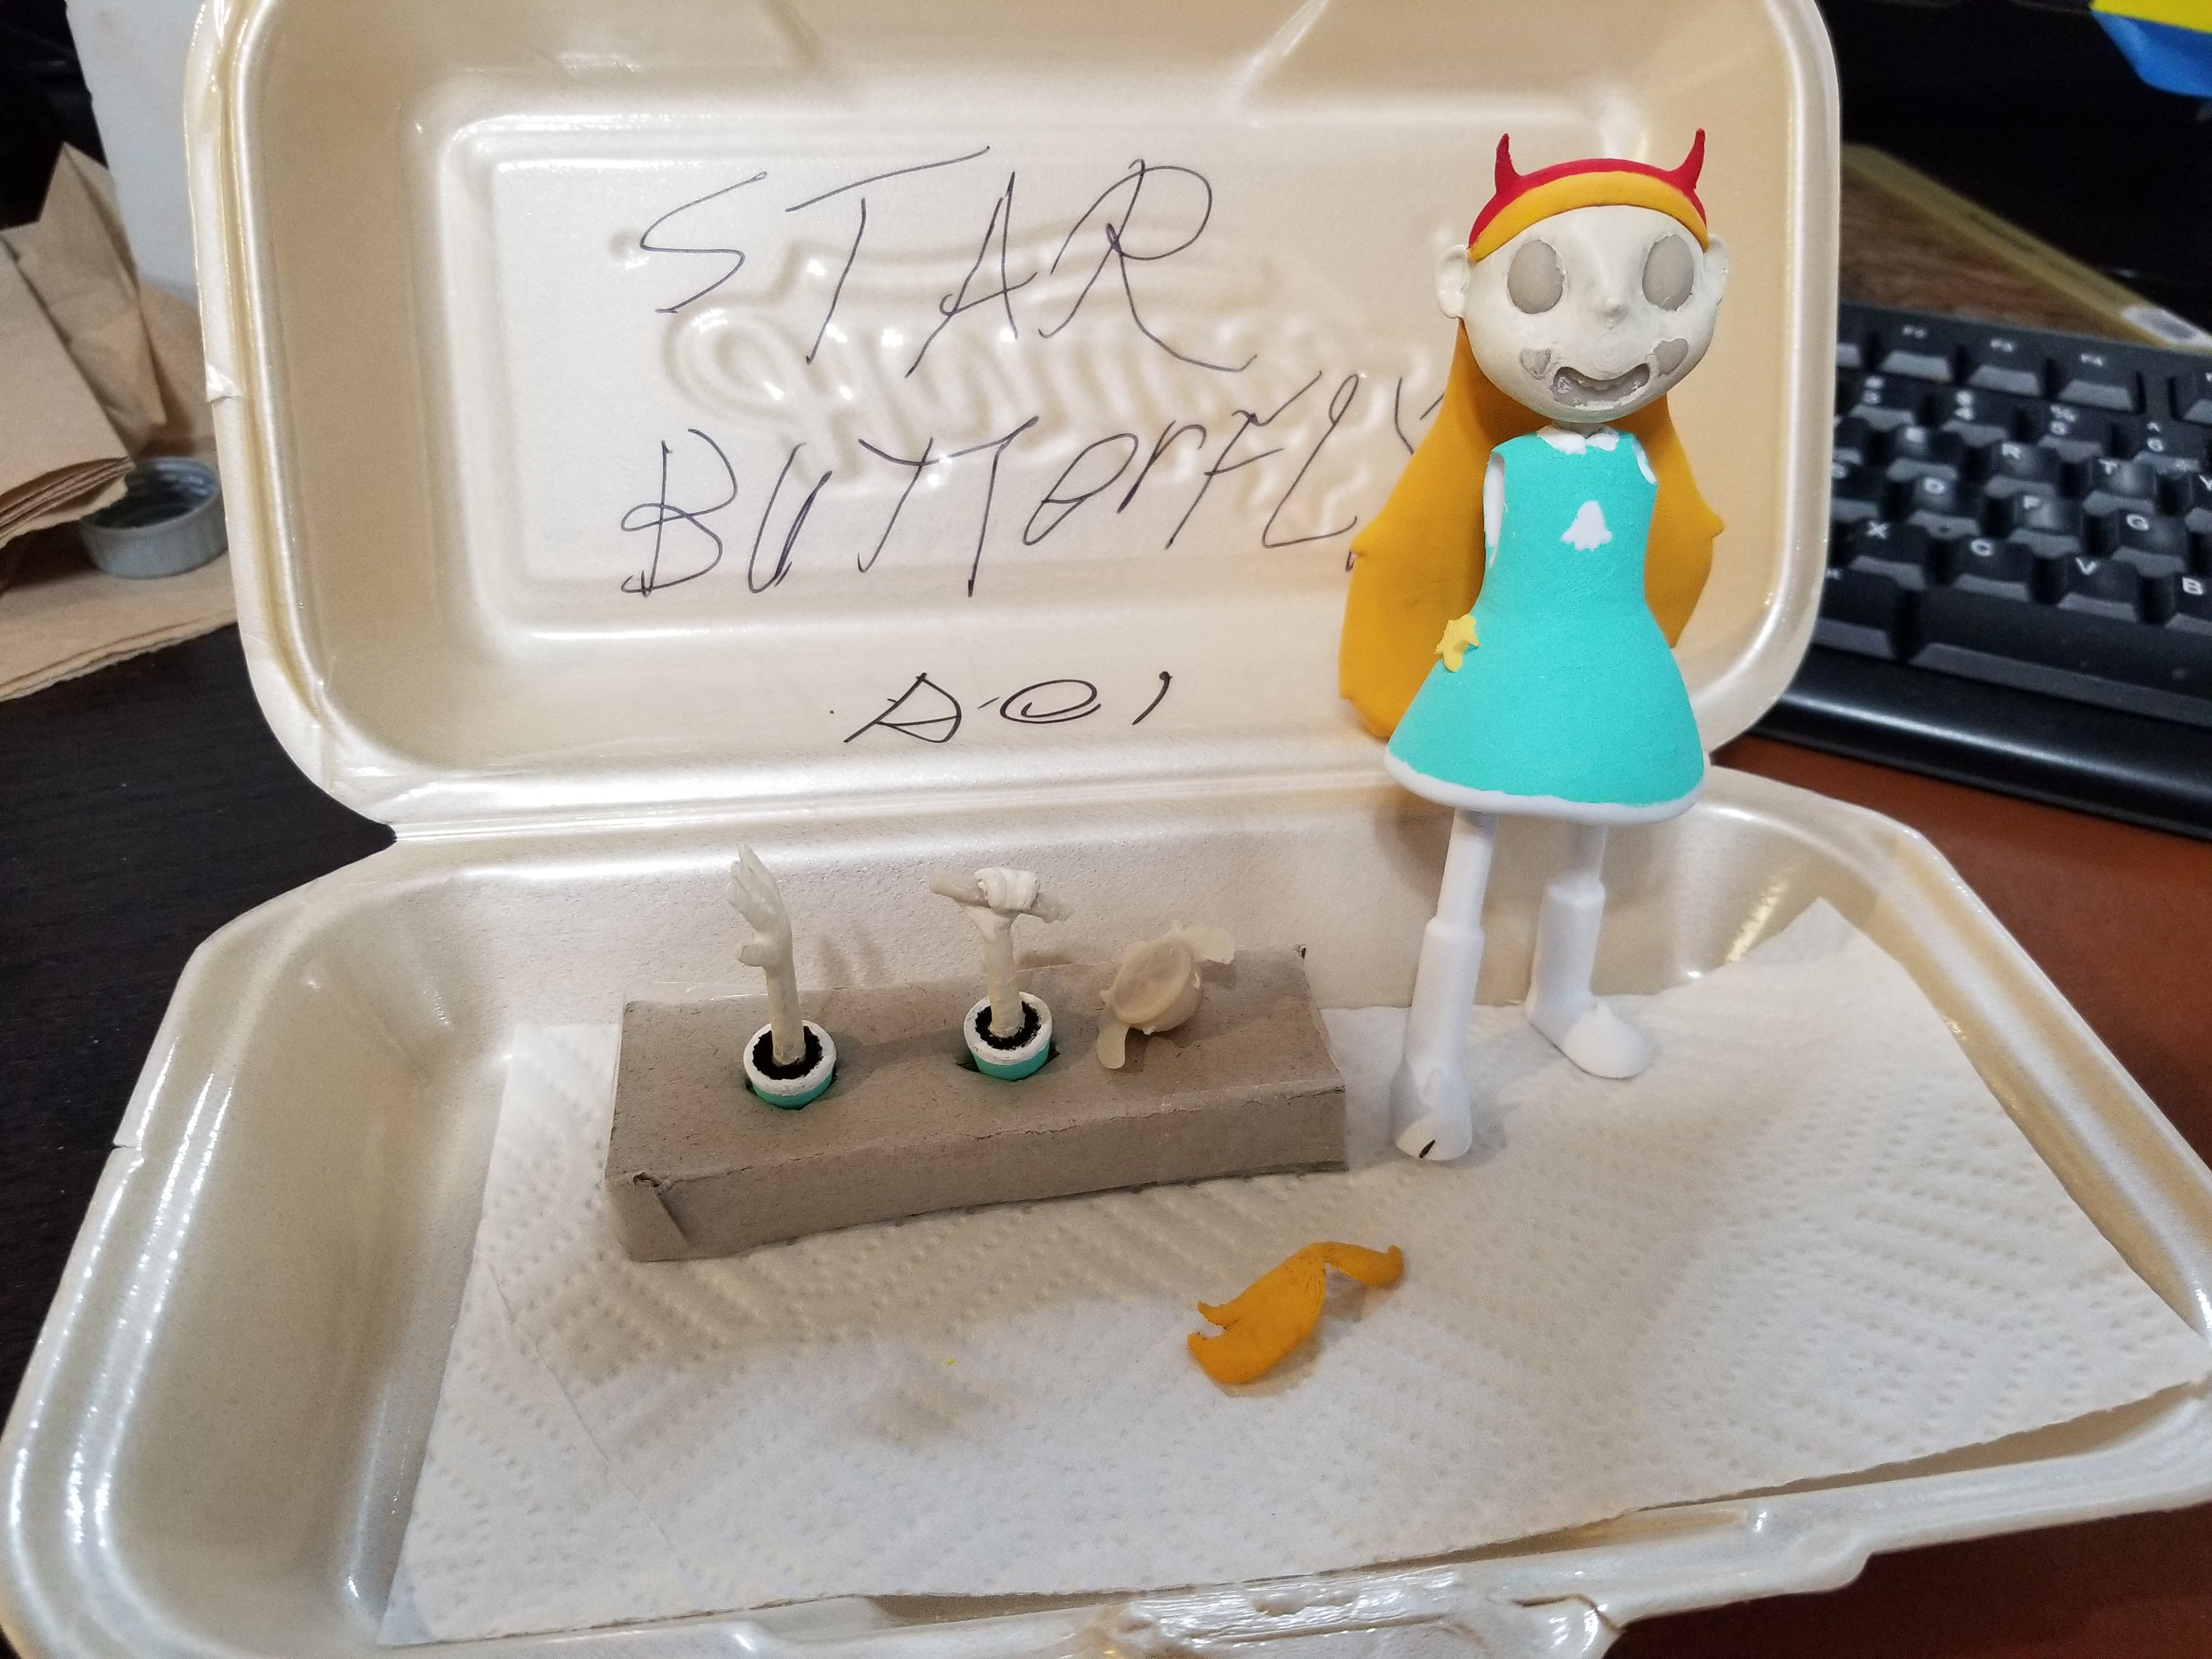
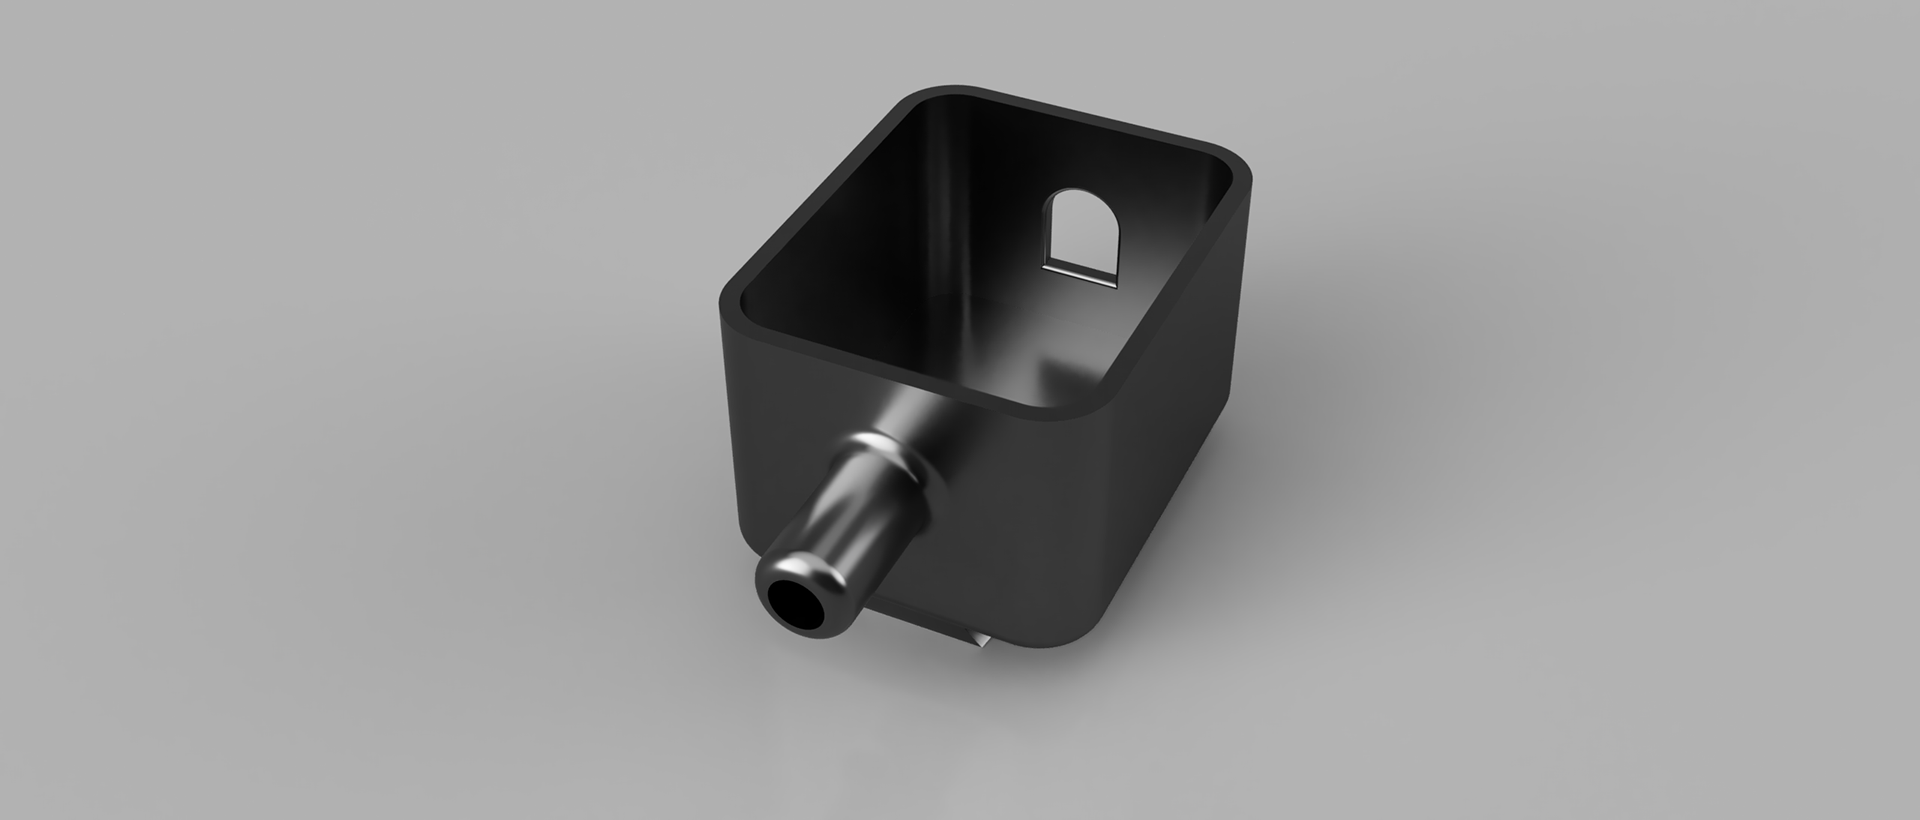
As you can see, Star Butterfly gets her own crafted box to store her while she dries.
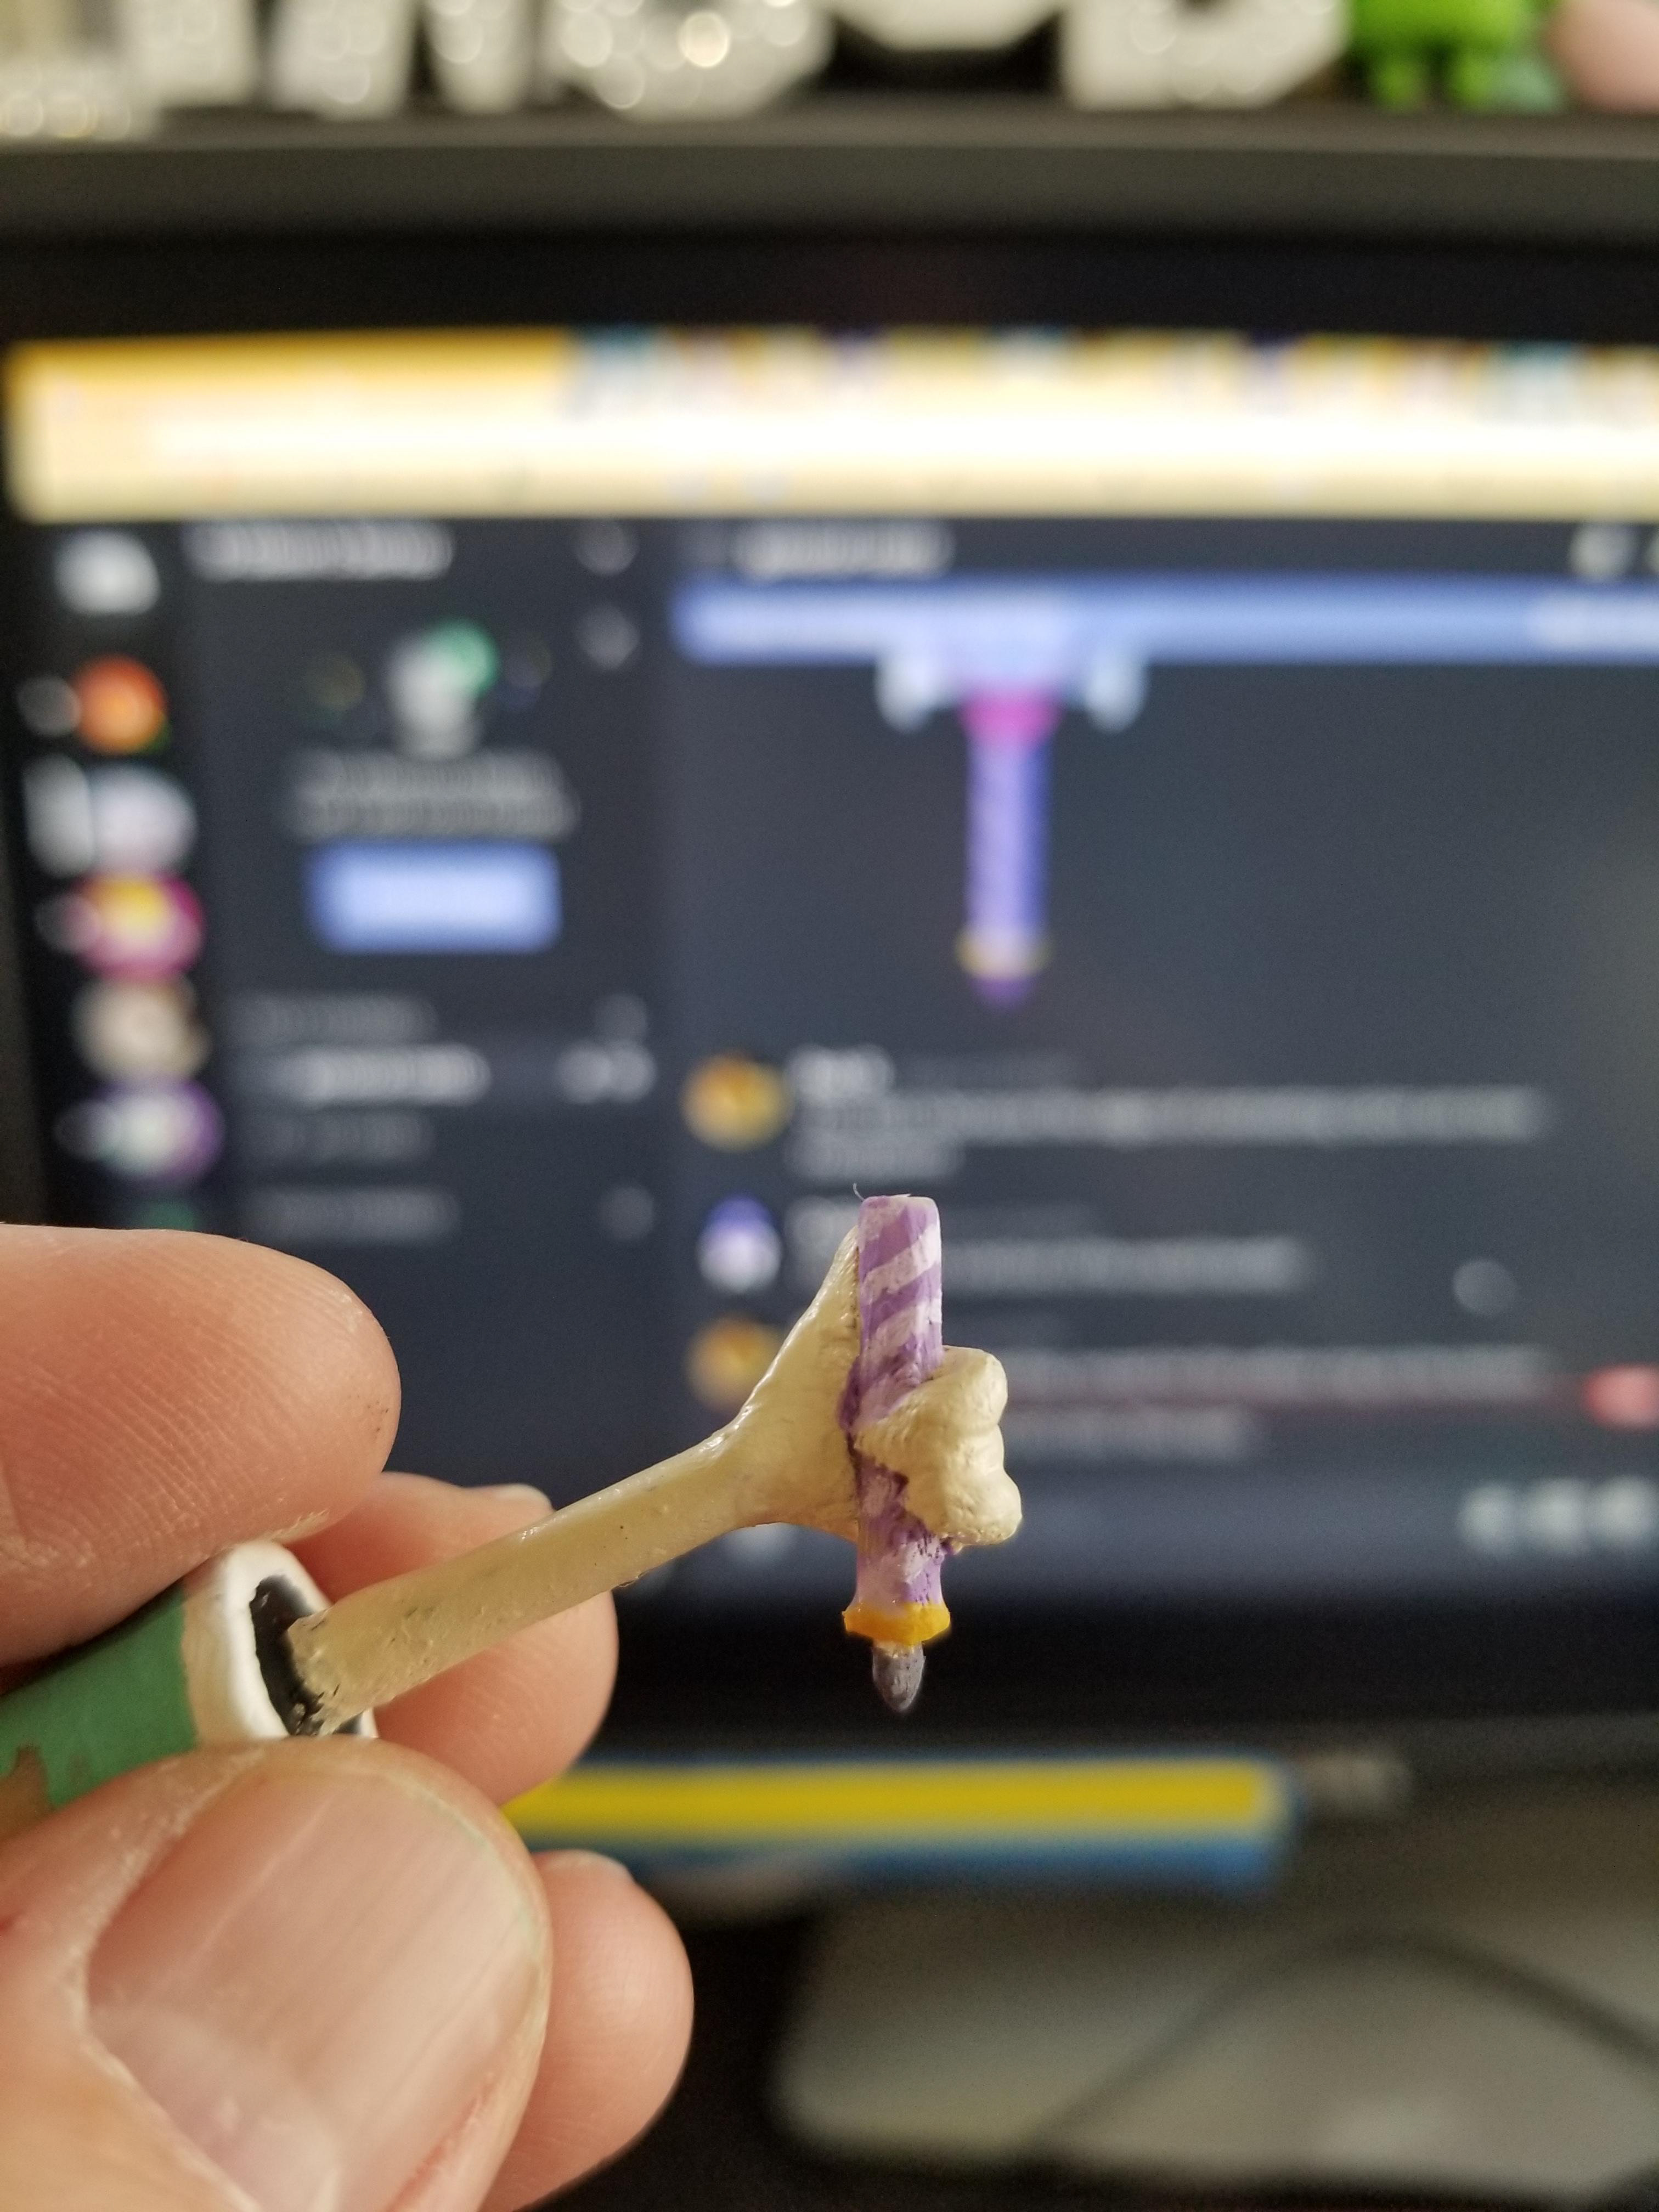
Some part of the model has a great amount of detail! It's jstf work.
After painting the wand head, all I have to do is glue that to the handle.
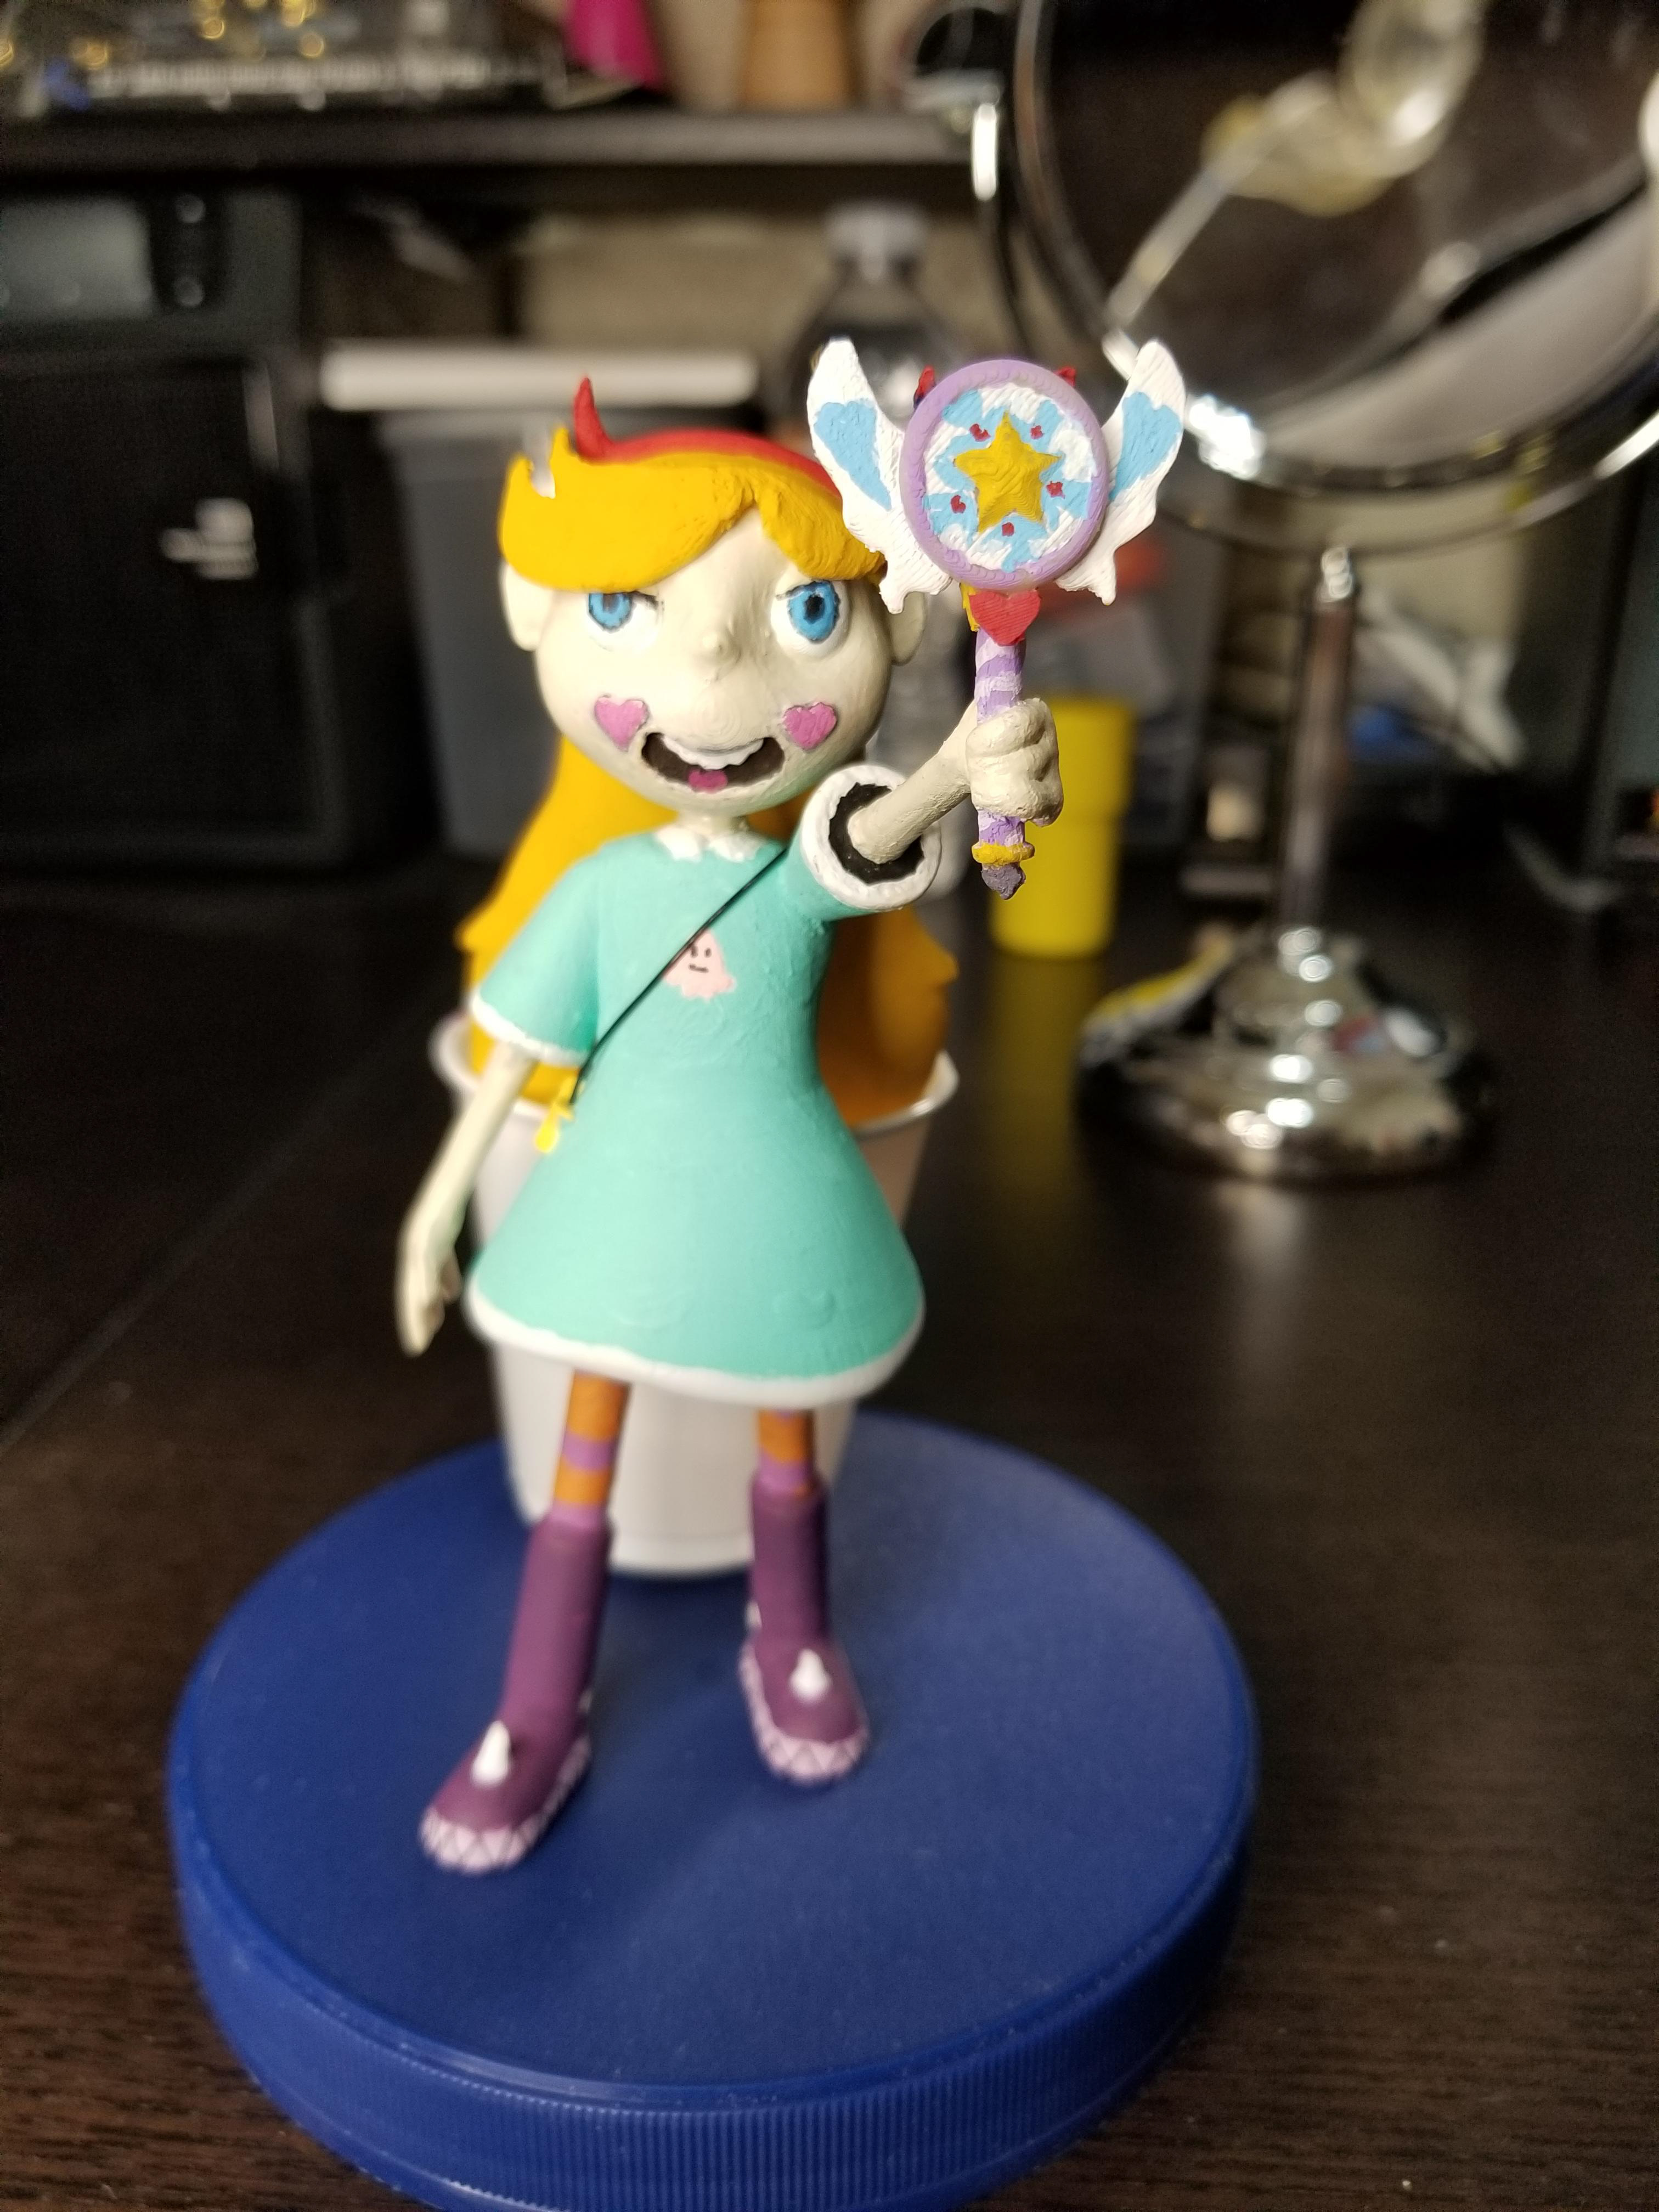
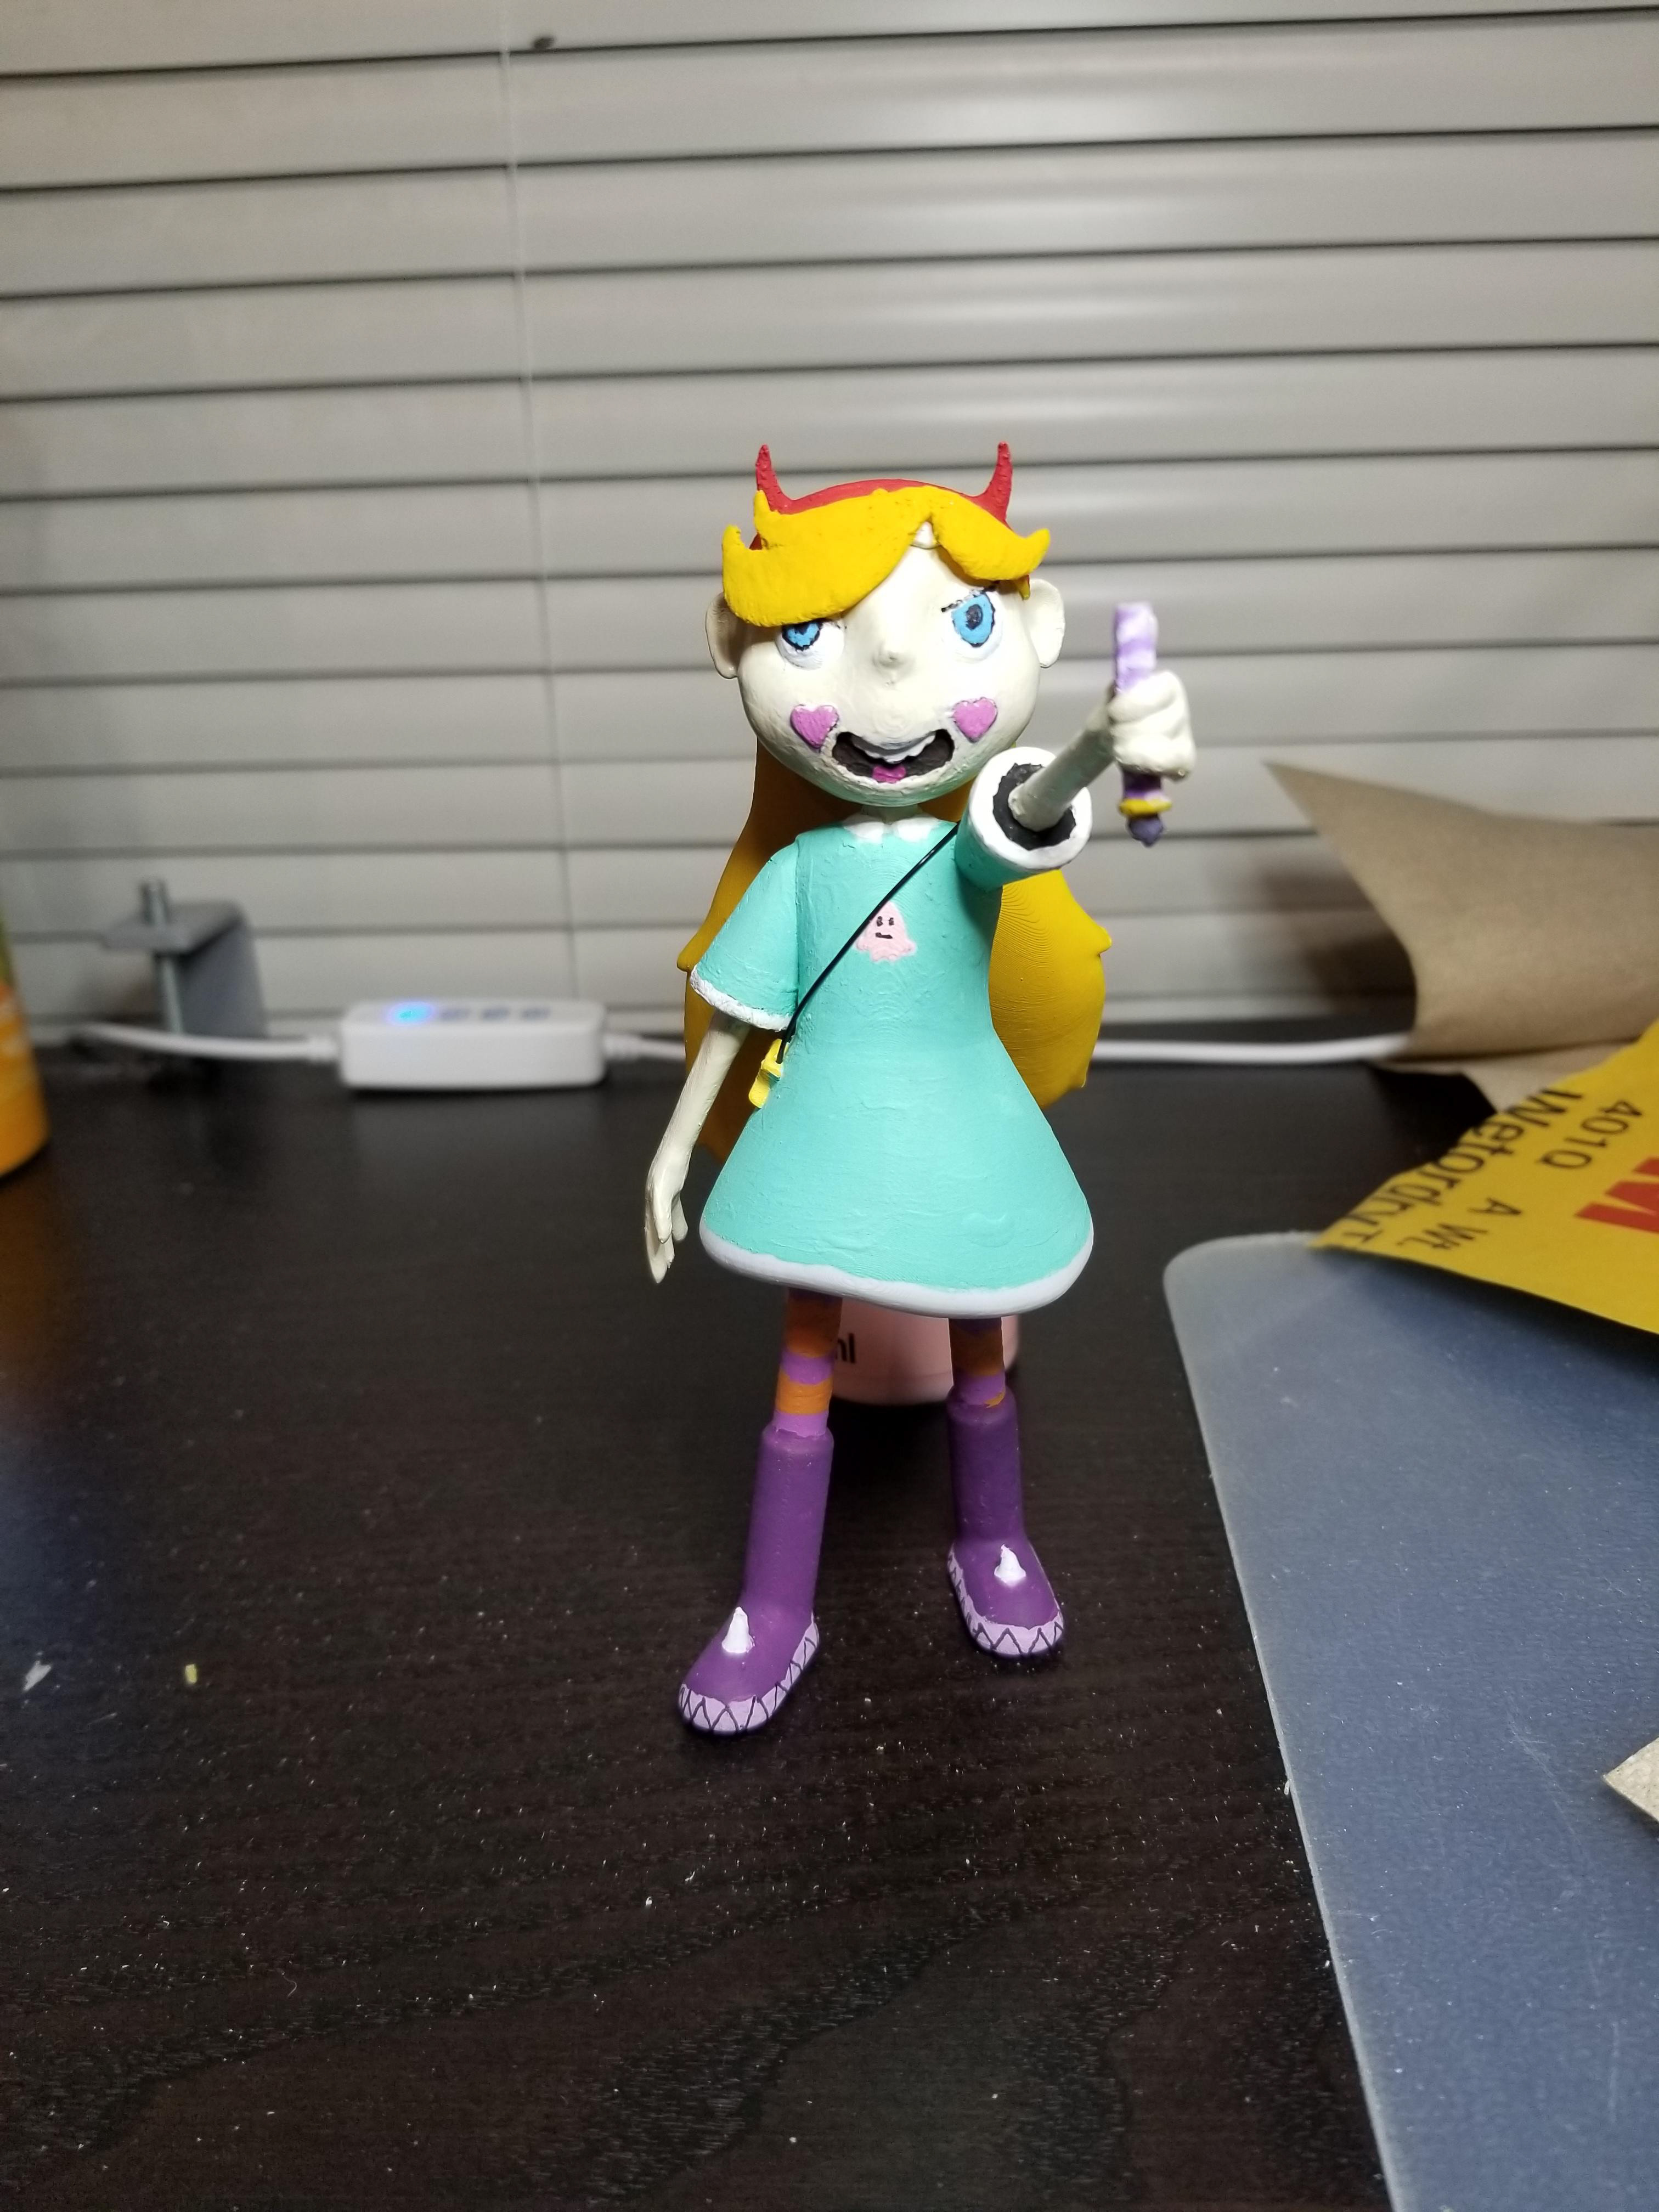
And she is done! But there is one more thing that Star needs..
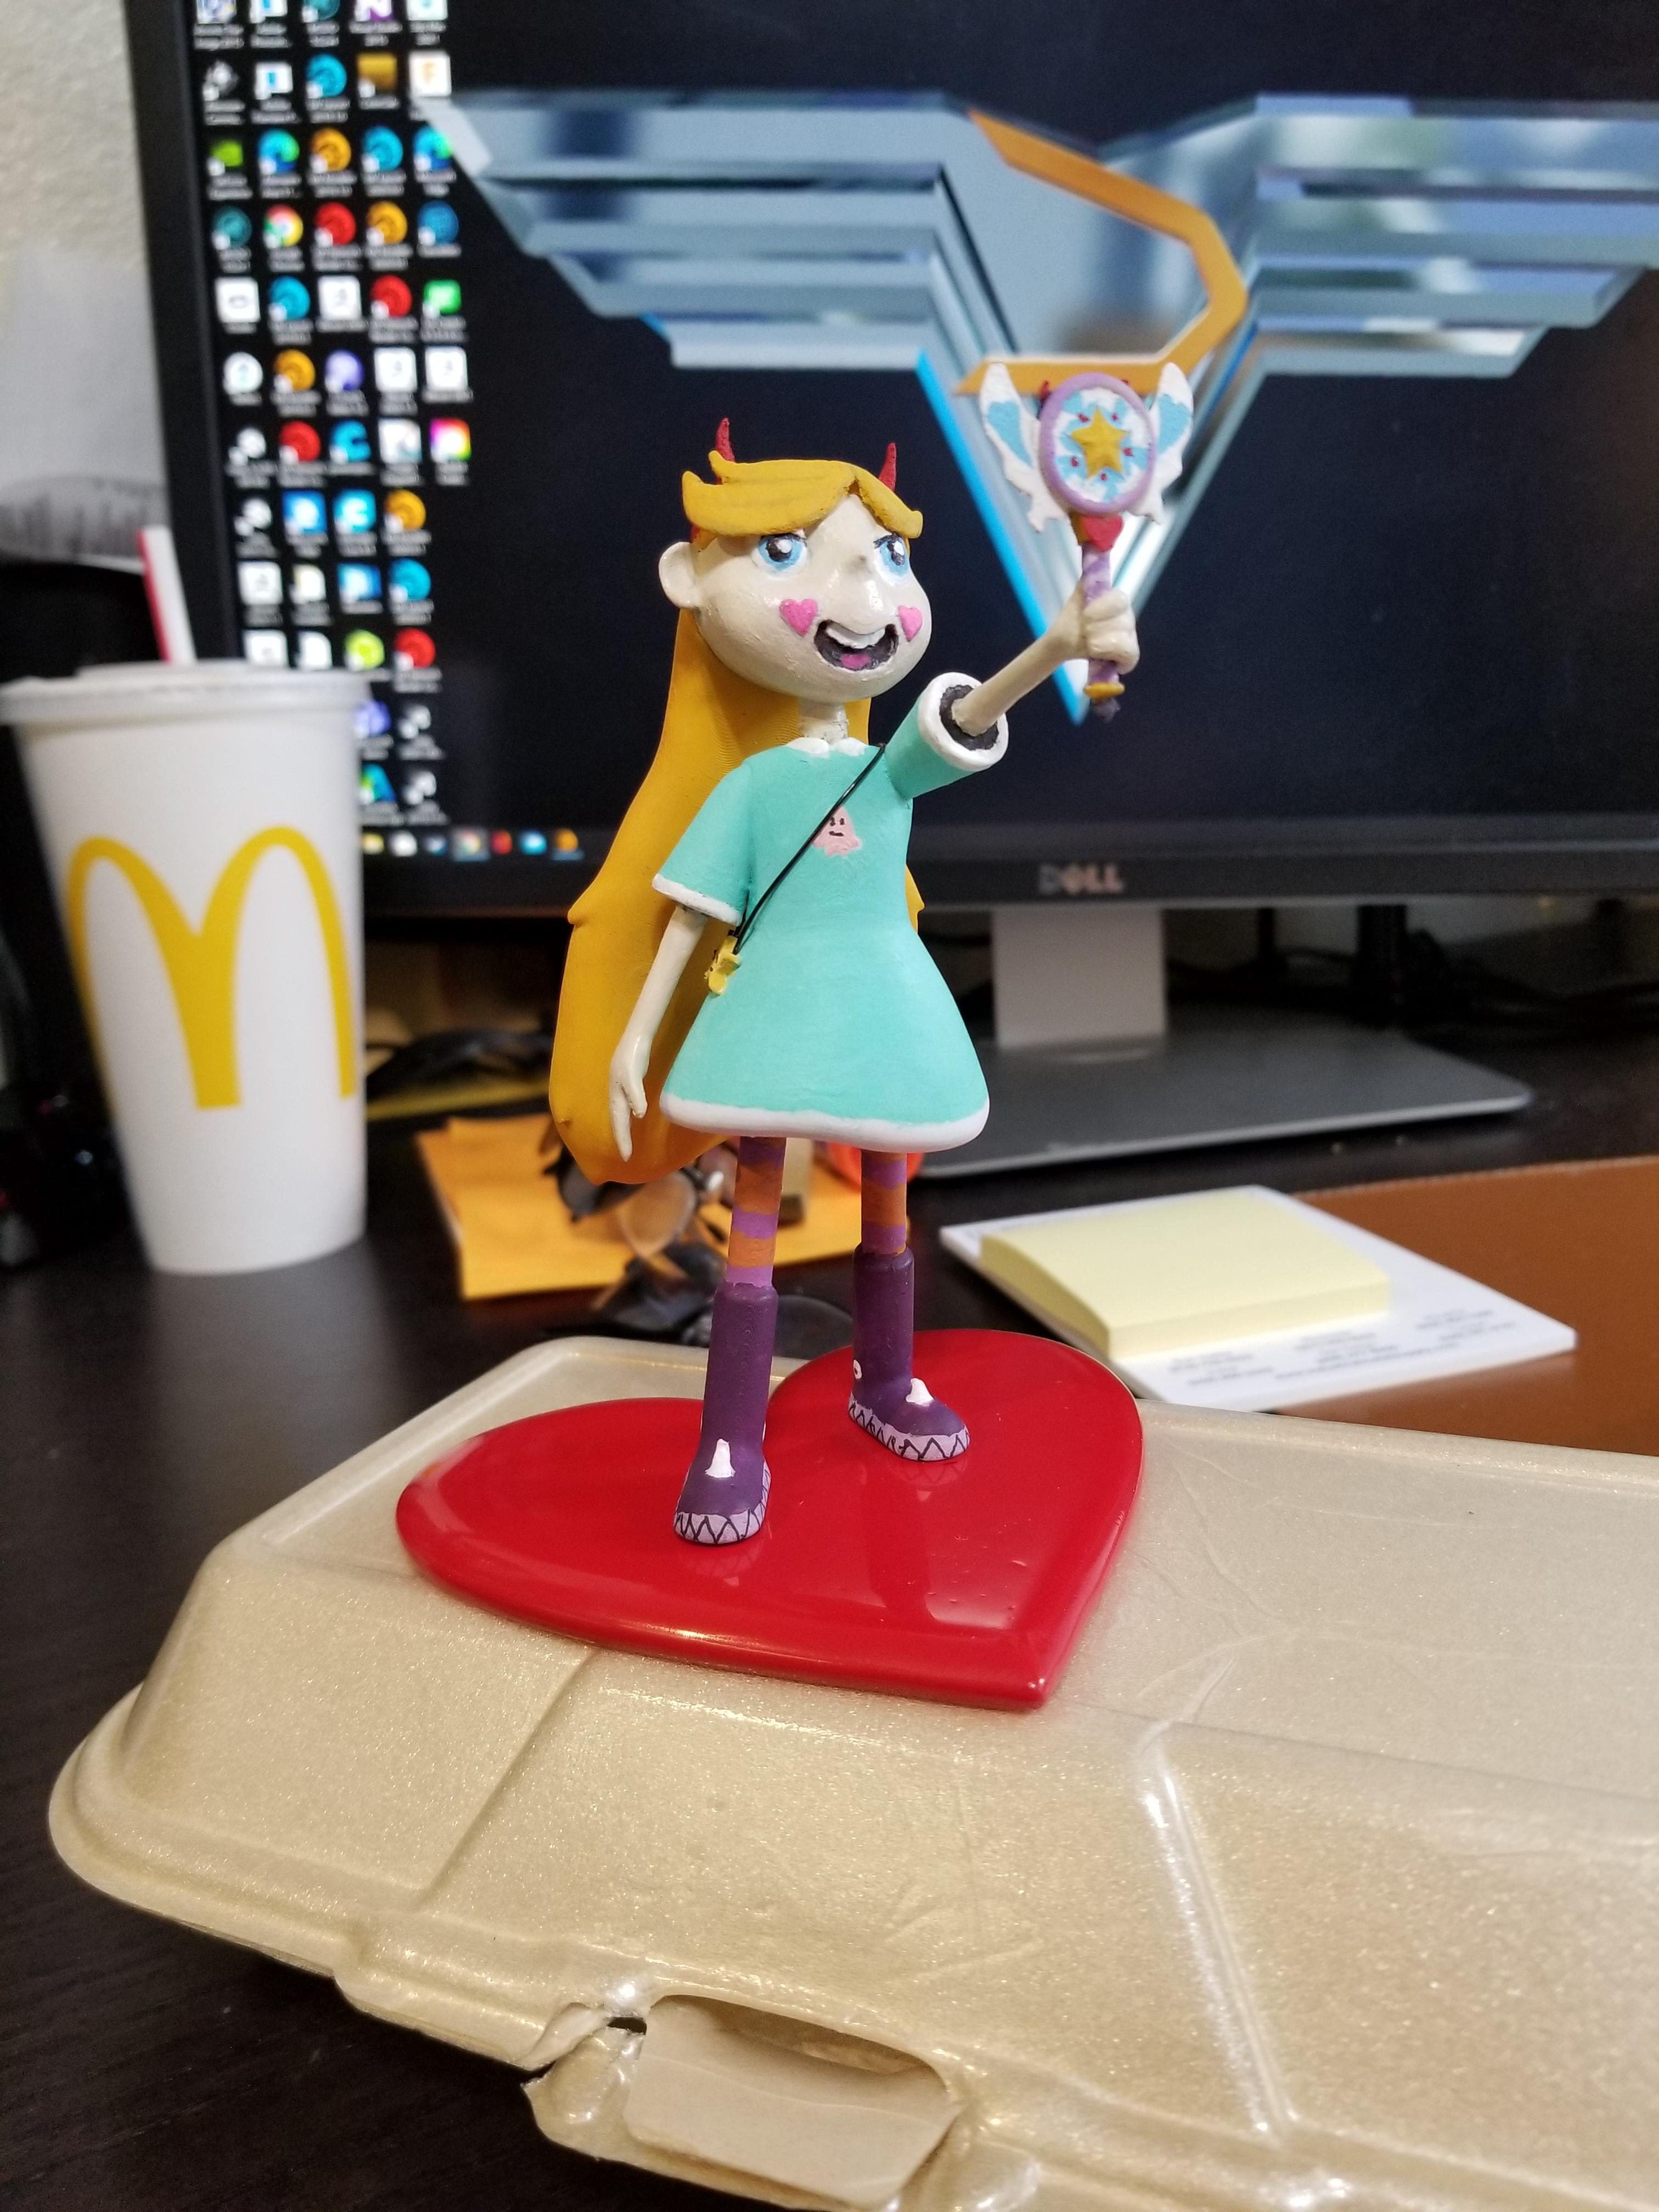
And that is her Hart Sapped Base! Now She is done!
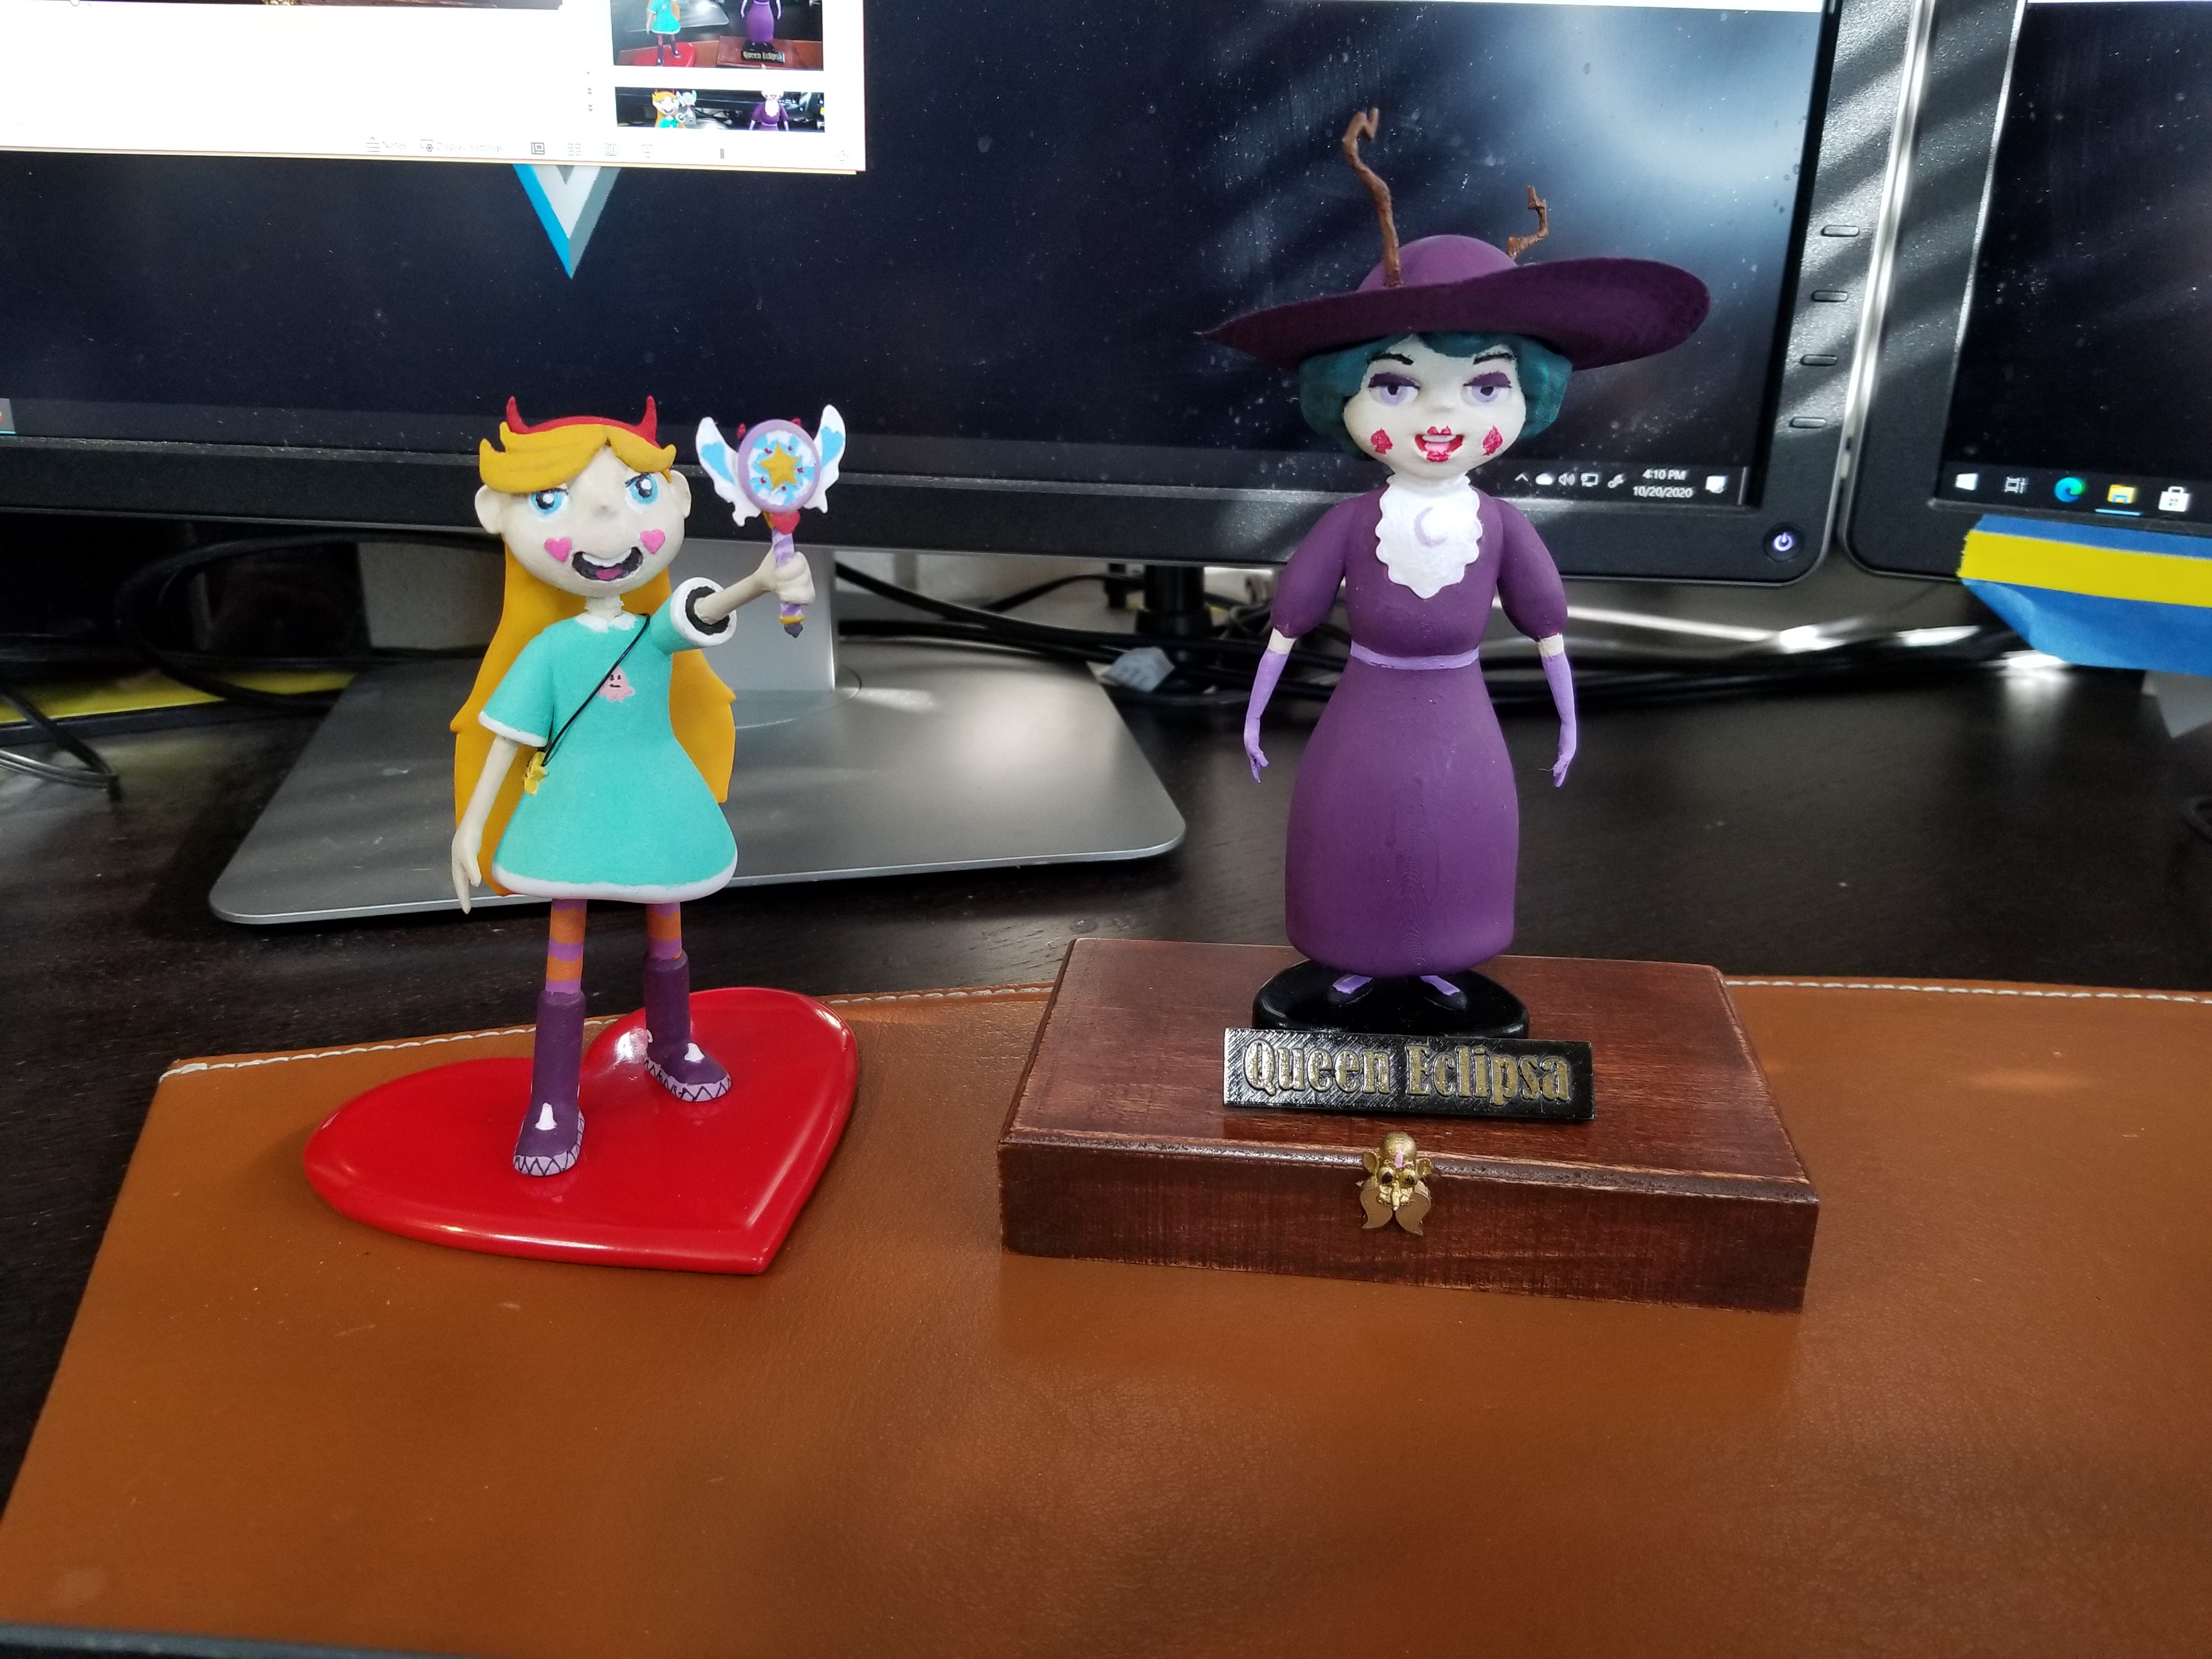
Star Butterfly Joins Queen Eclipsa.